User Tools
Sidebar
This is an old revision of the document!
Table of Contents
When things go wrong
Unlocking the stitch
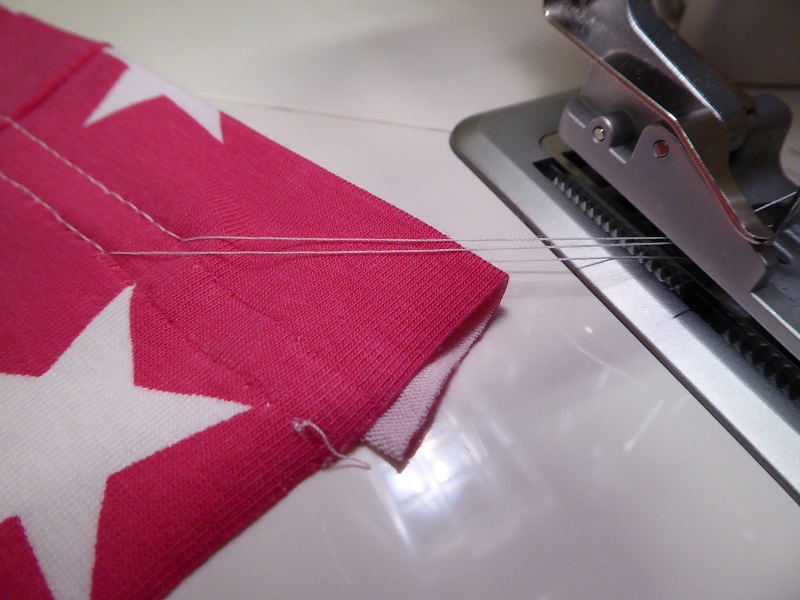
Imagine I notice while sewing that the outcome is not as desired! The easiest way to undo what has been done is to raise the pressure foot and turn the hand wheel a full turn clockwise to unlock the last stitch. The needles will go down into the fabric and back up again and then the fabric can be pulled towards the left. The needle and looper threads can be pulled apart.
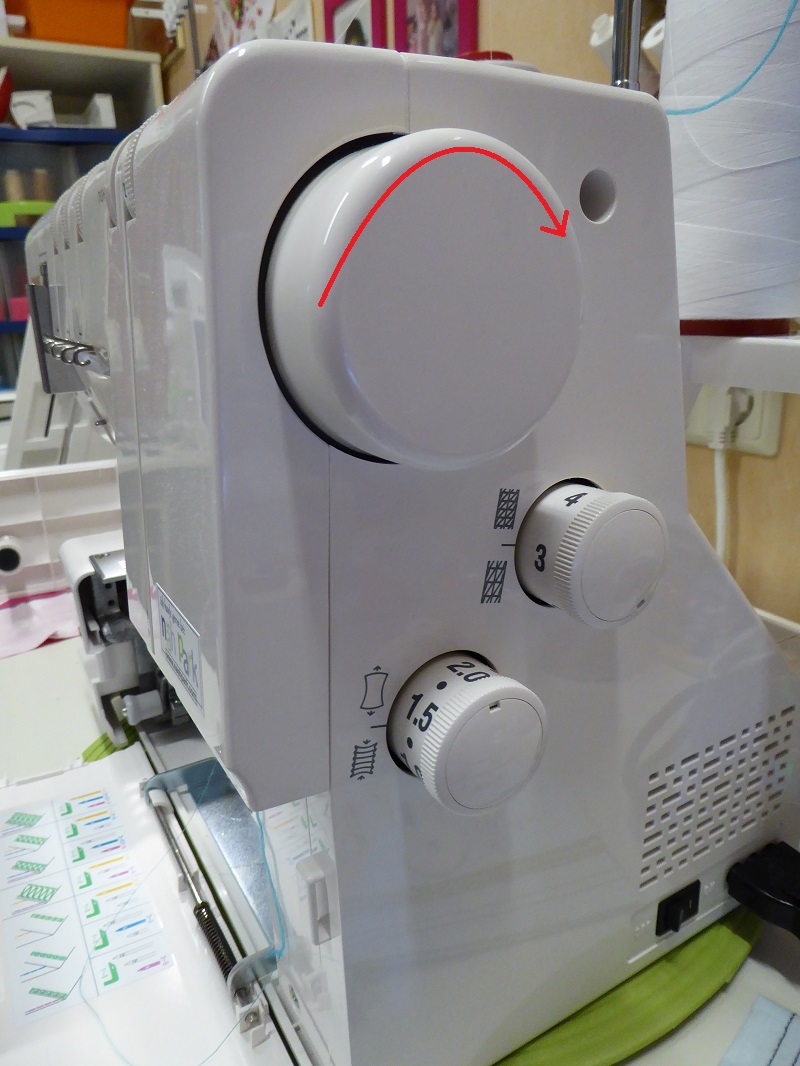
Removing the stitches
Alternatively, using the seam ripper, I can undo a few of the last stitches, gently pull the needle threads and the looper thread and bingo, I am ready to start over.
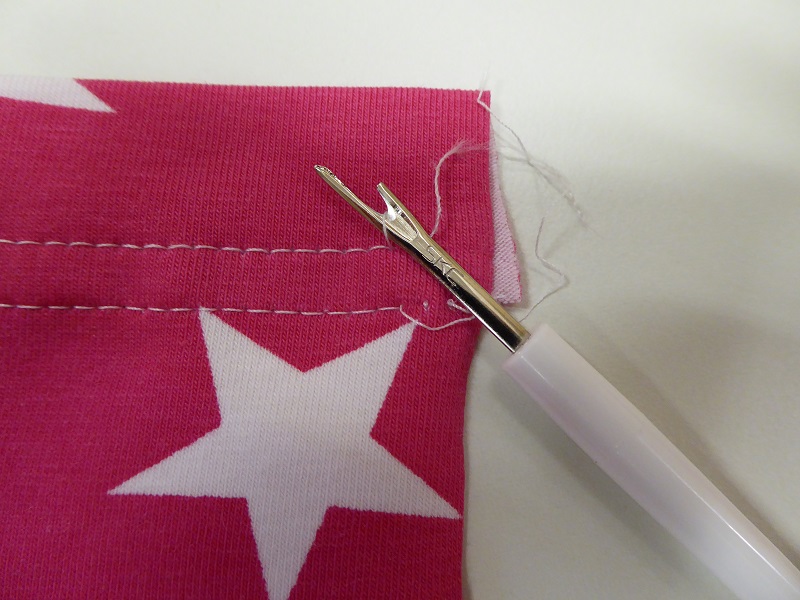
Needle thread looping on the wrong side
Skipped stitches
Maybe I should have started with this topic first since it seems to be a big concern among coverstitchers, often taking root even before a machine has been purchased.
OK, skips happen, that is a fact of coverstitch life. But there are simple ways of keeping this to a minimum.
Needles as I know them
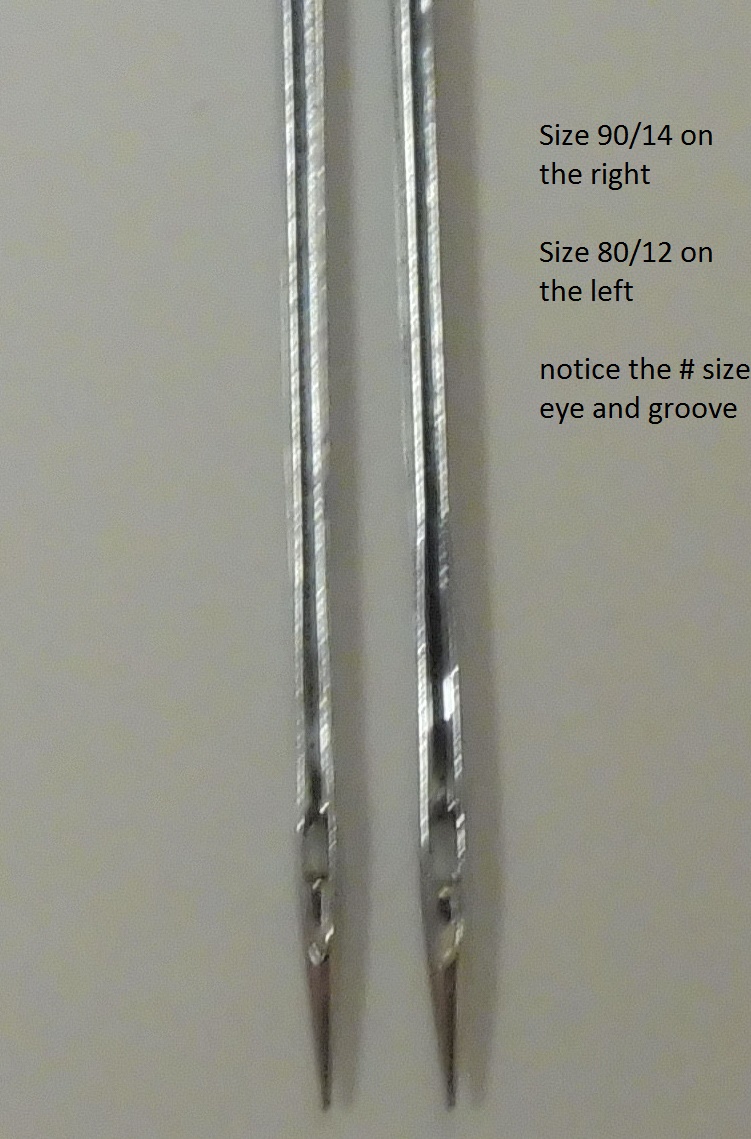
One cause of skipped stitches is using the wrong size needle. When coverstitching, the thread has to move back and forth through the eye of the needle and along the groove in the front part of the shaft. When the needle is the right size for the thread, fabric and the number of layers, the eye and the groove are both large and wide enough to enable the needle thread to move freely. Strategy number one for me is to check my needle size and most of the time I use a size 90/14. I have used this successfully for knits and woven fabric such as denim.
Please notice the difference in the size of the eye and the groove of the needles in the picture below, the one on the right hand is a size 90/14 and it has a larger eye and a wider groove.
Another reason for stitches skipping is the wrong needle type. Warning the following does not apply to certain brands of coverstitch machines, it applies to all those that use the ELX705 system. When sewing knits, especially those with a lycra content (trademark for a brand of spandex), I use ELX705 SUK needles. The SUK needle has a regular ball point which is best suited for knits. The ELX705 regular needle has a light ball point and is best suited for wovens.
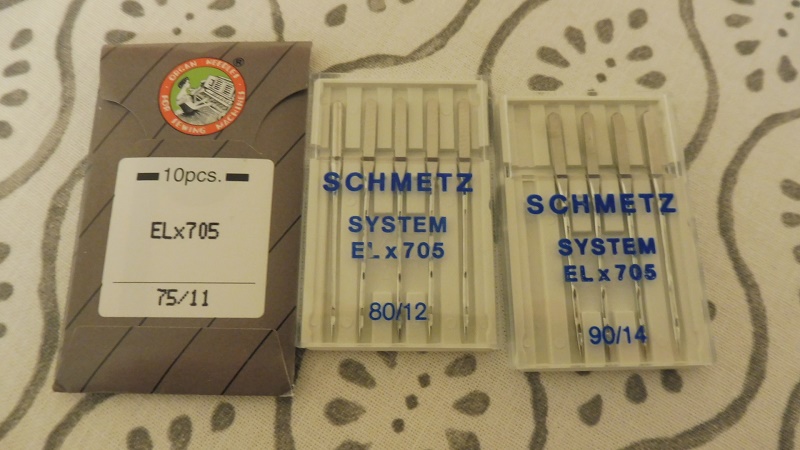

When I run out of ELX705 SUK needles size 90, I use an ELX705 regular size 90 rather than an ELX705 SUK size 80. The right size is more important than the right type for avoiding skipped stitches in my opinion. I only switch to size 80/12 for very delicate fabrics, but if your experience differs, please do what works for you!
Move it, move it, move it.....
Another important cause of skipped stitches is stitches getting too short because the fabric is not feeding adequately. The stitches may get shorter as I sew over a hump and to compensate for that try this.
Sometimes irregular movement will not show up as visibly short stitches but translate into skipped stitches more subtly.
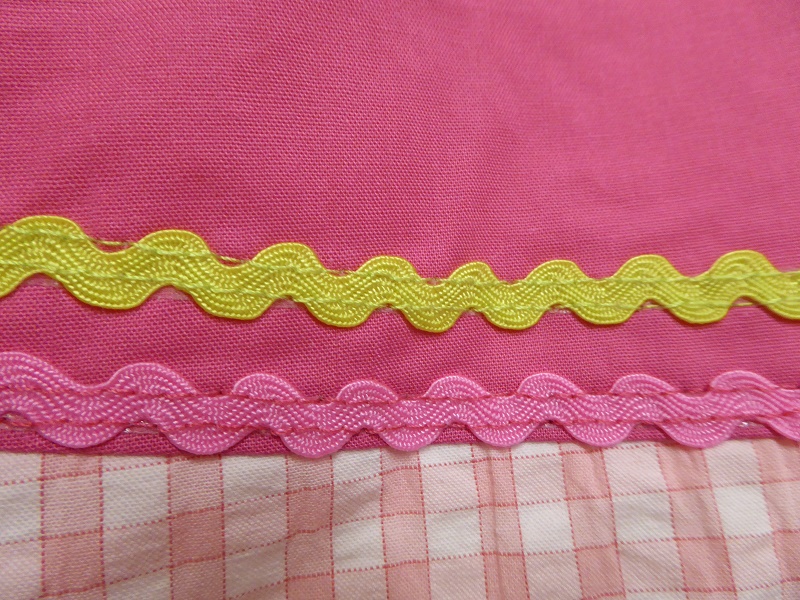
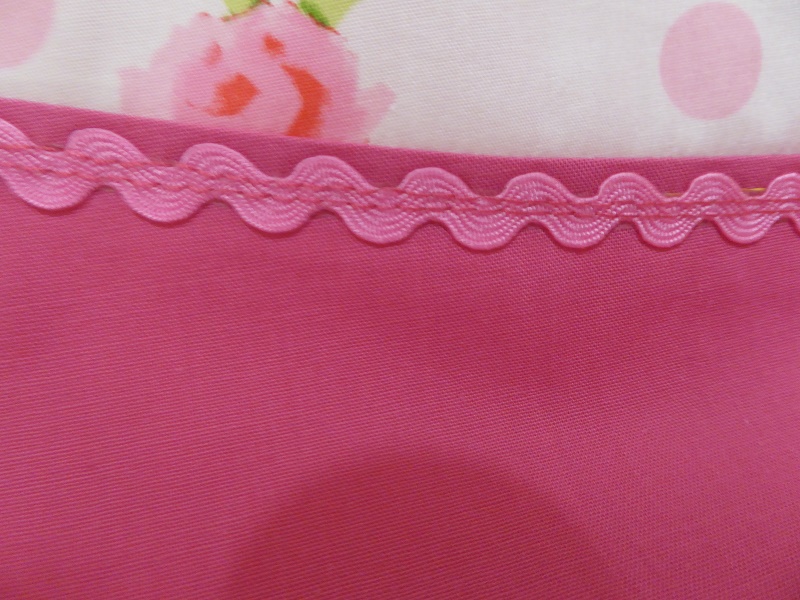
Please notice the rick rack trim I attached with the coverstitch in the images below. Both examples were done on my Babylock Coverstitch machine. The top image shows the 2 needle narrow coverstitch going over rick rack trim. This did NOT work well, I had several skipped stitches. The reason I used my BLCS machine was that I had the right color thread in it and my sewing machine was threaded with a different color for other parts of the same project. i would normally not choose to use my coverstitch machine for attaching trim but I learned something valuable in the process. Do you notice the some of the stitches going through the rick rack and some of them only going through the cotton fabric? That's where I got skips, the difference in number of layers caused the skip. My best guess is that with this constantly changing number of layers there is an irregularity in the feeding/needle penetration, much like left and right tyres going over different surfaces, and this difference may translate in a skipped stitch. So unfortunately the width of the rick rack and the width of the the two needle narrow coverstitch are not compatible
In the second sample I used the chain stitch and stitched 2 rows close to one another so that the needle was always penetrating the same number of layers and I didn't have a single skipped stitch. Something worth remembering!
Get to know the feed dogs
I have tested this only on a Babylock BLCS, a Janome 2000 CPX and a Pfaff 4874 so my experience does not cover other brands of machines and therefore the following may not correspond with your experience. On my Babylock simply increasing the diferential setting usually gets the fabric moving. On my Janome and my Pfaff machines I need to increase both the stitch length and the differential to enhance the feeding.
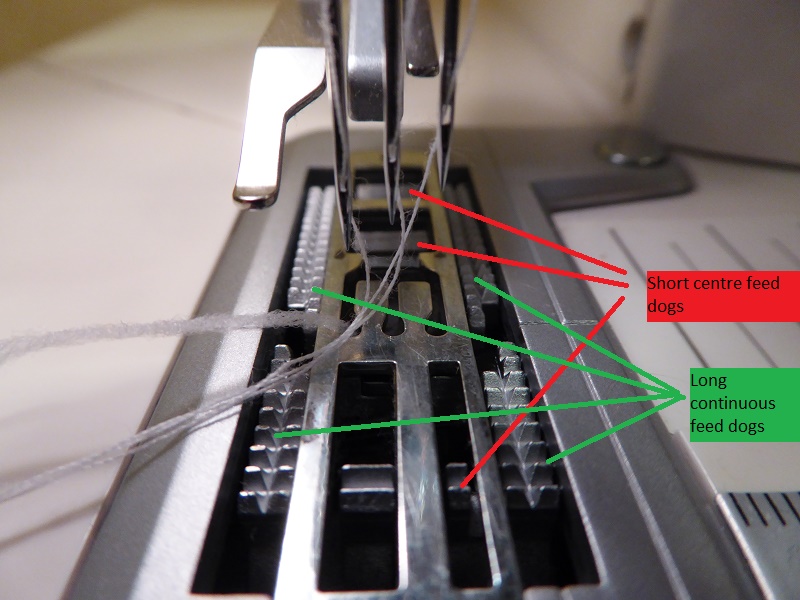
Even feeding is most likely to happen when the bulkiest part underneath the pressure foot is right there where the longer continuous feed dogs are. In the image below you can see that these longer feed dogs are on the left and right side. In the centre there are several short feed dogs but there is a large space where there is no feeding to allow for the needles to move up and down.
Now imagine topstitching a seam and the bulkiest part being in the centre, being fed by those short feed dogs? Beside it, going over the longer feed dogs, there may be just one layer of fabric or fewer layers of fabric. When that is the case the risk of irregular feeding increases and with it the risk for skipped stitches. So I prefer to do topstitching so that the bulkiest part of a seam is being properly gripped by those longer feed dogs. My Babylock Coverstitch machine seems to have more effective feed dogs in the centre as well as a better positioning of the pressure foot, so the risk for skipped stitches is considerably less on a Babylock BLCS. I intend to expand a little on this in the chapter on Top stitching.
Needle threads looping on the wrong side
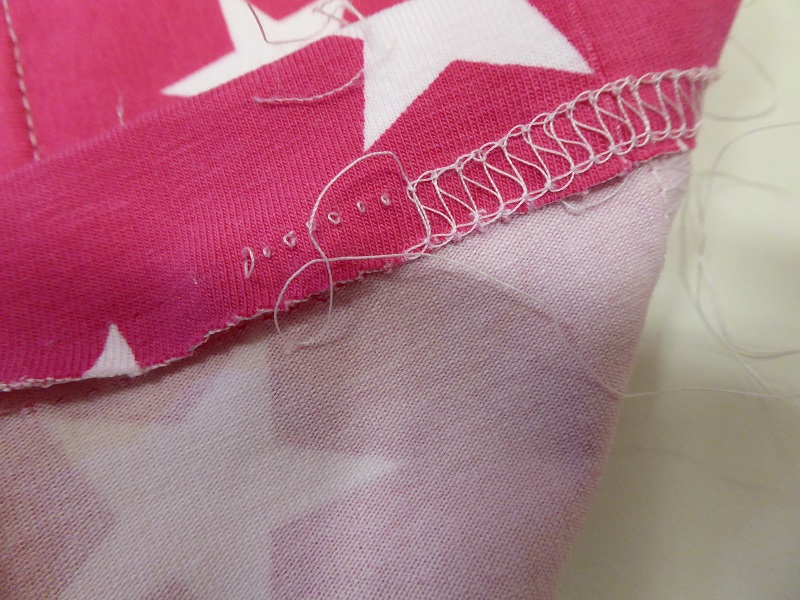
Ever come across this? It happens to me all the time. In this case I had been sewing a chain stitch with 1 needle and then I added a second needle but forgot to lift the pressure foot, so that the thread would slide between the tension discs.
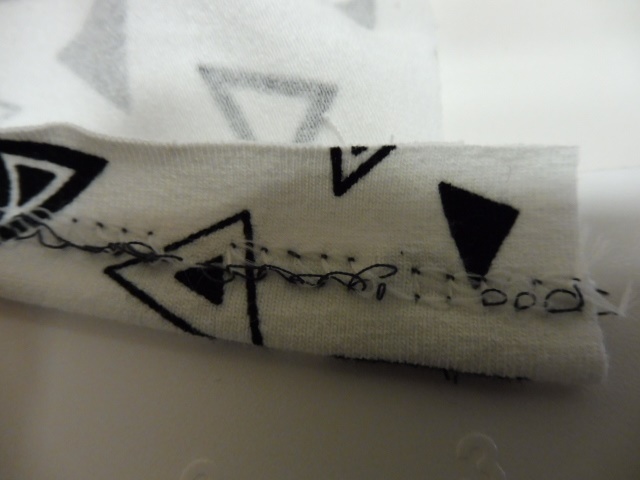
This is what it looks like when the pressure foot is down and the thread is not engaged properly between the discs:
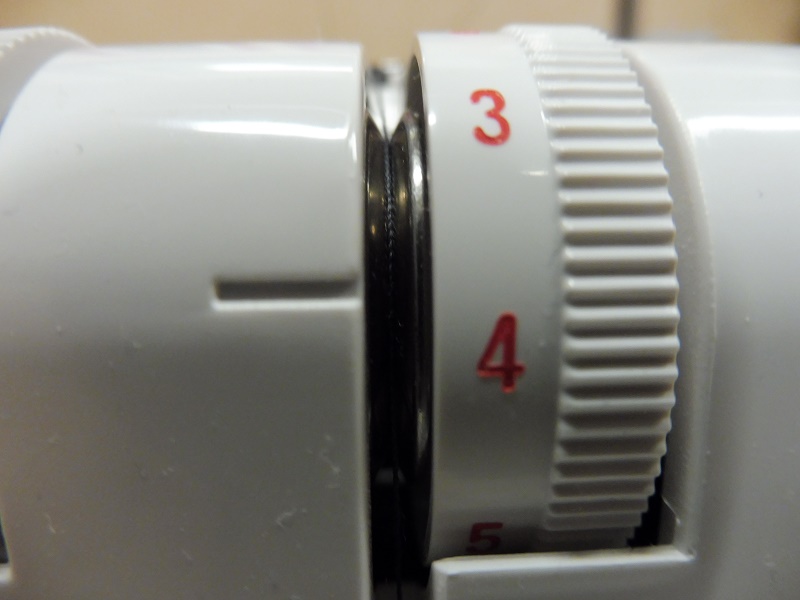
And this is what it should look like:
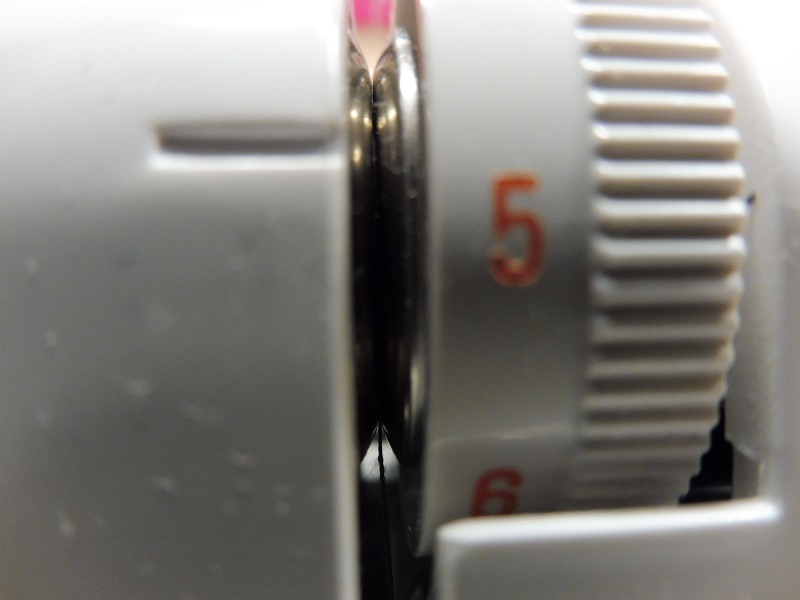
Which is why it is always a good idea to test on a scrap

