User Tools
Sidebar
Table of Contents
Quick Tips
Keeping Leggings extra stretchy with Babylock
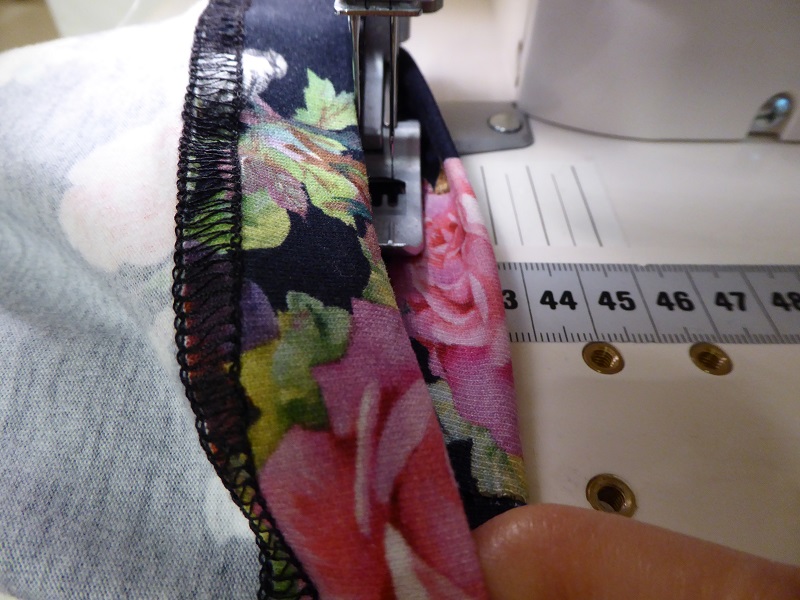
Leggings need to be really comfy and very stretchy both at the hem and at the waistline. They are designed to fit and as they are being pulled over the waist f.ex., those coverstitches may need to stretch 25% or more. Here is an example of settings for cotton lycra with regular polyester overlocking thread on cones. I sew the hem with the leg turned inside out and stretching gently while sewing, to work as much thread as possible into every cm/inch.
SETTINGS for the Babylock CoverStitch:
Stitch length 2.5
Differential 1
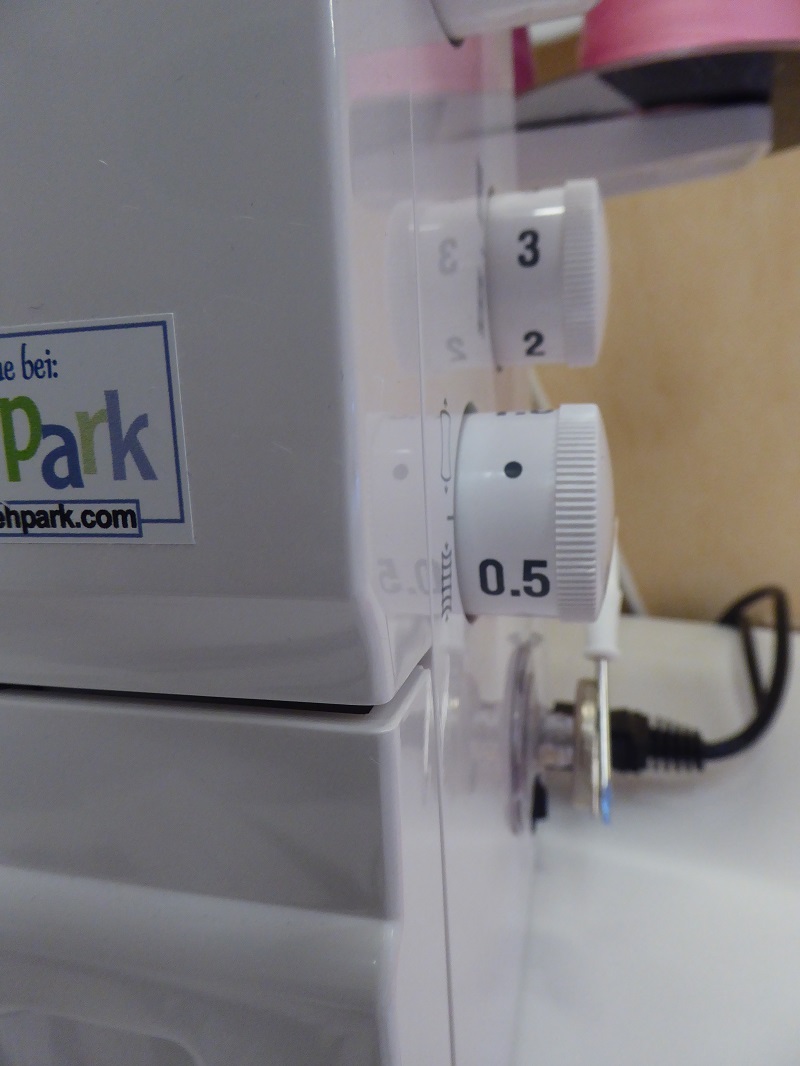
Needle 1 tension 2.5
Needle 3 tension 4
Looper tension 1.5
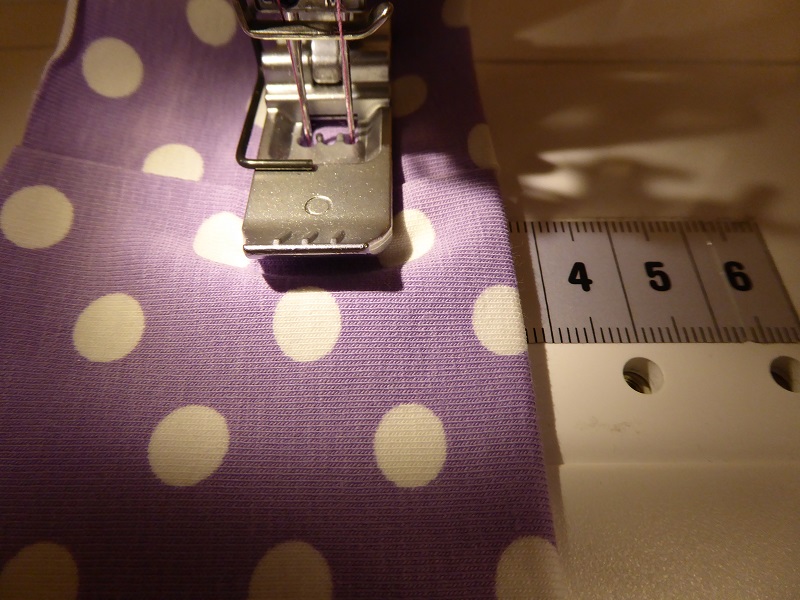
I have pressed the hem so it is easy to guide the edge along the 2,5cm mark on the piece of tape on the bed of the machine. Actually it may be a good idea to guide the right edge just 1mm to the right of the 2.5cm mark to make sure that the edge of the fabric on the wrong side is fully covered by the looper thread.
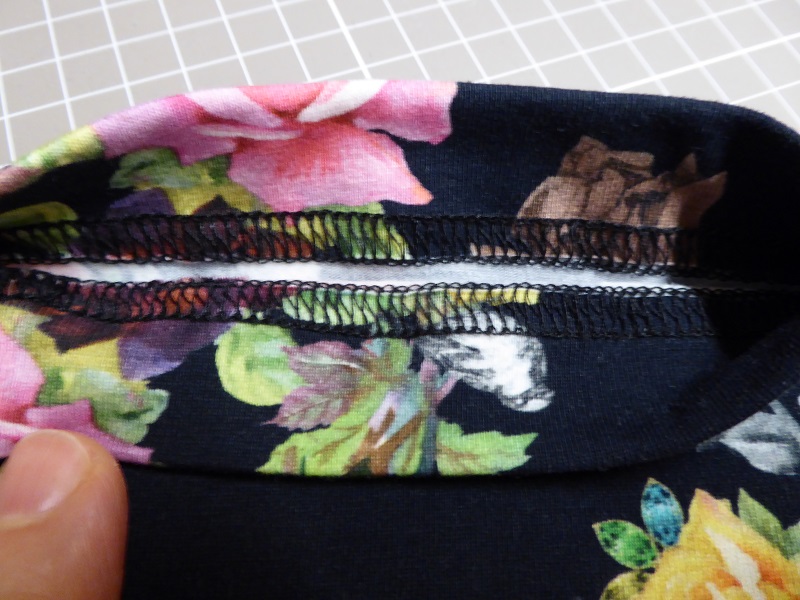
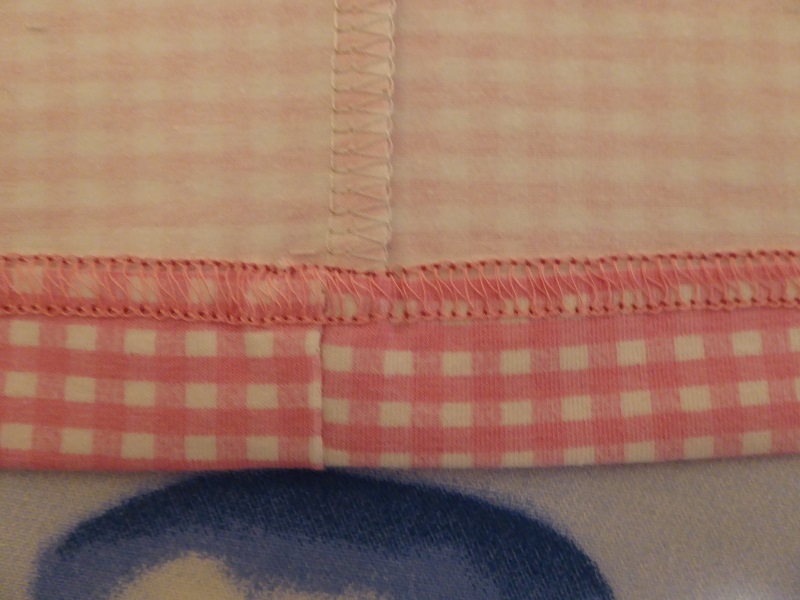
The waistband especially needs to be extra stretchy. The stitches are really close together but still neatly interlocking. Please notice how setting the tension for needle 1 on 2.5 is necessary when piercing only one layer to avoid tunneling. For more details check this
And achieving the same stretch with Janome
I always feel reluctant to offer “setting recipes” because every combination of machine, fabric and thread may require some testing and adjusting. When I tried the settings for the Babylock in the example above on a Janome Coverpro, I promptly got some skipped stitches when going over a side seam.
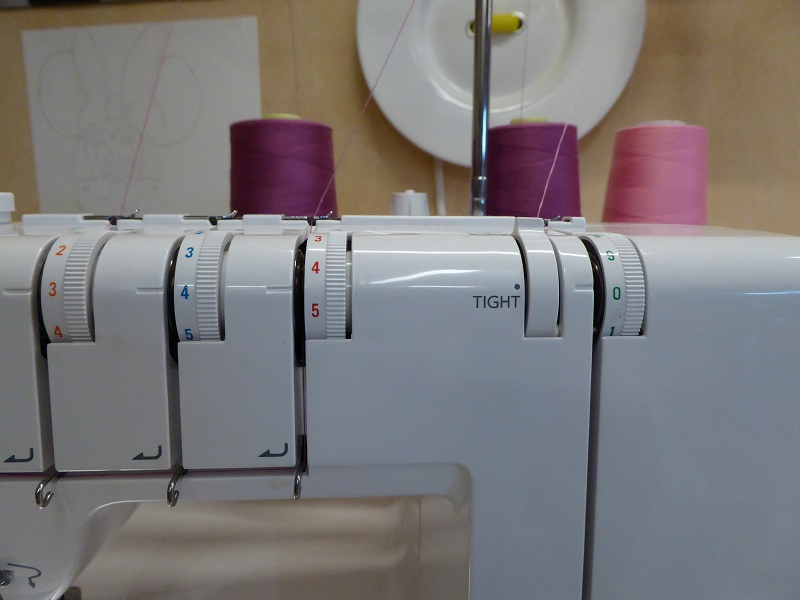
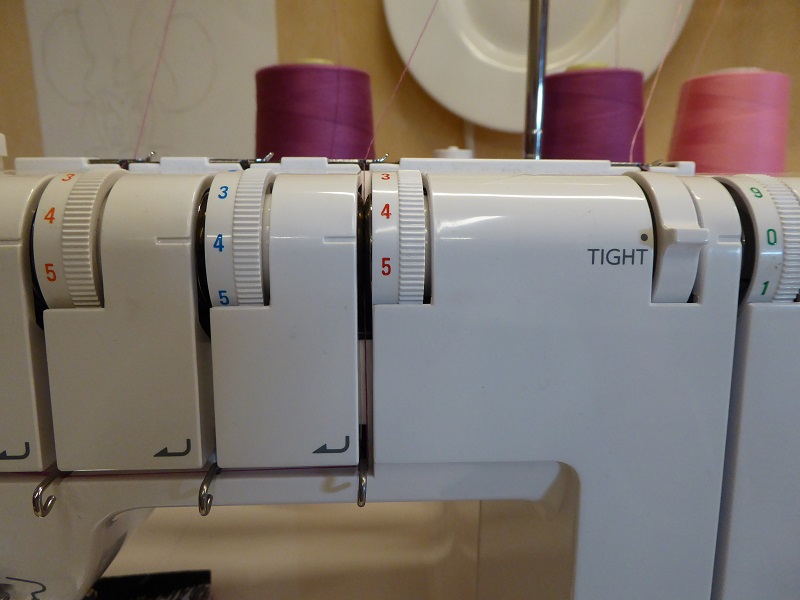
The Janome instruction manual recommends switching the looper to “TIGHT” to avoid skipped stitches. I have not been able to get consistent good results with that adjustment. My observation is that when I adjust the settings to get the stitches closer together to increase the stretch for leggings or other tight fitting garments, the risk of stitches skipping when going over a side seam or hump is related as much or even more to the tension on the needle thread, the left needle thread in particular.
One possible solution that seems to work well for me is to stop sewing just before getting to a seam or an increasing number of layers. Then switch the looper to TIGHT and increase the tension on the left needle by 1 to 1.5 points, sew over the hump and then switch back to SOFT and the lower needle tension. I explained the reason for different needle tensions here.
Here are the SETTINGS for the Janome 2000CPX:
Stitch length 3
Differential 0.625
Needle 1 tension 3
Needle 3 tension 4.5
Looper tension 0
Please note that the TIGHT setting at zero puts more tension on the thread than the SOFT setting. Zero is a relative value in this case.
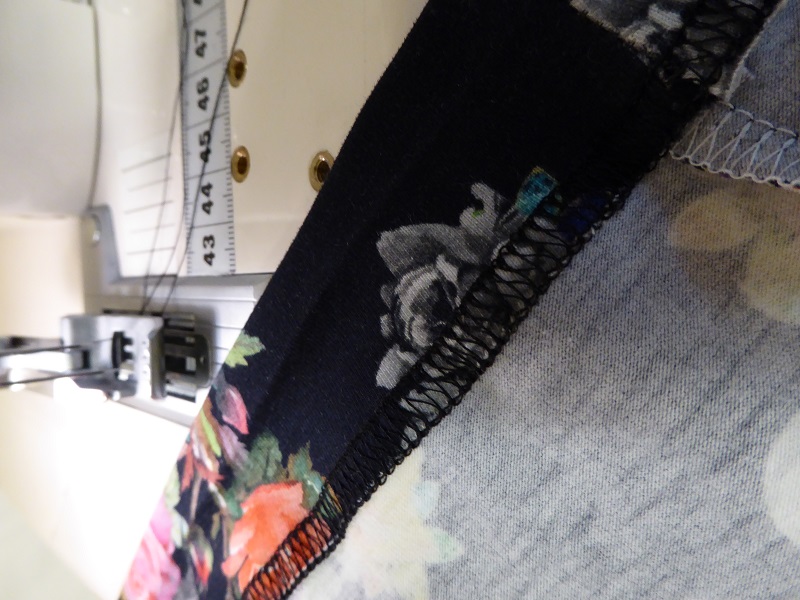
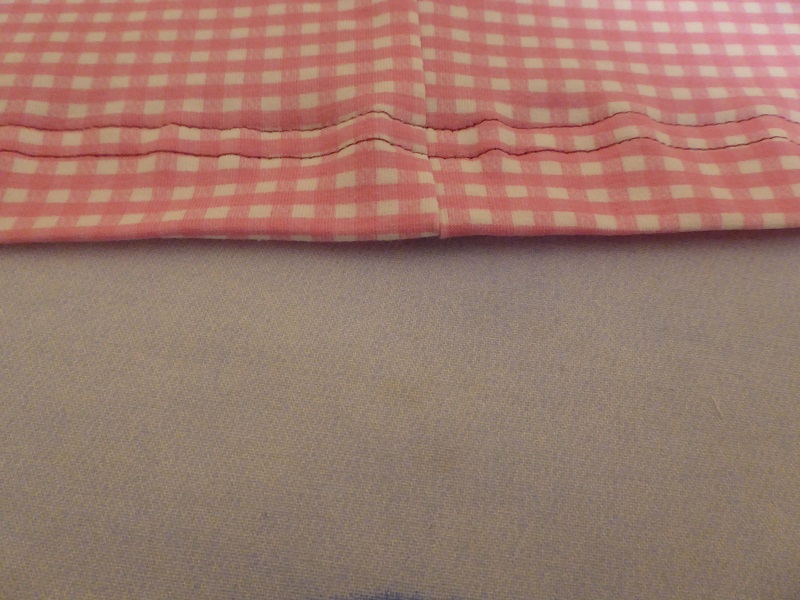
This is the way it looks after hemming, a bit wavy but that is perfectly fine.
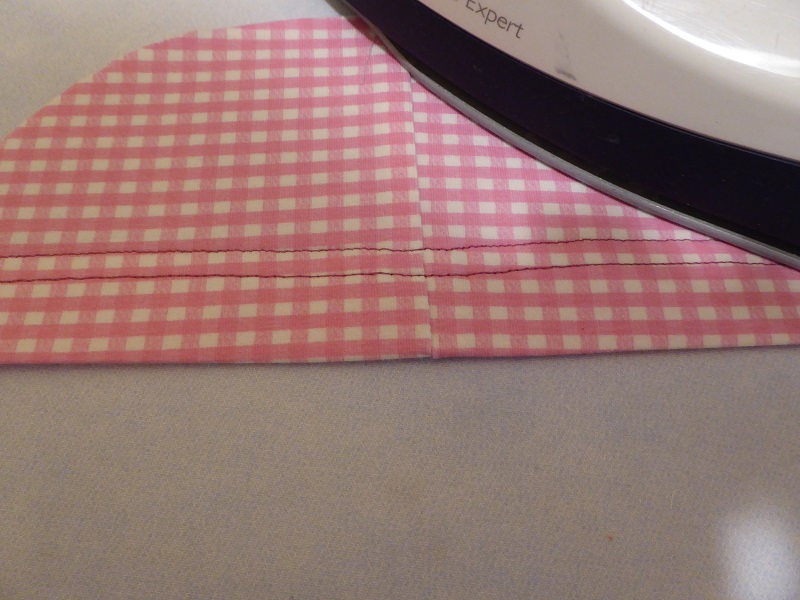
After pressing the hem will be perfect!
Just before reaching the hump I switch the settings and and once I get about 1 cm - 1/2“ past the seam, I return to the previous settings.
And all the stitches close together and neatly interlocking on the wrong side.
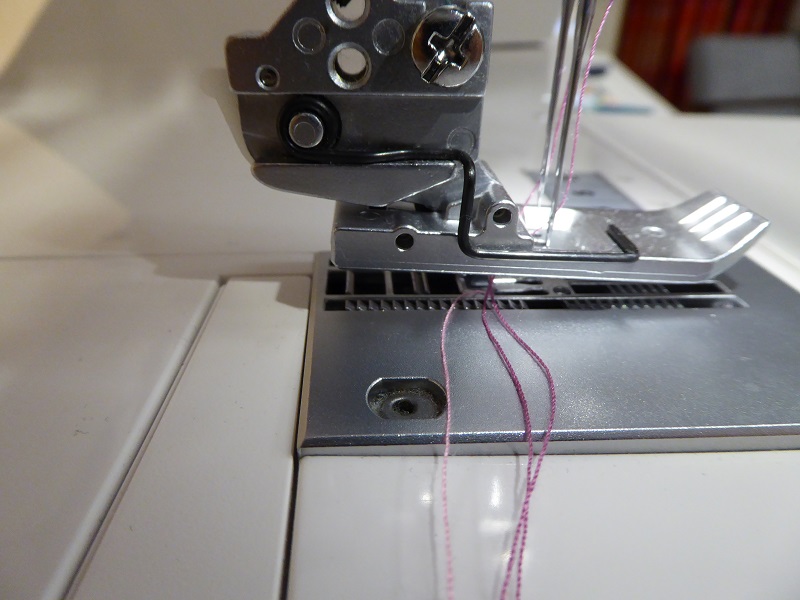
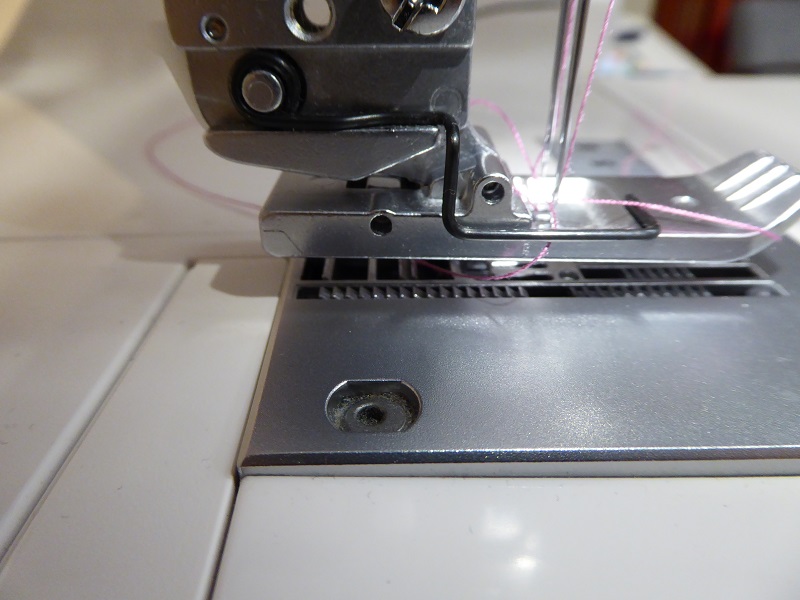
Accessory number one for the Janome Coverstitch
People often ask if any of the accessories are “must haves”. It may be fun to experiment with accessories but I seldom consider them as necessary. There is one foot however that I think every Janome Coverpro owner should consider, and that is the shorter foot. Please compare the feet in the pics below. You will notice that the first one is shorter (+/- 5mm) than the second one. The first one is the new shorter foot and the one below is the standard foot that comes with the machine. The standard foot is too long in my opinion and tends to increase the risk of fabric bunching up because it extends beyond the feed dogs. Maybe Janome should offer it as the standard foot??

