User Tools
Sidebar
Table of Contents
Attaching elastic
It is easy and great fun to make panties with a few scraps of fabric, some picot elastic and a machine with COVERSTITCH function. Obviously you'll also need a pattern for the panties, one that really fits whoever is going to wear them. In the images here I am using an Ottobre 2004 pattern for children. I also like the pattern by Jalie which offers a bikini version, culotte, hipster and matching camisole. My first pair of panties I made by patiently unpicking all the stitches of a favourite pair I purchased from a well known British department store.
Measuring the elastic
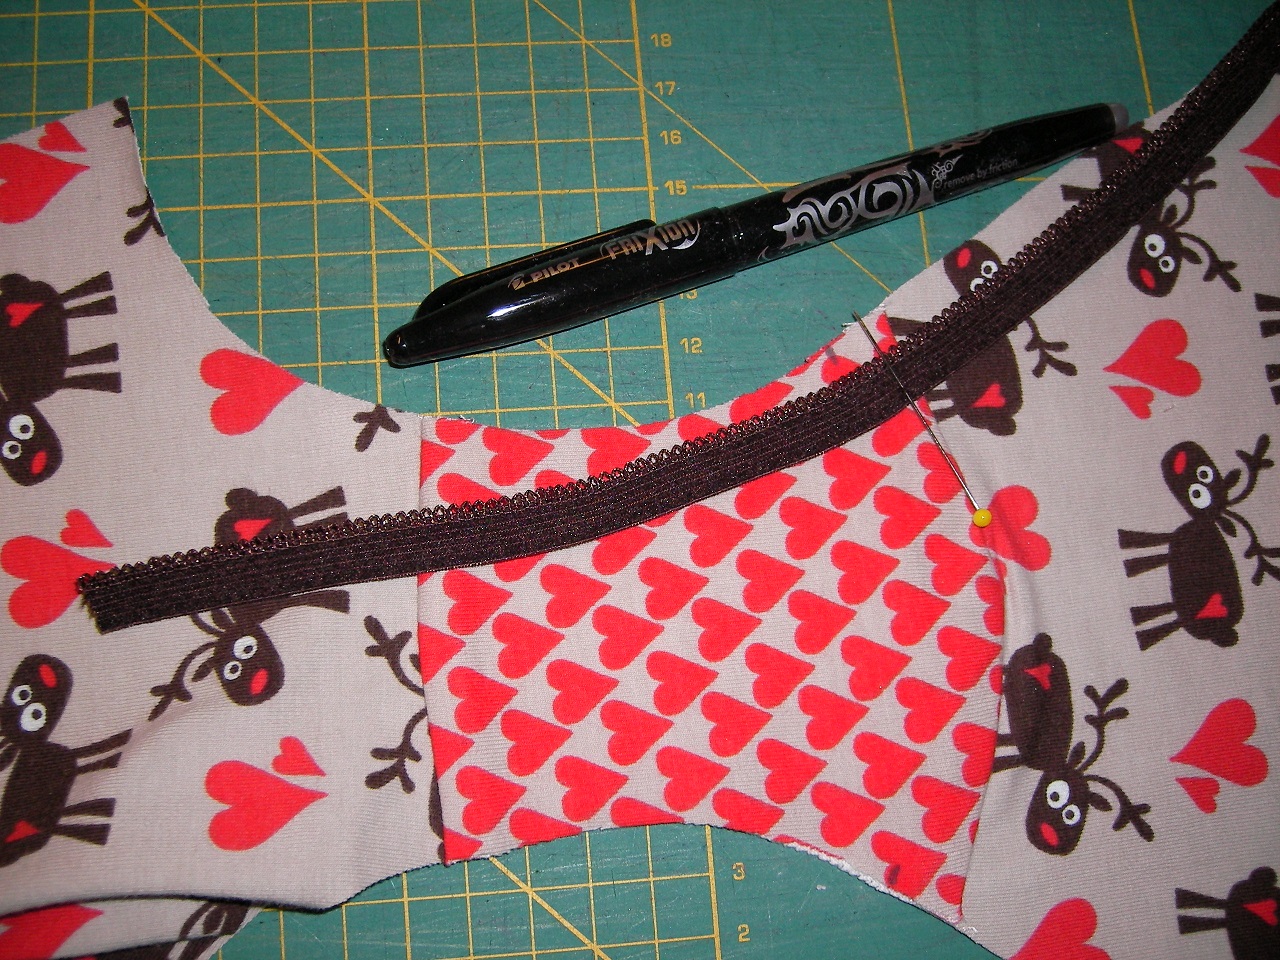
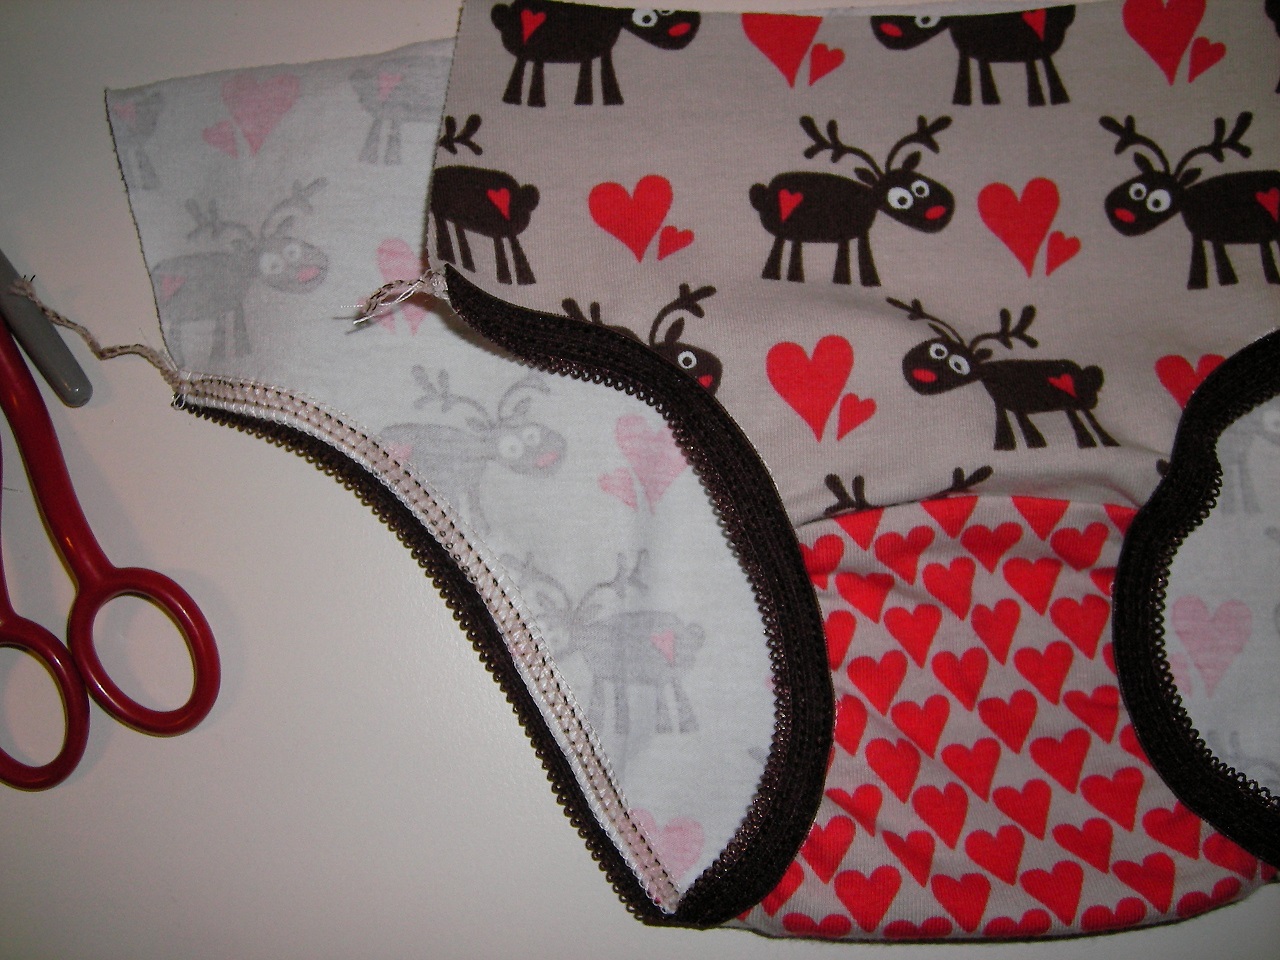
I mostly use picot elastic that measures between 9 and 12mm wide (3/8” to 7/16”). In the first image you see the panties with the back, front and crotch parts assembled. The easiest way to learn how much elastic to use, is to measure the leg hole, subtract 7 to 10%. This is the length of elastic needed with an elastic of average stretch. I find that pattern instructions often indicate smaller amounts of elastic and more gathering, but in my family the 7 to 10% rule seems to please everyone. I have been making panties for more than 10 years now and these days I don't measure any more, I just grab a roll of elastic and start sewing. That is one of the wonders of the human mind, repetition develops neural pathways so we can do things without having to think about it.
Preparing the edges
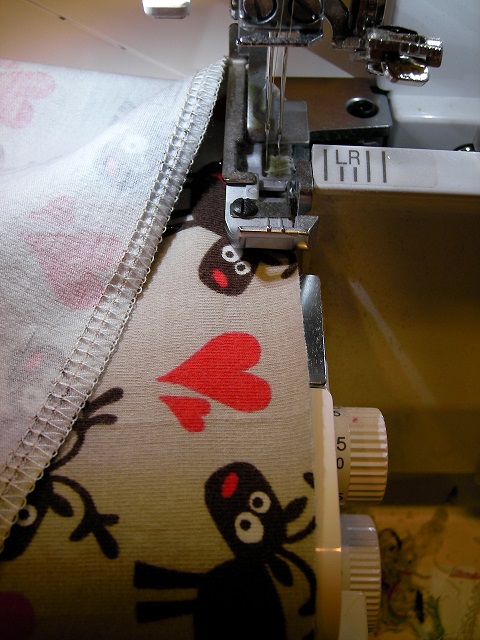
Next I prepare the leg hole by finishing it with an overlock stitch. A 3-thread narrow would be ideal but I often use a 4-thread overlock so I don' t have to change needles and I move the cutting blade as far to the left as possible to make the width of the overlock stitch as narrow as possible. On my Babylock Enlighten that is position 5,5. You may have to adjust the looper tension settings, depending on the brand of serger you are using.
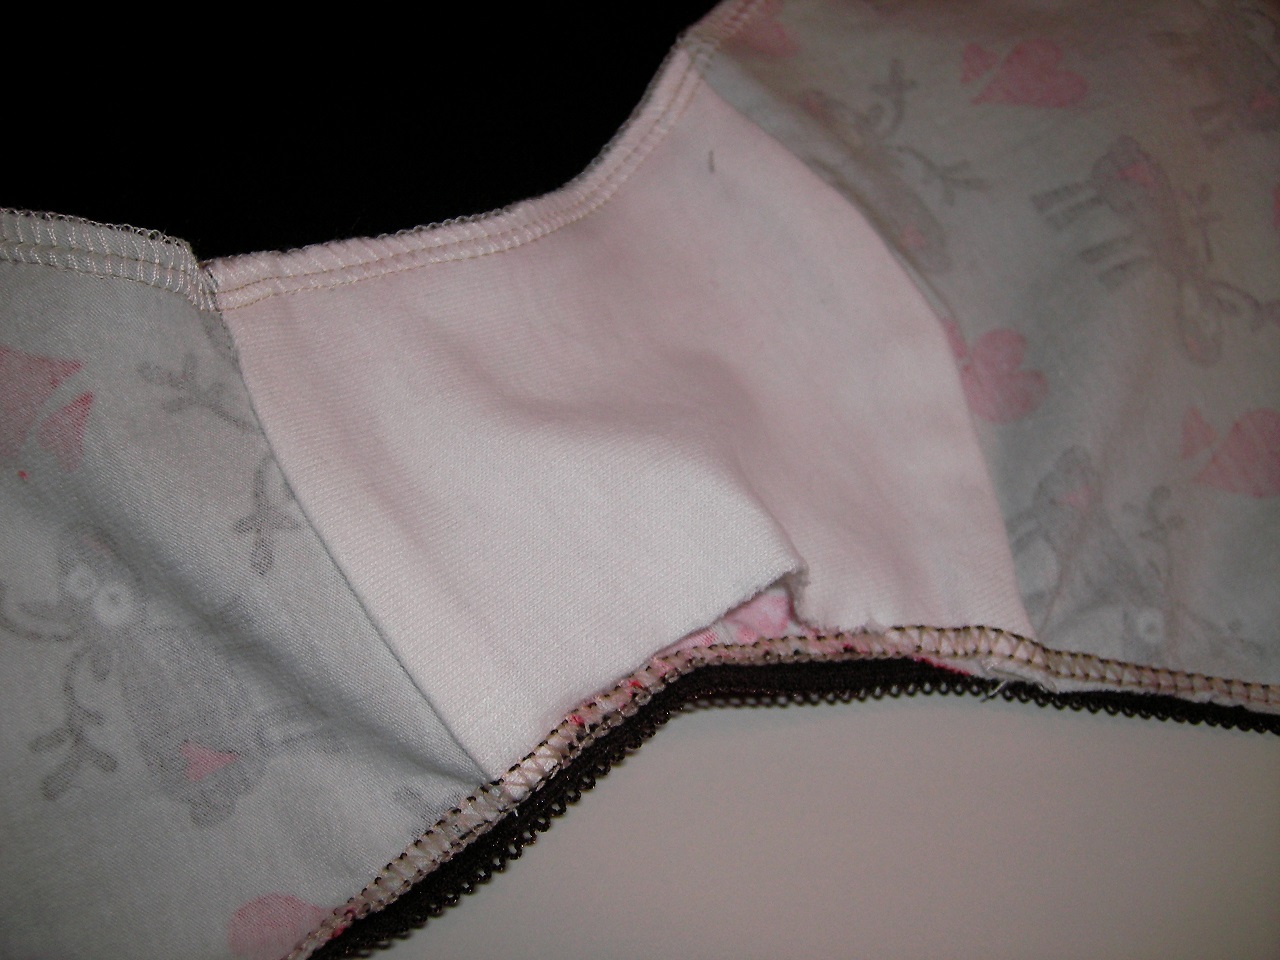
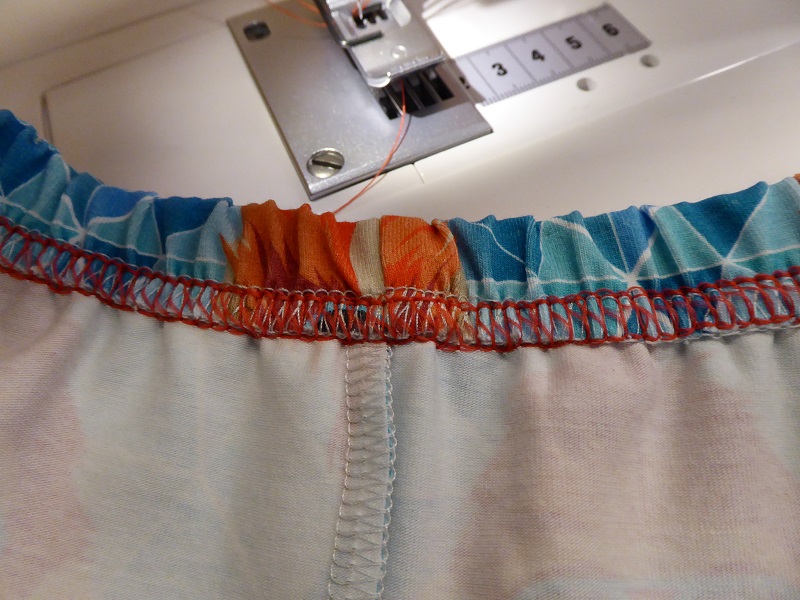
One reason for overlocking the edges first is THIS: the inner crotch part risks not being caught by the coverstitches as shown in the picture!
Another reason to have this finished edge, is that the serger threads provide a good basis for the feed dogs to take hold on the fabric, while I am stretching the fabric to match the length of the elastic.
Placing the elastic
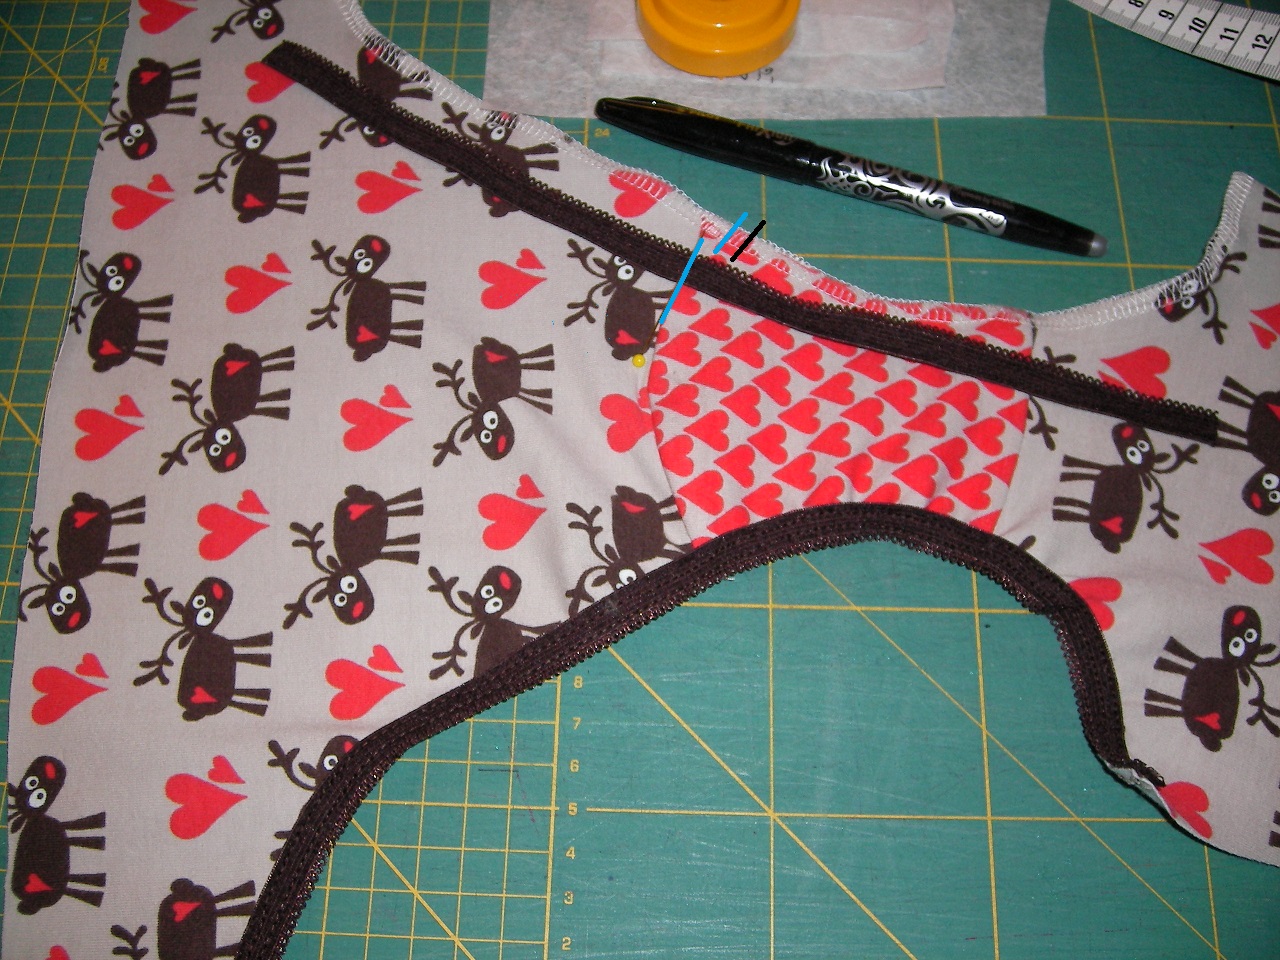
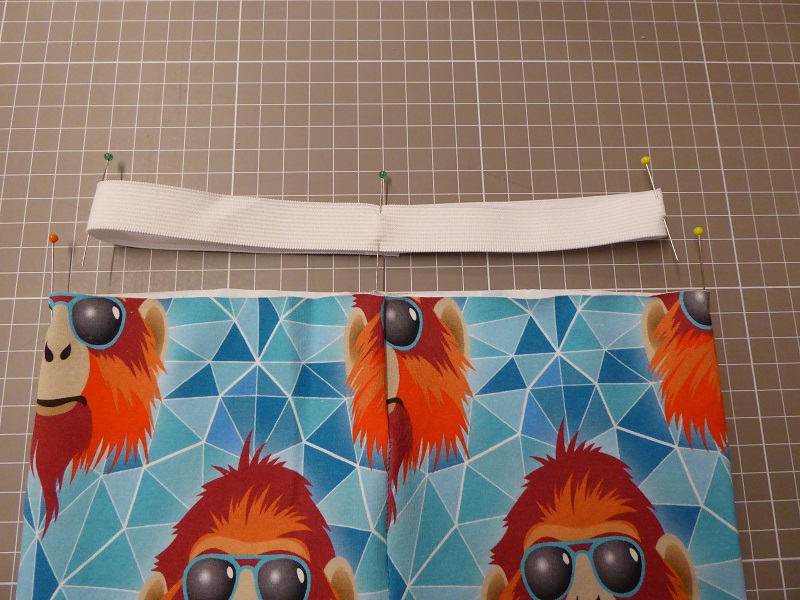
Pin the centre of the elastic (blue line) 5mm (3/16”) towards the back from the centre of the leg hole (black line). The reason I am suggesting this is that panties seem to fit best with a little less gathering at the back and a little more gathering along the front part. The 5mm – 3/16” is valid for the size 2 I am making here but has to be adjusted accordingly for an adult size (+/- 10mm – 6/16”).
Coverstitching the elastic
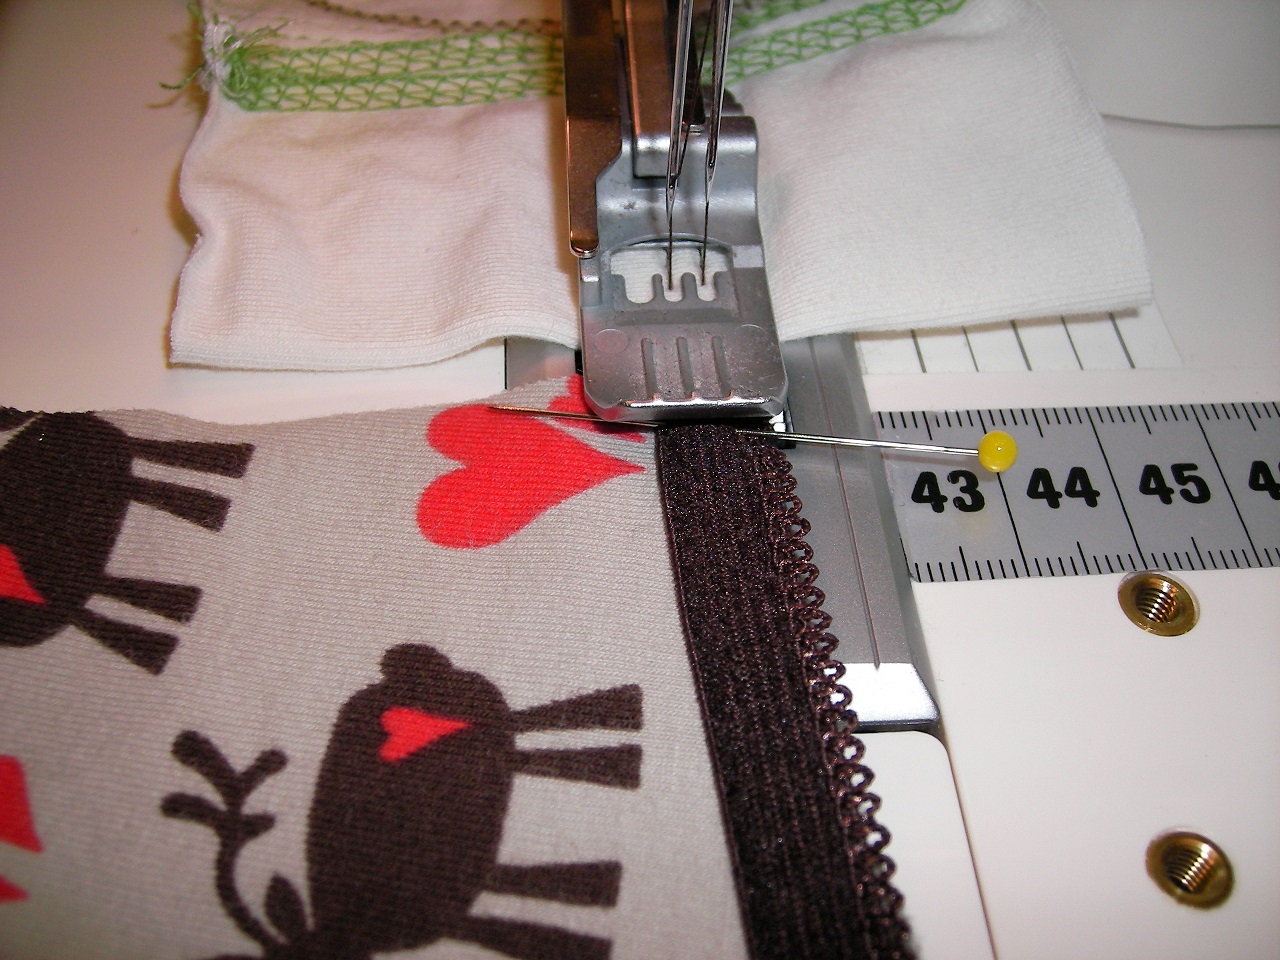
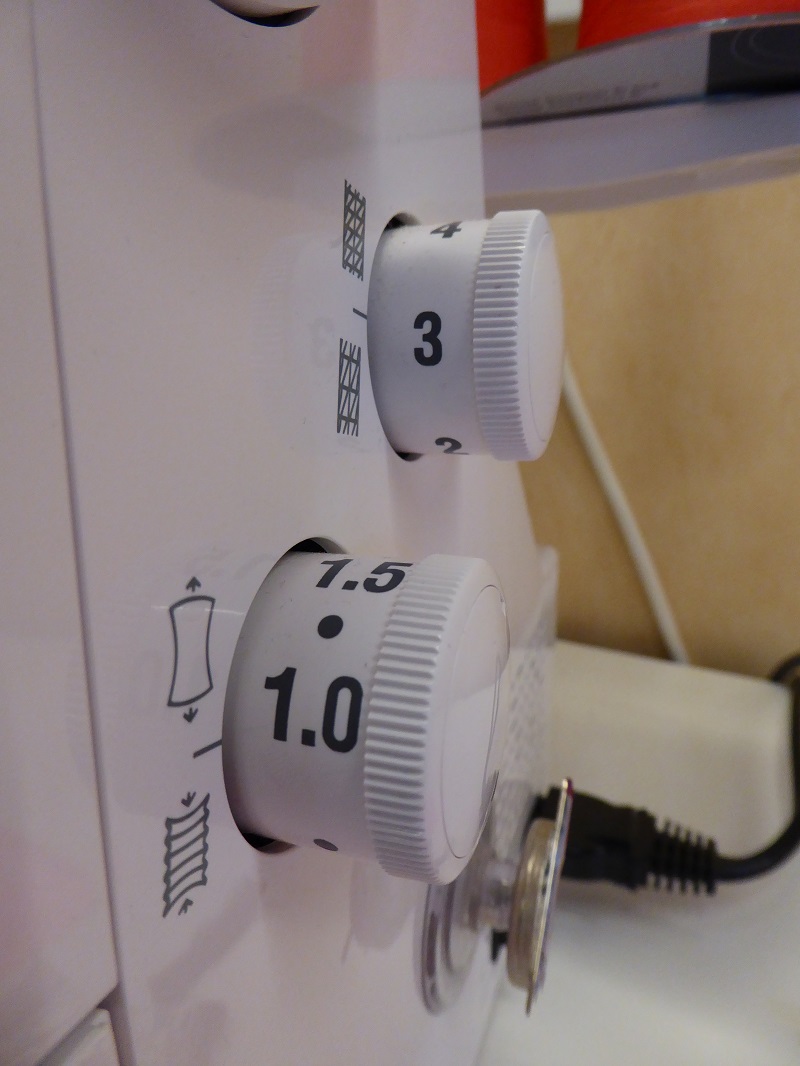
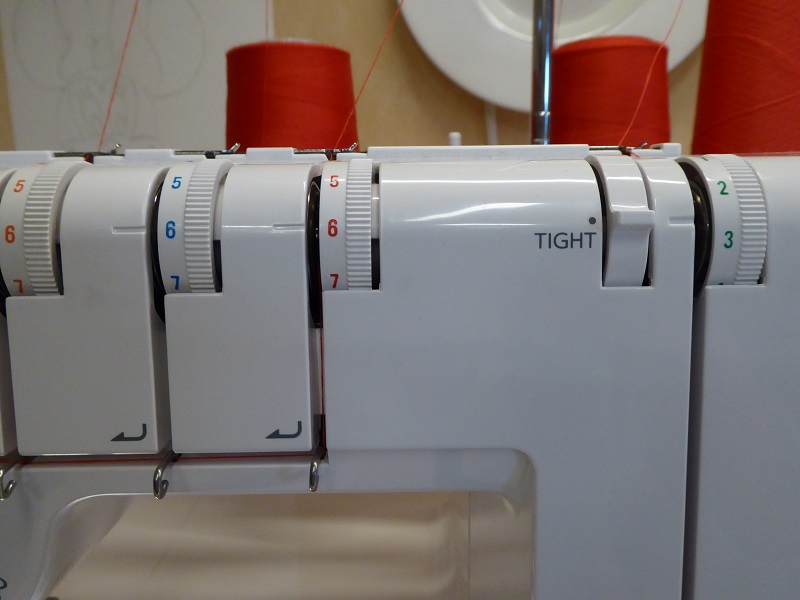
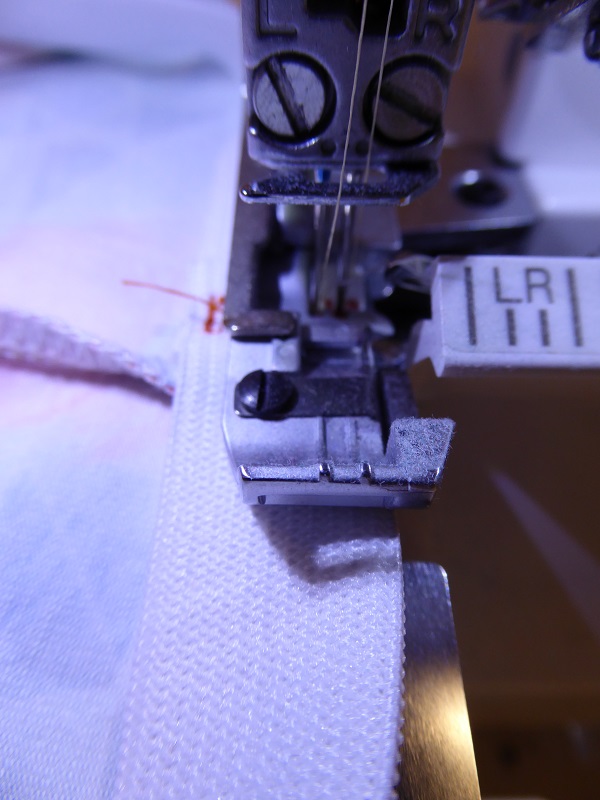
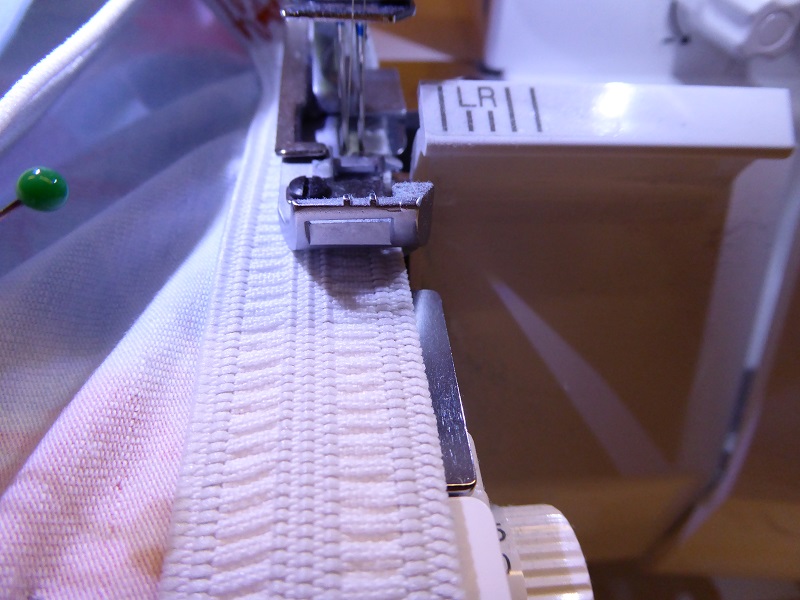
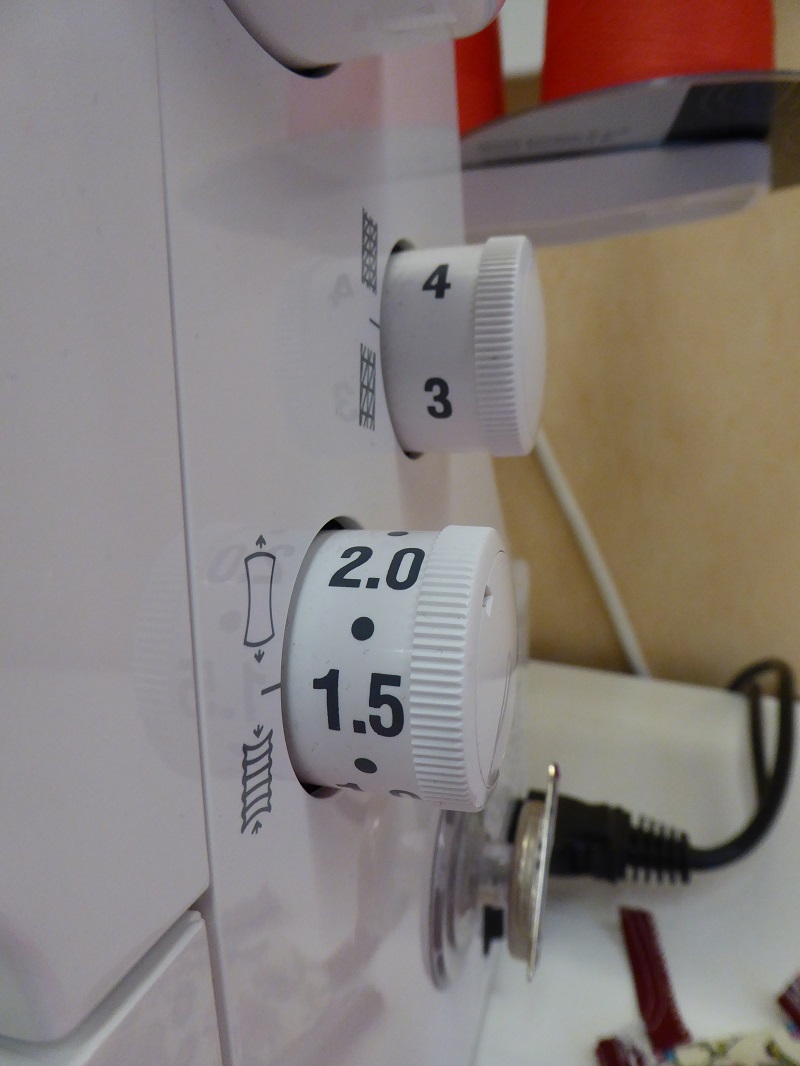
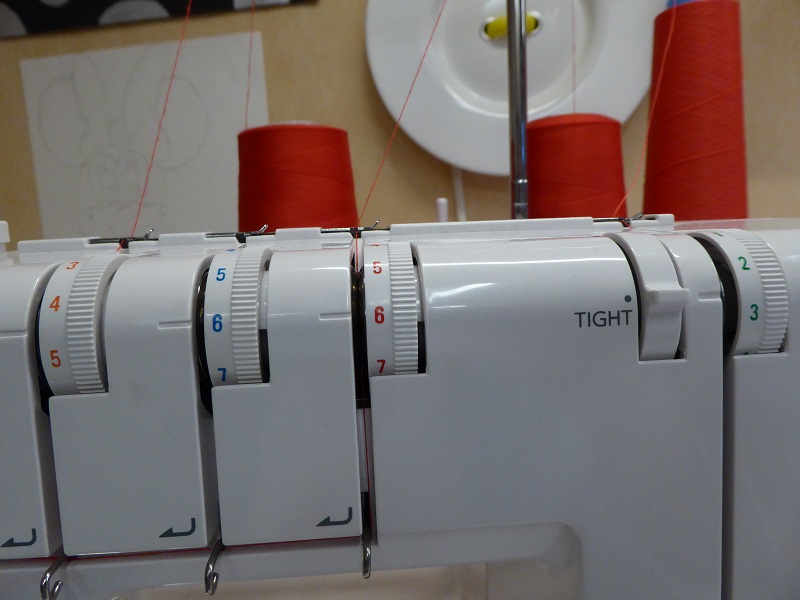
To start sewing I use a scrap of fabric or I leave a few extra cm/ 1 inch of elastic at the beginning for the coverstitch to start forming. Once the first stitches have formed, I stretch the elastic to match the length of the leg hole. My machine settings are; stitch length between 2.5 and 2.75, needle thread tension 4.5 with polyester sewing thread, looper tension 1.5 with woolly nylon and the differential set to 1.5. I am using the middle and the right needle in a narrow coverstitch. When using the right needle I am getting a maximum amount of fabric underneath the foot and this way there is less risk of the fabric slipping away.
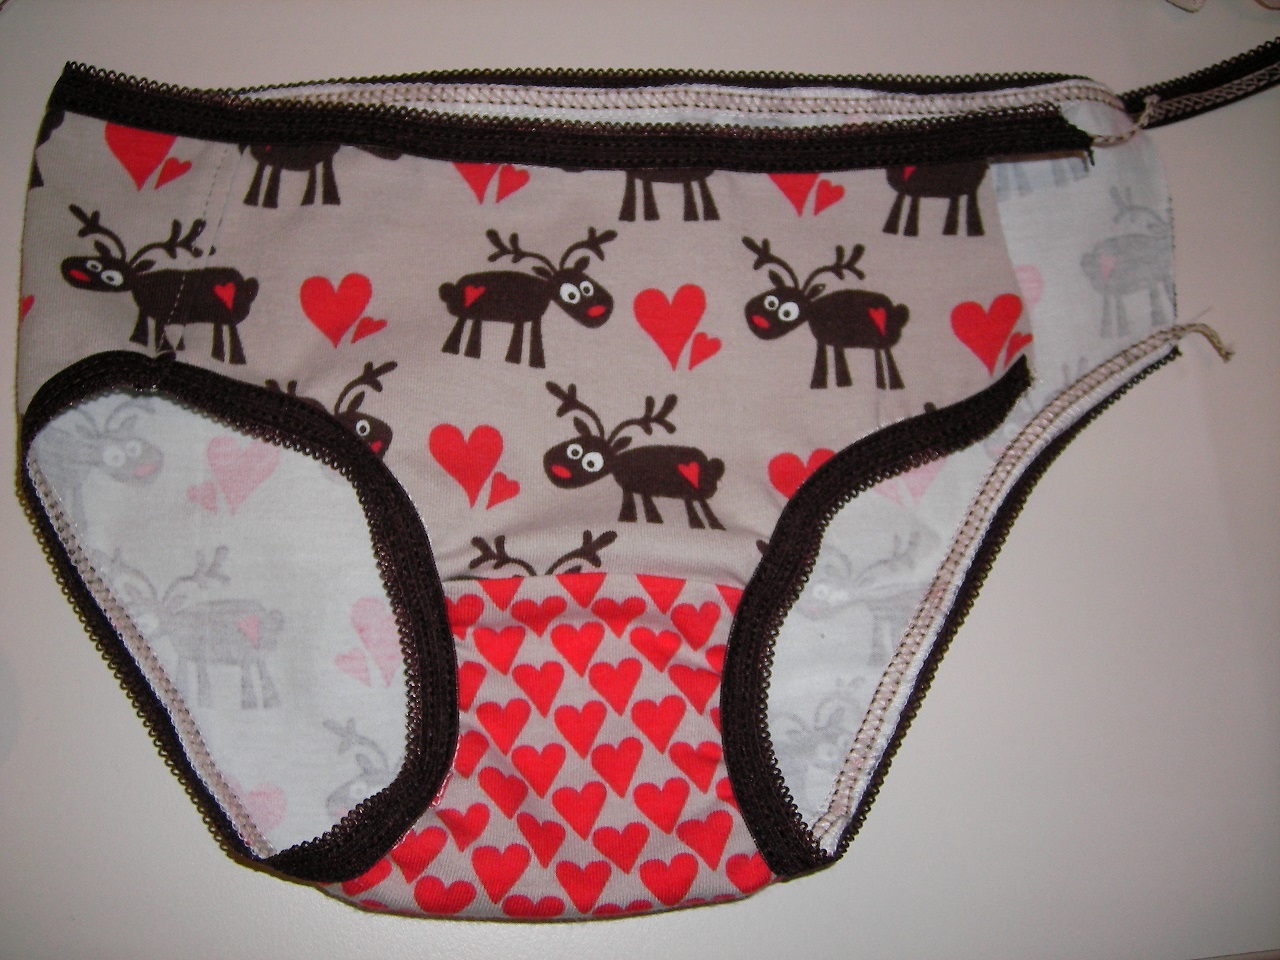
Here you see the result of the gathering, the back is just gathered slightly with almost no cupping and the front part shows some turning at the edges.
For the waistline, measure the total length, subtract 7 to 10%, mark the centre on both the elastic and waistline, match, pin and coverstitch.
Coverstitch wide or narrow
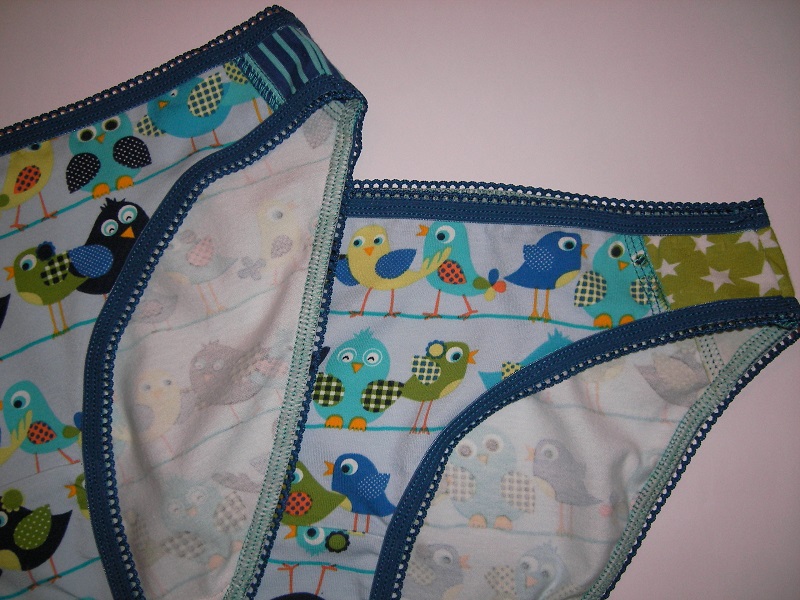
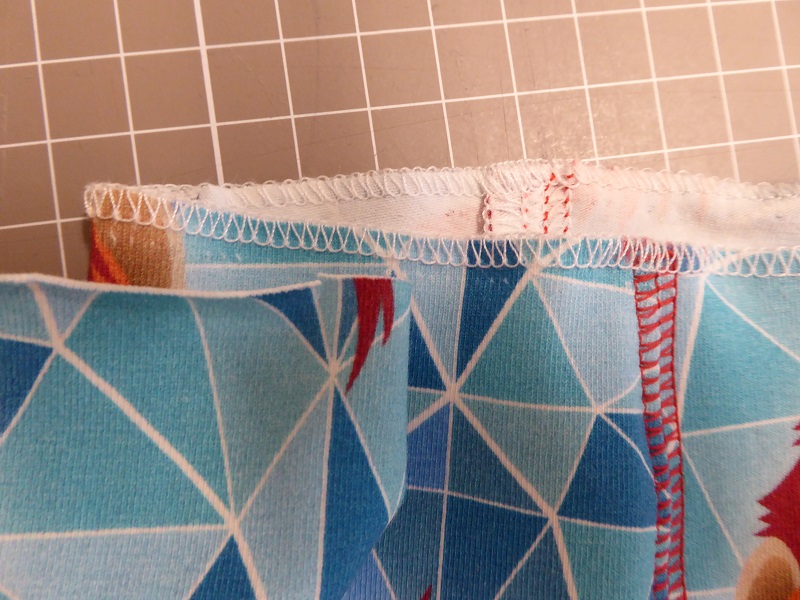
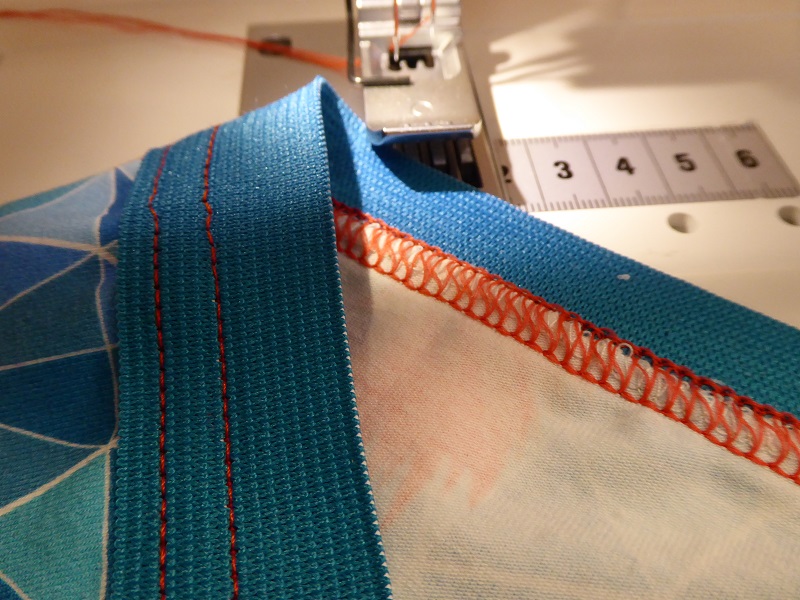
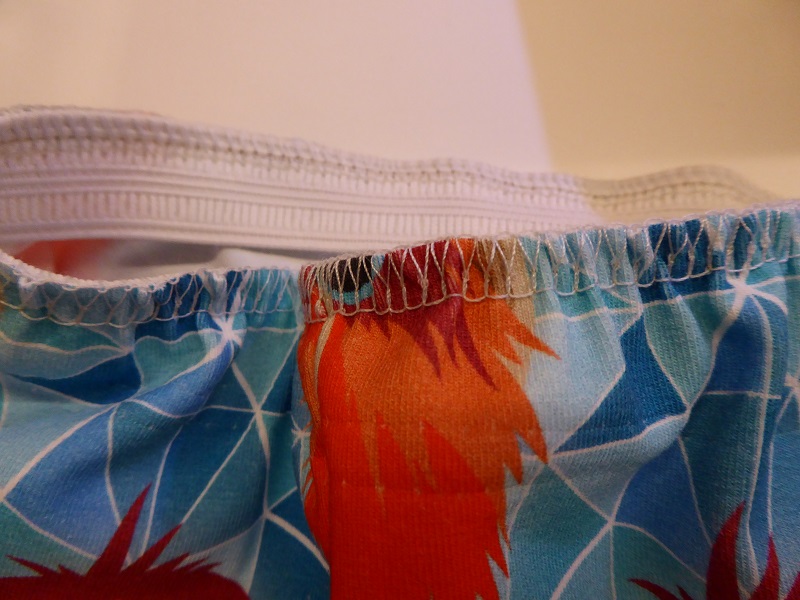
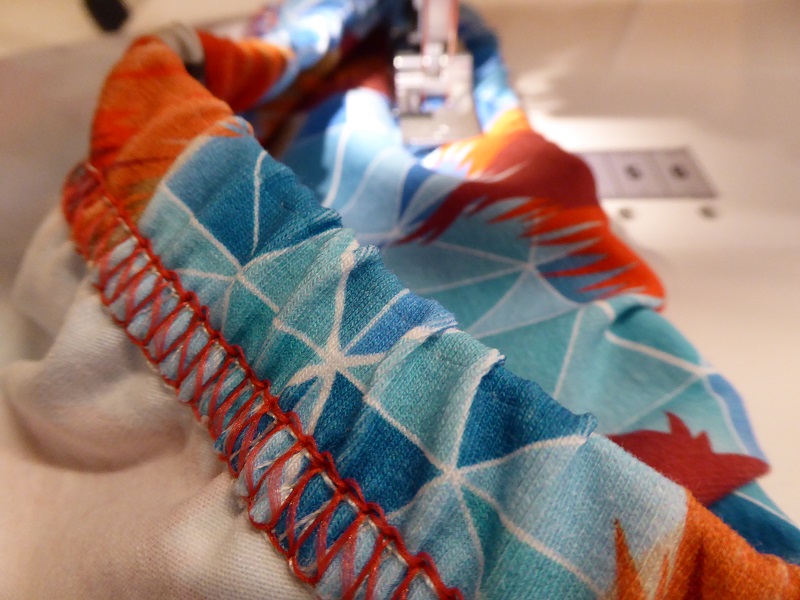
Depending on the width of the elastic I sometimes use a 3 needle coverstitch wide. You can see how the 3 needle coverstitch gives a very neat coverage on the wrong side of the blue panties. As the elastic is only 9 to 12mm wide and the coverstitch is 3 or 6mm wide, it may take some practice stitching straight and even after 10 years, I have to undo the coverstitches from time to time and start over. I just lift the presser foot, turn the wheel backwards (clockwise) while lightly pulling the fabric towards the back and sidewards till the stitch becomes undone. I snip and pull at both needle threads and looper thread and within seconds I am ready to start over.
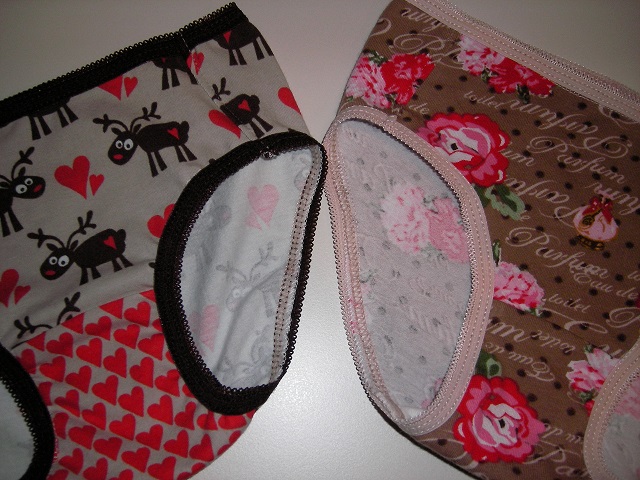
Here are two panties showing how the gathering turns out when using elastic that is 10% shorter (left) and 7% shorter (right). !!! the panties are also different in size; a size 2 on the left and a size 4 on the right!!!
— Hilde Beerens 2015/03/14 14:05
Creating a guide for attaching elastic to panties and boxers
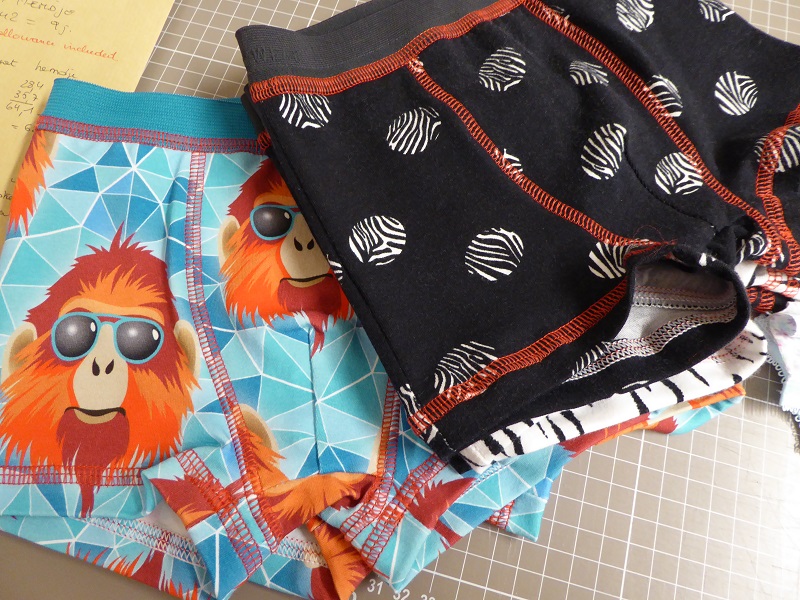
This is a tip that resulted from sheer laziness. I wanted to overlock the edges of boxers and panties with a 3 thread narrow overlocking stitch to prevent curling while attaching the elastic. I removed the thread from the left needle but I left the needle. I switched my Babylock Enlighten to 3 thread narrow and the result was a neatly covered edge plus a row of perforations from the left needle. As you can see in the pic below, the perforations are barely visible but they are really just right as a guide for aligning the elastic while coverstitching.
The elastic on these boxer shorts was applied with an industrial top and bottom coverstitch machine.
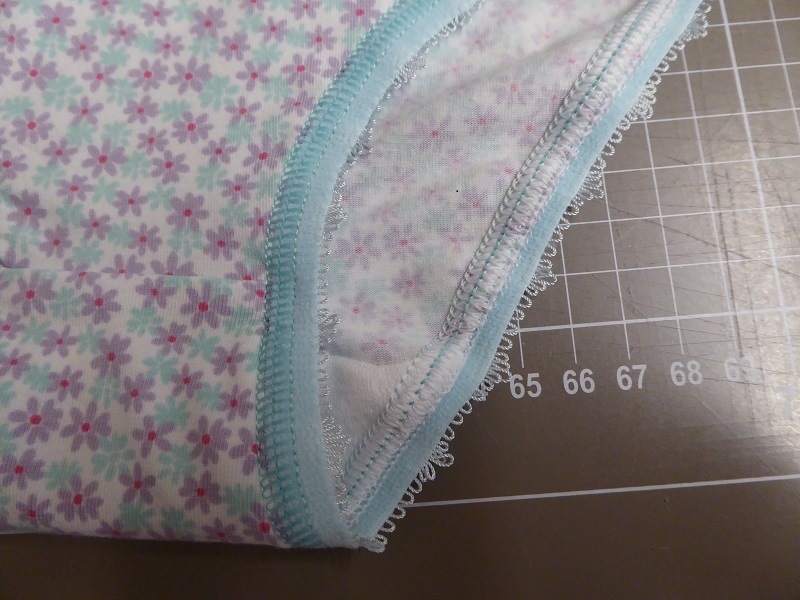
In the image below you can see what it looks like on the wrong side when the overlocked edge is completely wrapped by the coverstitch looper thread, in this case a soft polyester stretch thread. I just aligned the elastic with the perforations. Laziness is the father of invention.
And here is an example of the SETTINGS used to apply the same elastic with a Janome 2000 CPX with the 2 needle wide coverstitch, polyester serger thread in the needles and polyester stretch thread in the looper:
Stitch length 3 ++
Differential 1
Needle 1 tension 6
Needle 3 tension 6
Looper tension 2.75 TIGHT
And this is what the Janome result looks like!!
How to attach elastic to a waistband
When I am sewing for my family, I usually prefer to make a buttonhole along the waistline, then create a tunnel and insert the elastic later. That way I can cut a little extra and adjust the elastic as desired. To prevent curling inside the tunnel, I usually stitch a few stitches in the ditch at the center front seam.
However, when the waist measurements are known accurately, attaching the elastic with the overlocker makes a perfect non roll finish. I start by sewing the elastic into a ring, using a zigzag or triple zigzag on my sewing machine. Then I quarter mark both the elastic and the edge of the pants and I pin, matching the quarter marks.
I have taken the serger threads apart so that I can position the edge of the fabric and the elastic against the locked blade and then I lower the needles by hand before starting to sew.
Here I am stretching the elastic to match the the fabric. My settings on the Babylock Enlighten are: stitch length 3.5 and differential 1.5. The cutting blade is locked down. These settings may need to be adjusted on other sergers. My previous serger always wanted a higher differential to get the same results. I suggest that you test this on a couple of scraps.
This is what it looks like when the elastic is attached.
SETTINGS for the Janome 2000 CPX with polyester serger thread in the needles and polyester stretch thread in the looper:
Stitch length 3.5
Differential 1.75
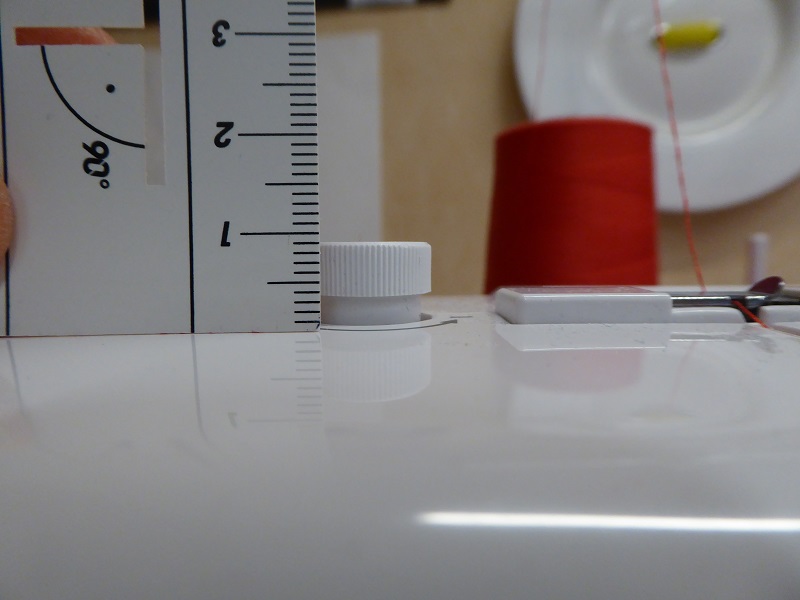
Here I have adjusted the pressure on the foot by turning the knob clockwise to lower it to 9mm. I prefer more pressure on the foot when attaching elastic because this will prevent the fabric slipping when I am stretching the elastic.
Left needle 4.5
Right needle 6
Looper 2.75 TIGHT
I have positioned the waistband in such a way that the left needle will penetrate just to the left of the elastic. Please notice how all the threads are interlocking nicely and the tension for the left needle is balanced. If it were too high, a ridge would form along the edge of the elastic.
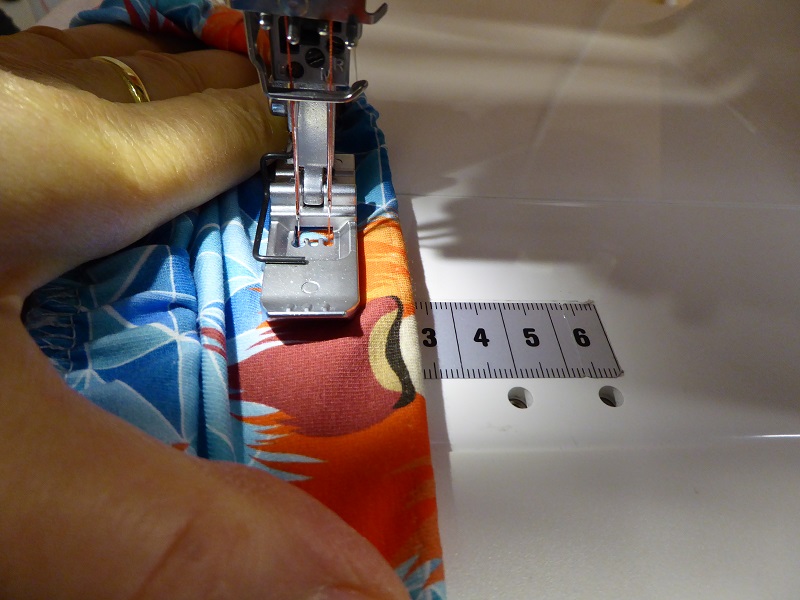
I need to stretch the waistband with both hands while top stitching.
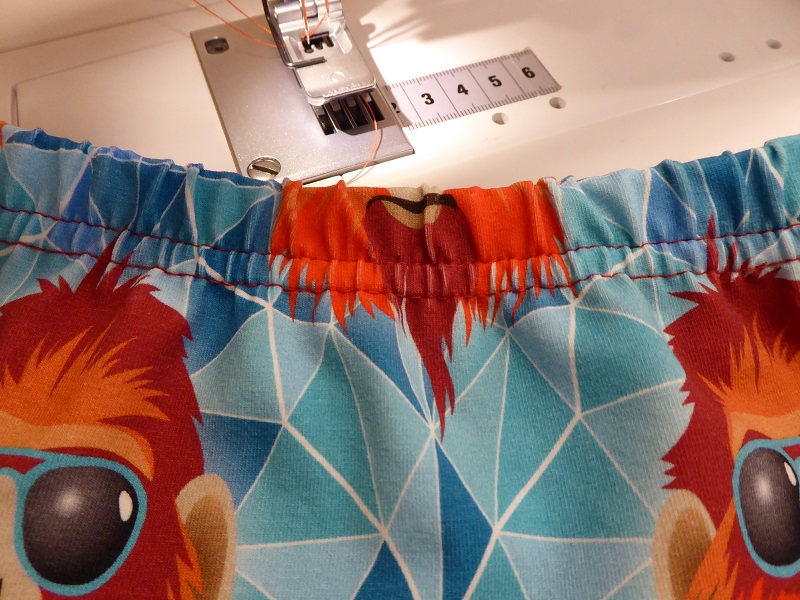
The finished waistband:

