User Tools
Sidebar
Table of Contents
Overlay patchwork
Method 1, overlocking one edge first
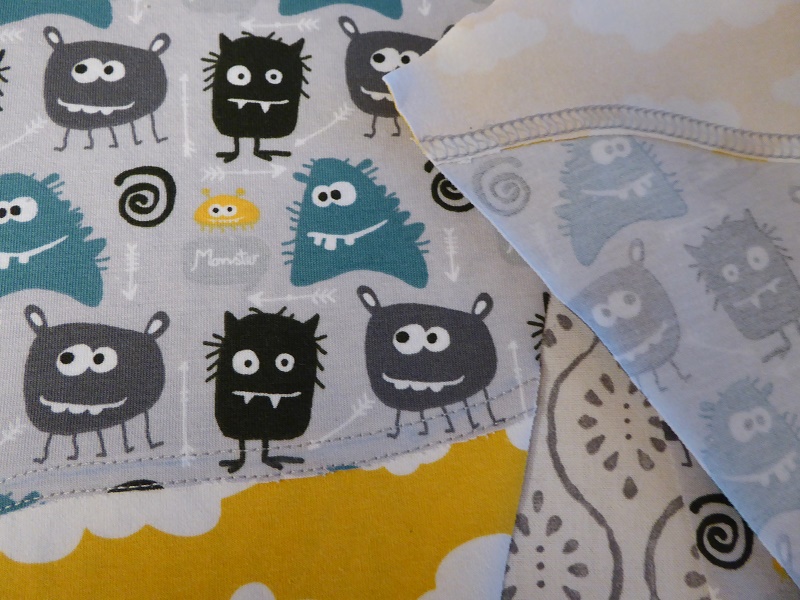
Overlay patchwork simply means that one fabric patch is finished with a decorative overlock stitch and then partially superimposed onto another fabric patch, and a coverstitch narrow or wide is used to assemble the patches. The decorative overlock stitch can be neutral or contrasting in colour, to help patches to blend in or set them apart. This flat overlay method allows for decorative finishes such as embroidery or appliqués flowing over the seams.
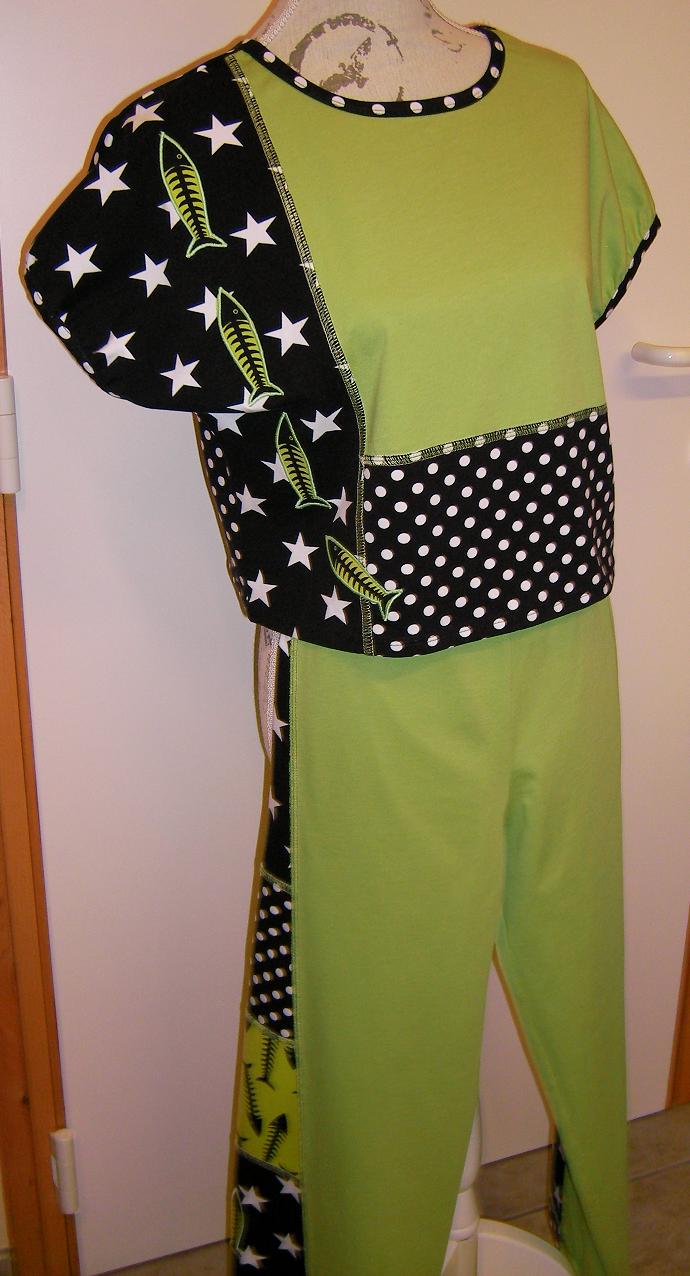
I have a few (more than a few to be honest) shelves full of scraps as well as some head over heels small remnants I bought, but never quite knew what to turn them into. The combination of a decorative overlocked finish and coverstitch assembly can turn any combination of odd-shaped remnants and colour into a very unique piece of patched fabric, large enough to fit a pattern part.
I like this Overlay-Patching best for cotton lycra knit panties, pyjamas and T-shirts. I haven't tried boxer shorts yet, but those are next on my to-do-list. Here are the basic steps for obtaining a symmetric effect: I start working from the centre of a pattern part towards the sides.
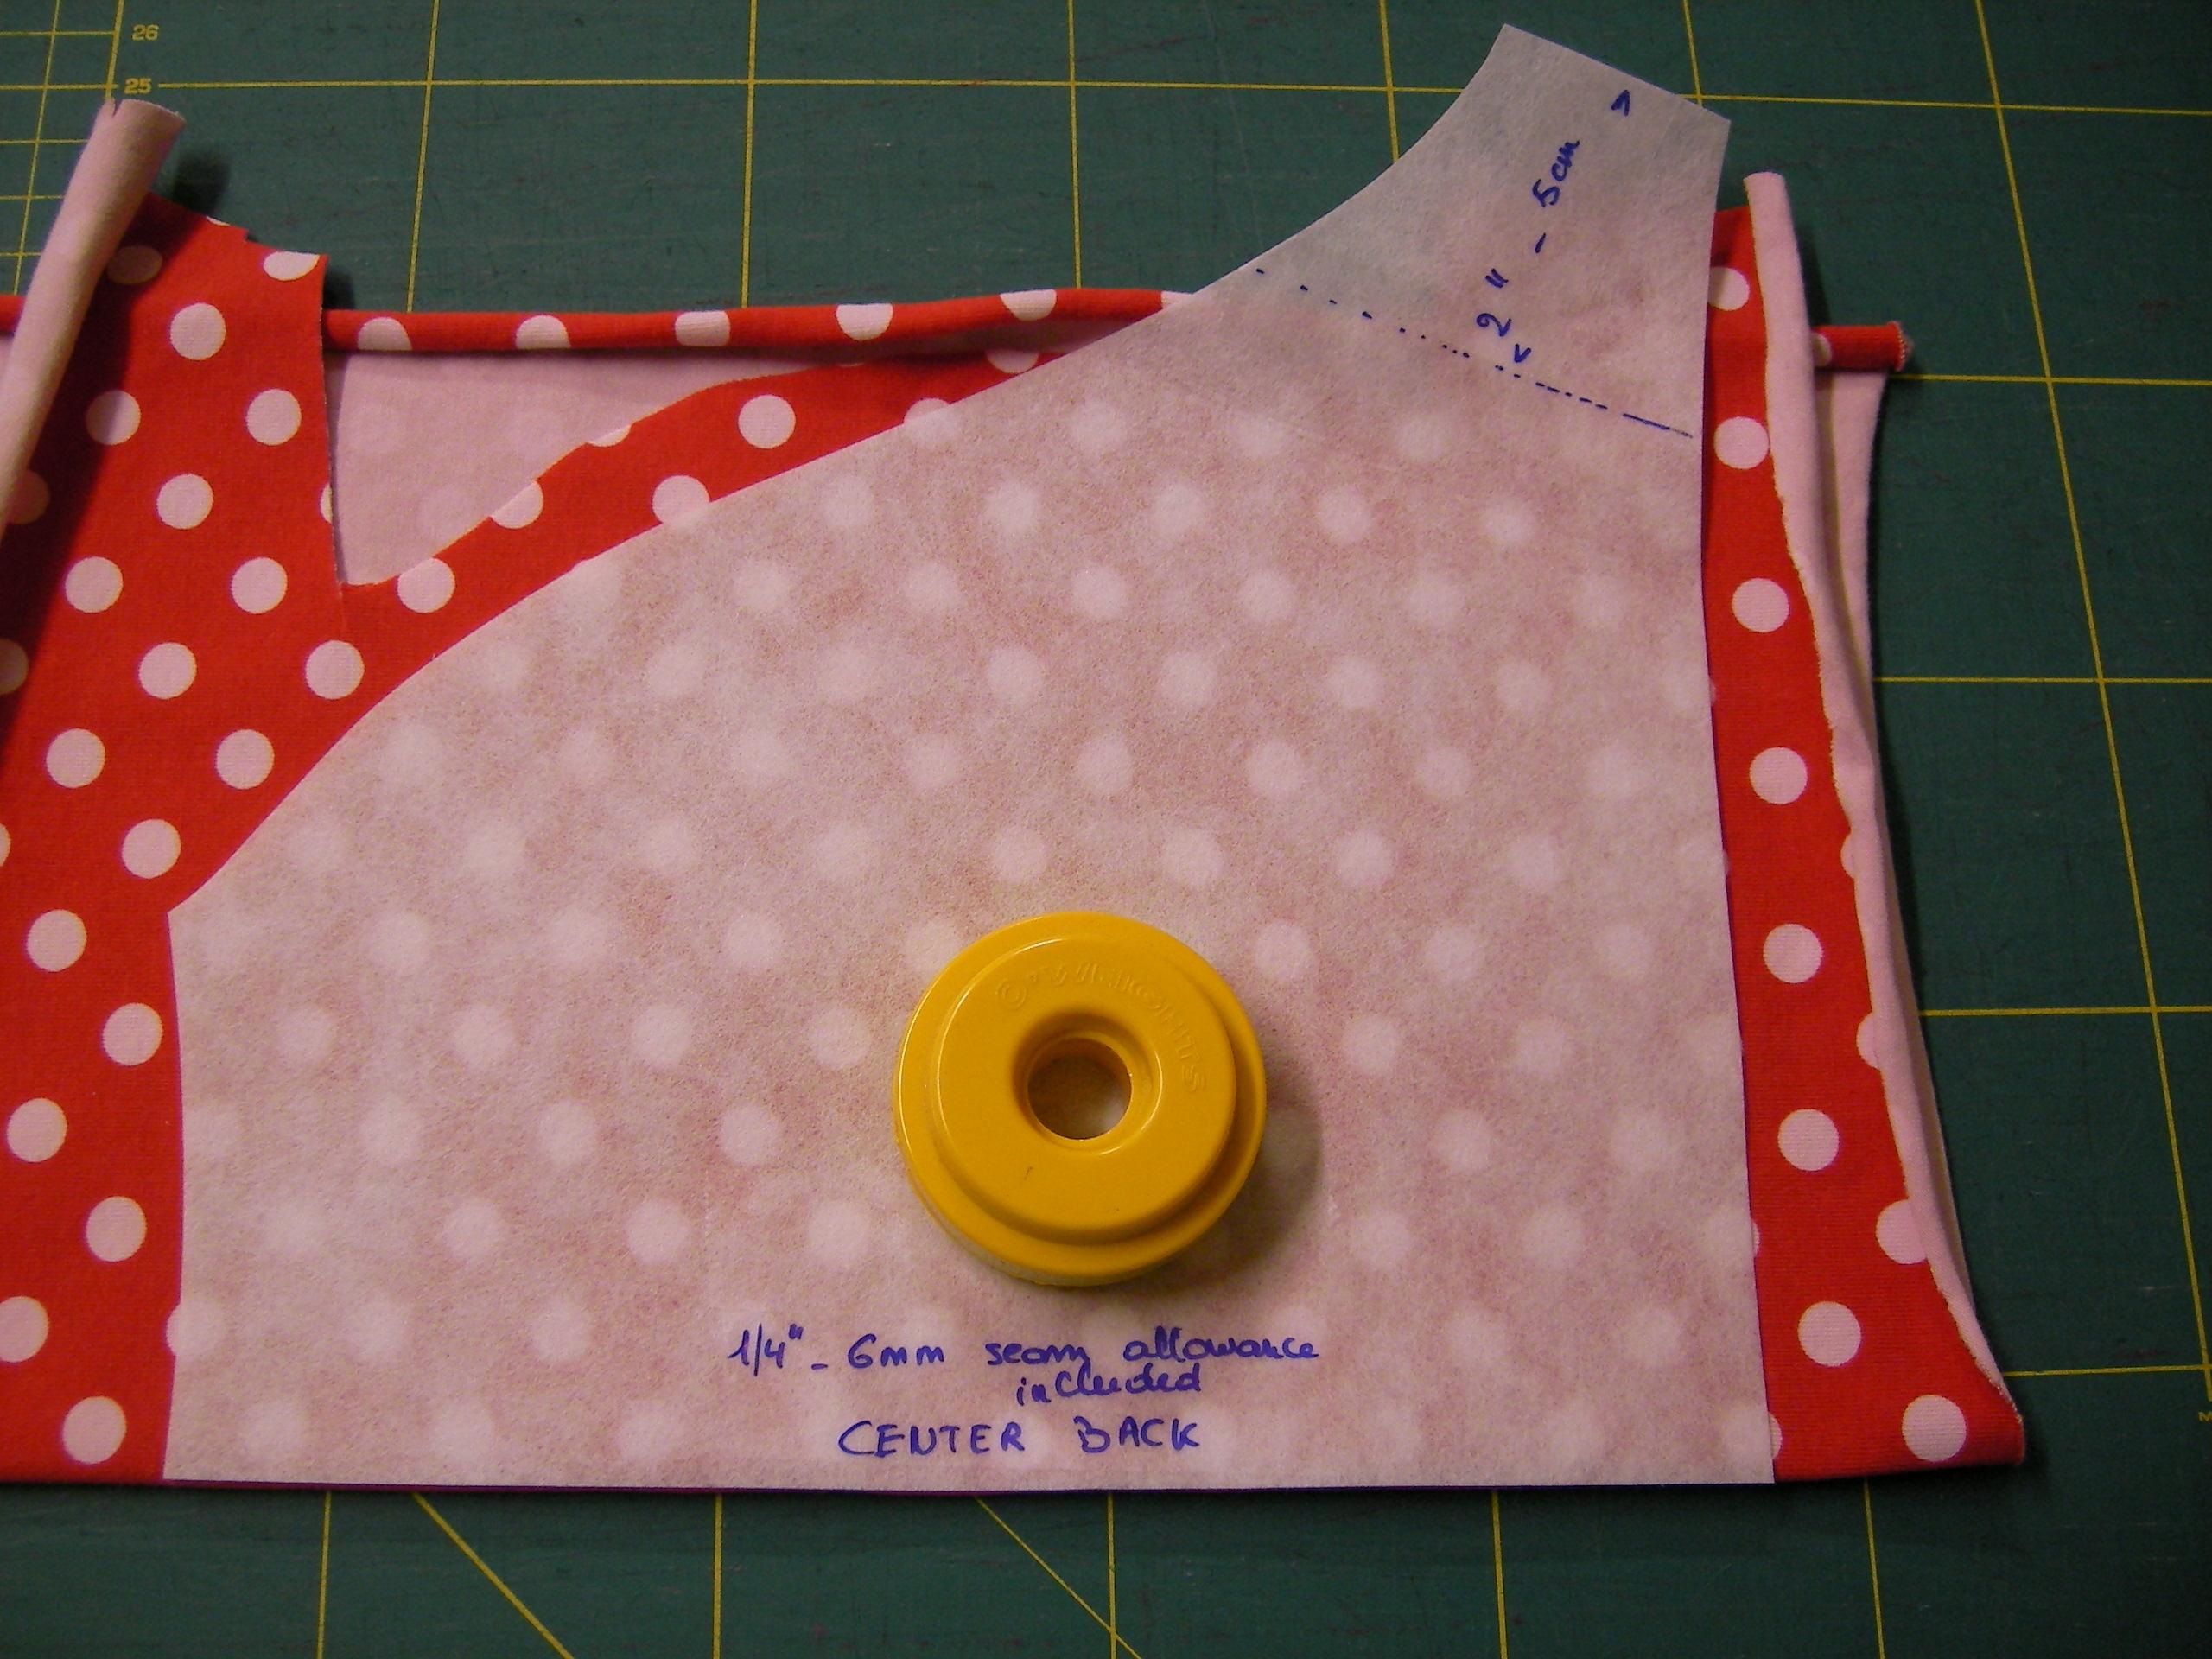
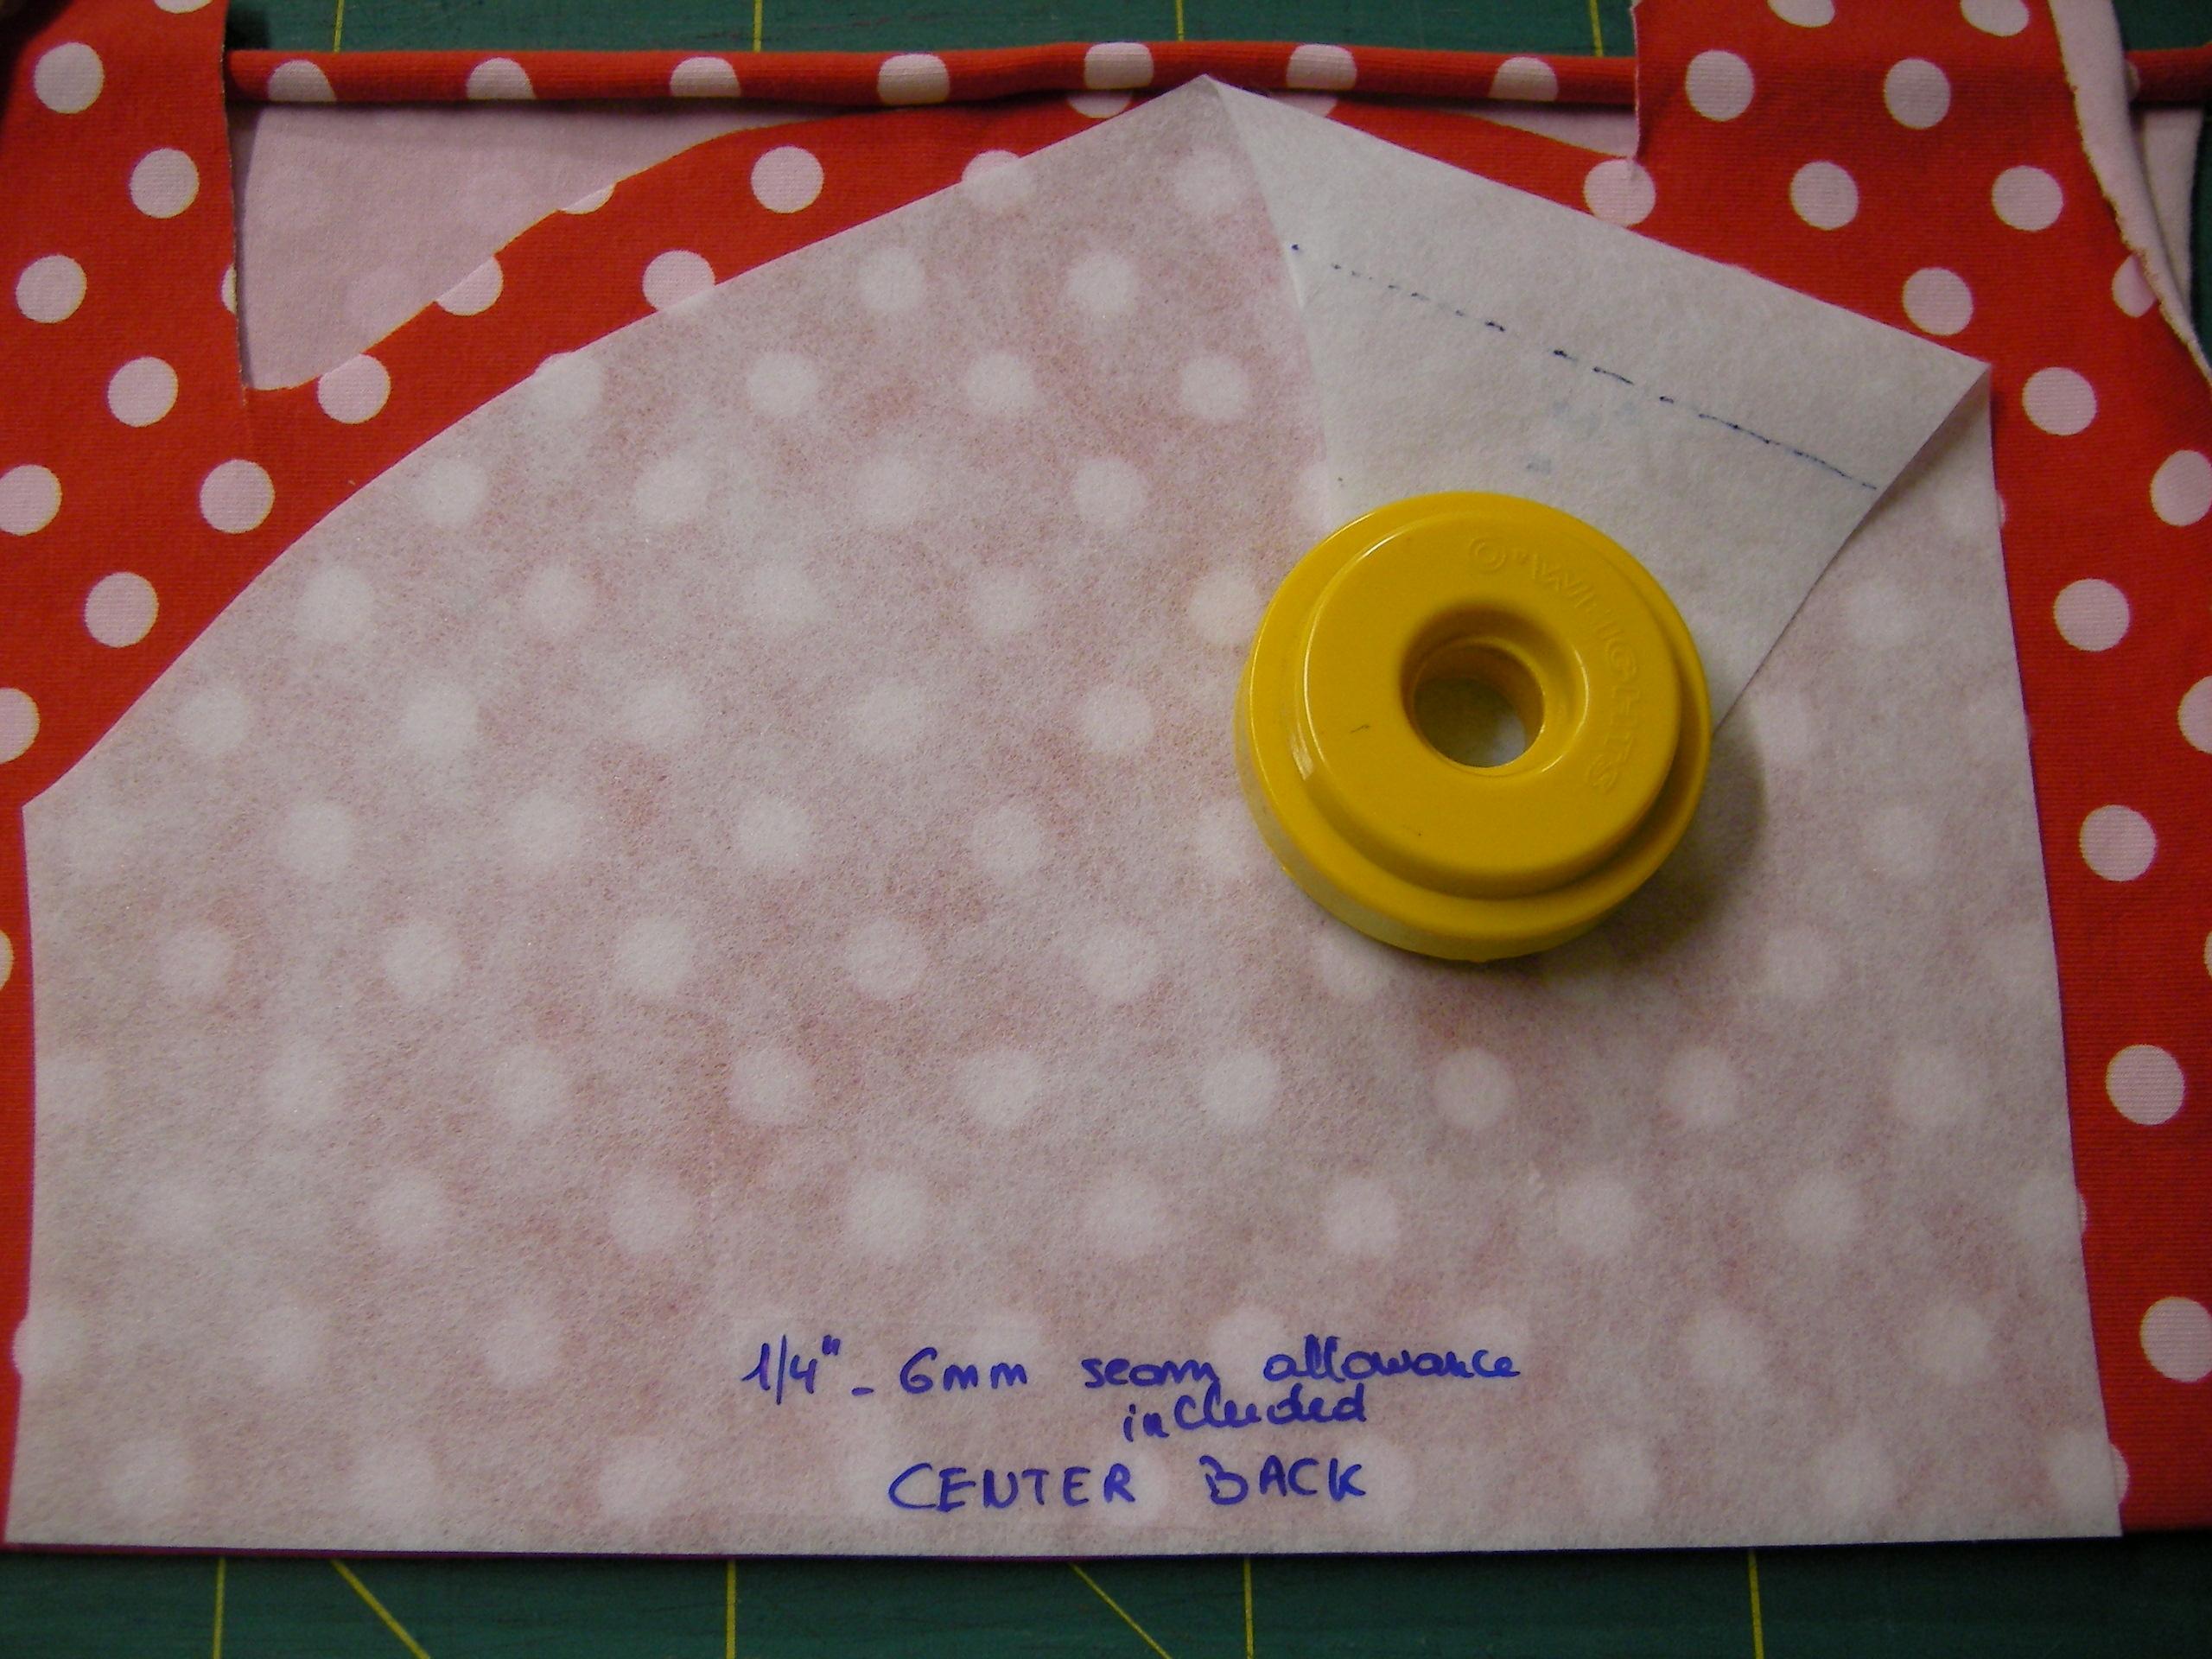
I fold a piece of fabric in half along the grain of the fabric. I place the centre back or front part of the panties on the folded edge and I pin or keep it in place with a fabric weight.
I fold the pattern back parallel to the side seam to match the size of the fabric scrap. Then I cut alongside the fold. I trim and overlock both edges of the centre piece of fabric. I usually prefer a 4 thread overlock stitch set at 7,5 mm on my Babylock serger. The 3 thread overlock stitch is also an option but in my experience the looper threads tend to get hooked during the manipulation that follows, so having that second needle thread there keeps the looper threads nicely in place.
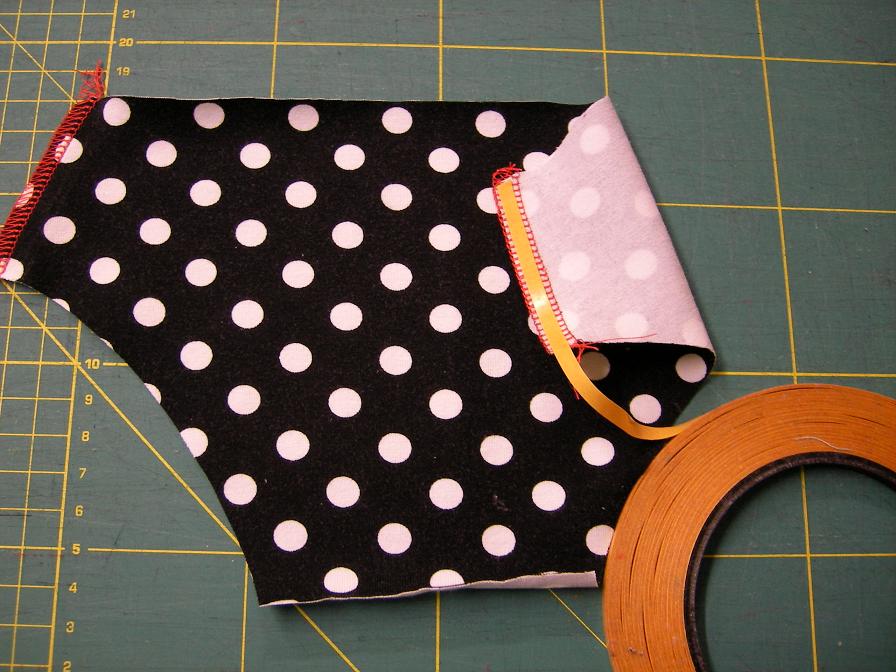
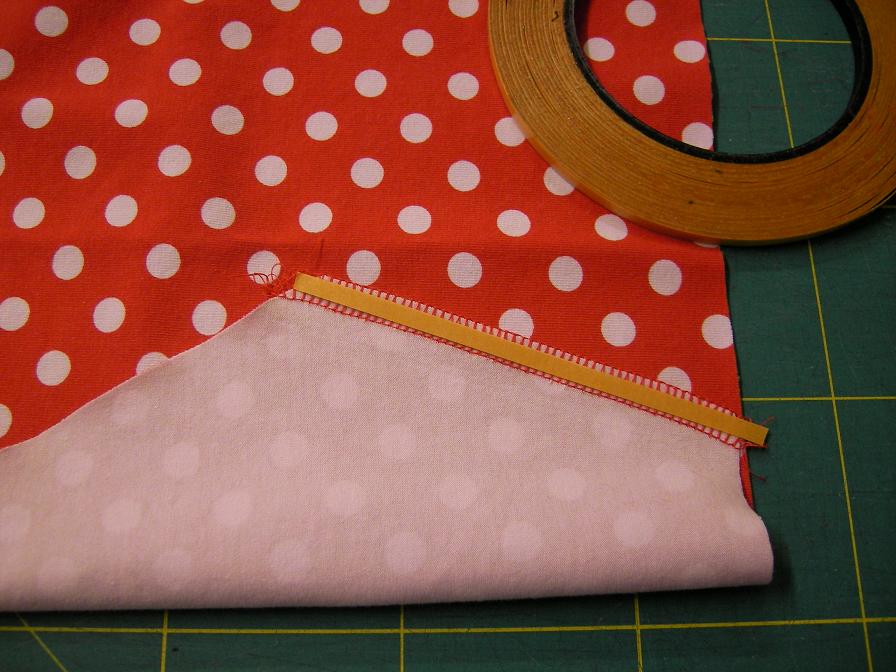
When overlaying the fabric patches I find double-sided adhesive style-fix or wonder-tape a MUST. Style-fix is similar to wonder tape but a lot cheaper and it comes in a huge 50m roll. That is about 56 yards! It is a product marketed by a German manufacturer of patterns and other sewing and decorating accessories: www.farbenmix.de Apply the adhesive tape to the wrong side of the overlocked edges.
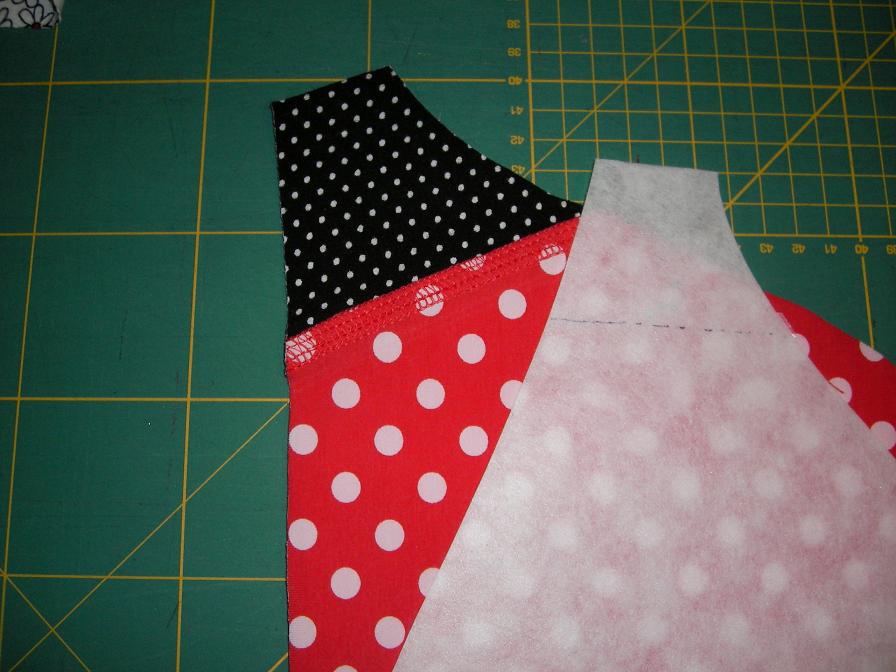
In this case I am picking 2 more pieces of fabric large enough, so that when they are added to the centre pattern part plus 7,5mm for overlaying, the result will cover the entire back part of the panties. But one can obviously add as many small strips as desired. I remove the adhesive backing and overlay this overlocked side on the next piece of fabric, making sure to keep the grain of both fabrics parallel.
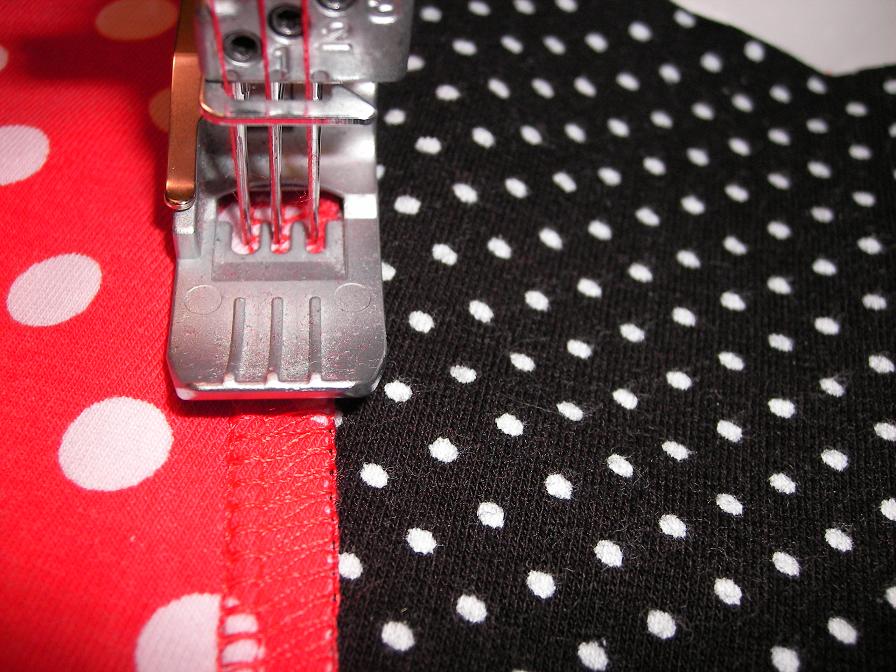
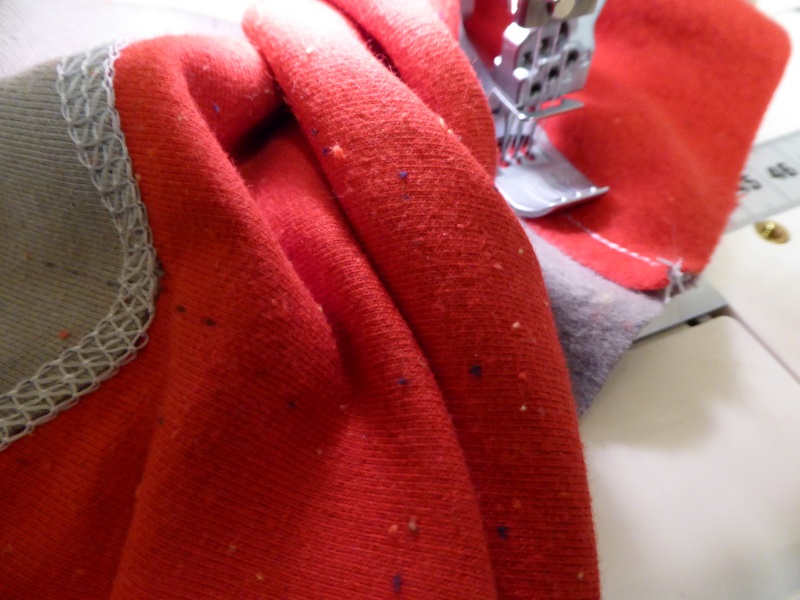
Next I coverstitch through both layers. When using a wide overlock stitch, I topstitch with a 3 needle coverstitch, making sure to keep the right coverstitch needle just inside the overlocked edge.
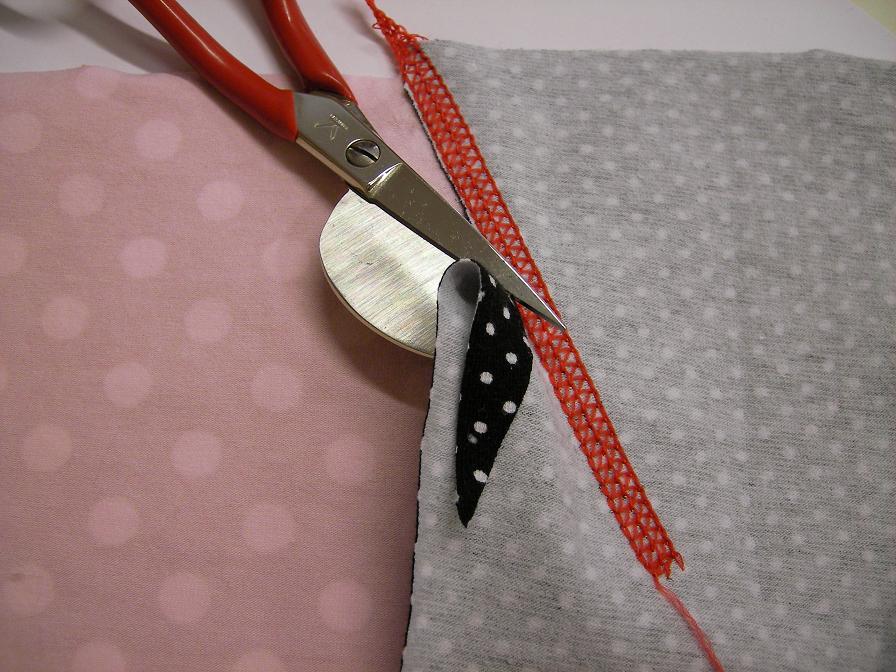
An additional advantage of using the adhesive tape is that it temporarily makes very stretchy knit fabrics behave better when being gripped by those feed dogs. Once the overlay seam has been sewn, a good pull will bring the original stretch back. According to the manufacturer’s description, style fix does not wash away. Yet I have not experienced any negative effects while wearing clothes that were temporarily assembled this way. Once both layers are stitched together, I trim off the excess fabric on the wrong side.
I quickly discovered that it is wise to limit overlay seams on the back part because too many seams in the back part of the underpants seems to distract my mind throughout the day! ![]() A small scrap added at an angle poses no problem and looks quite elegant. When using striped fabric, I may focus on keeping the stripes parallel to the edge of the centre piece even if that means going against the grain. Rules are meant to be broken!
A small scrap added at an angle poses no problem and looks quite elegant. When using striped fabric, I may focus on keeping the stripes parallel to the edge of the centre piece even if that means going against the grain. Rules are meant to be broken! ![]()
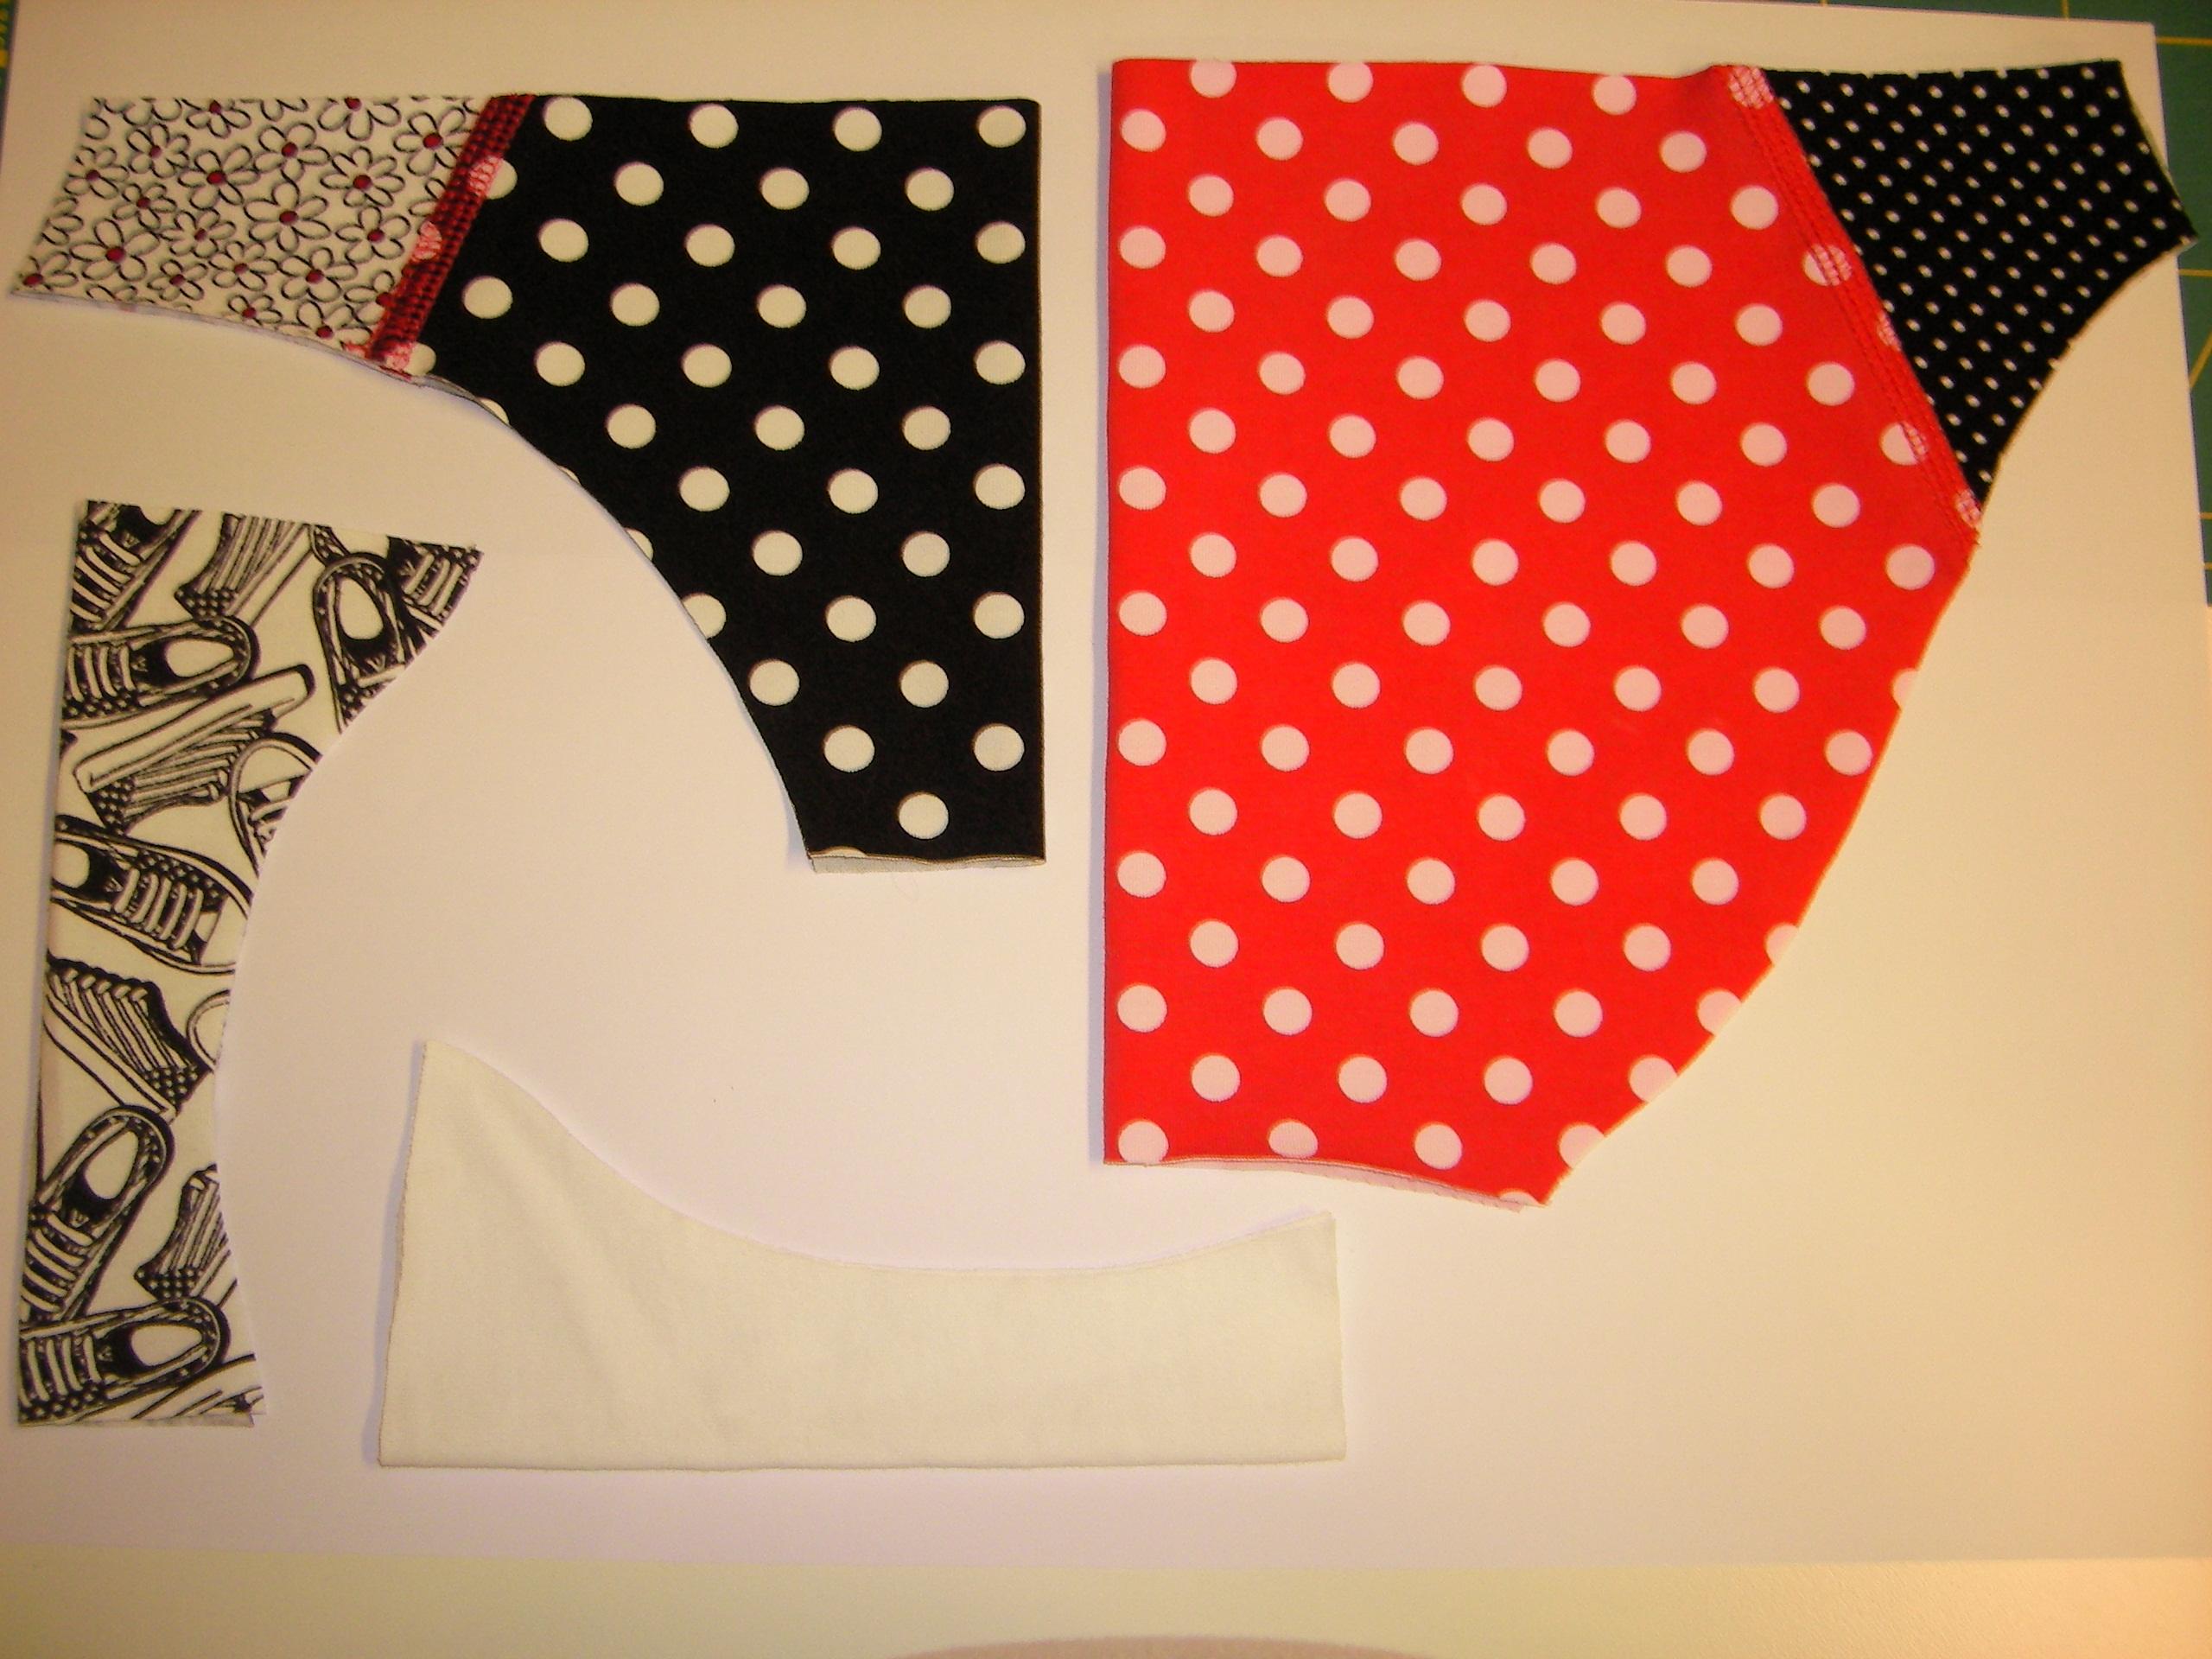
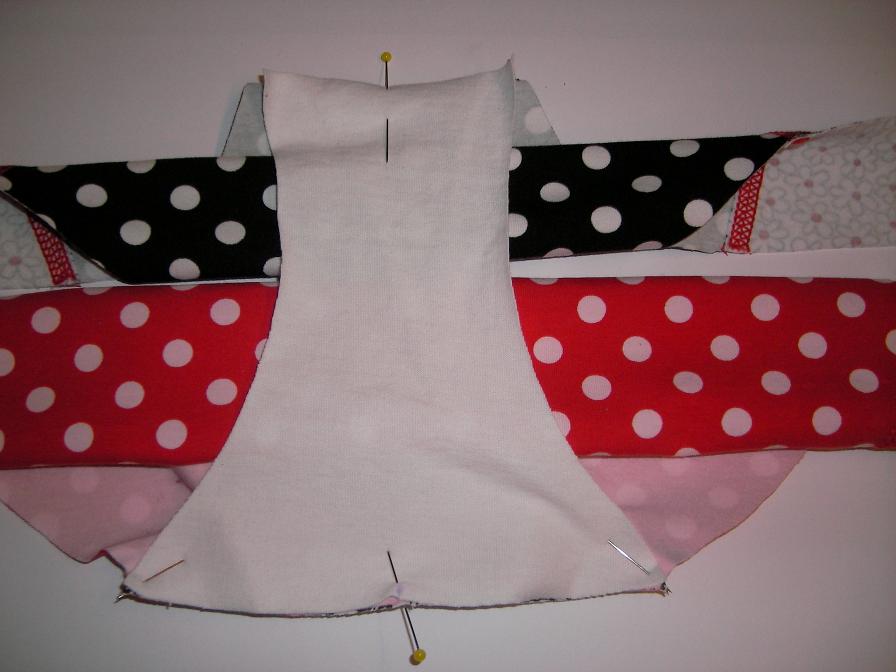
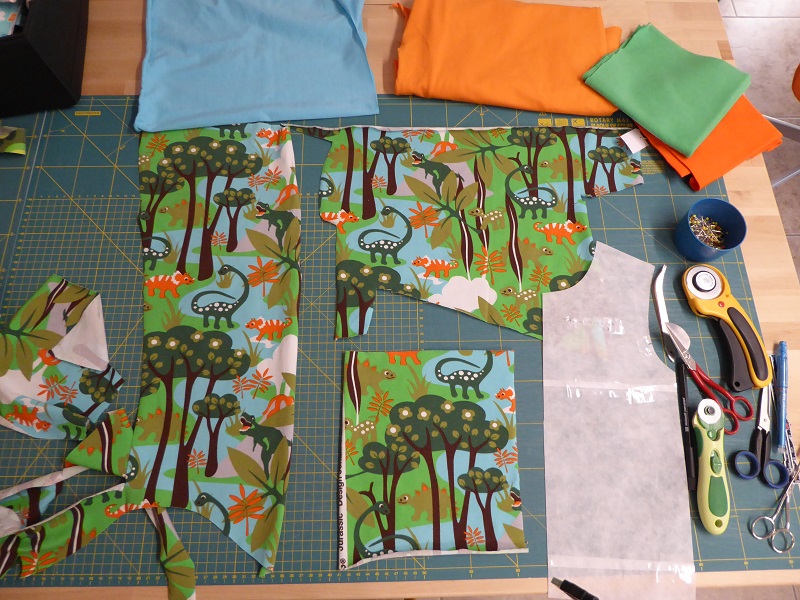
Then I fold the assembled patchwork in half and finish cutting the pattern parts. Here are all the pattern parts.
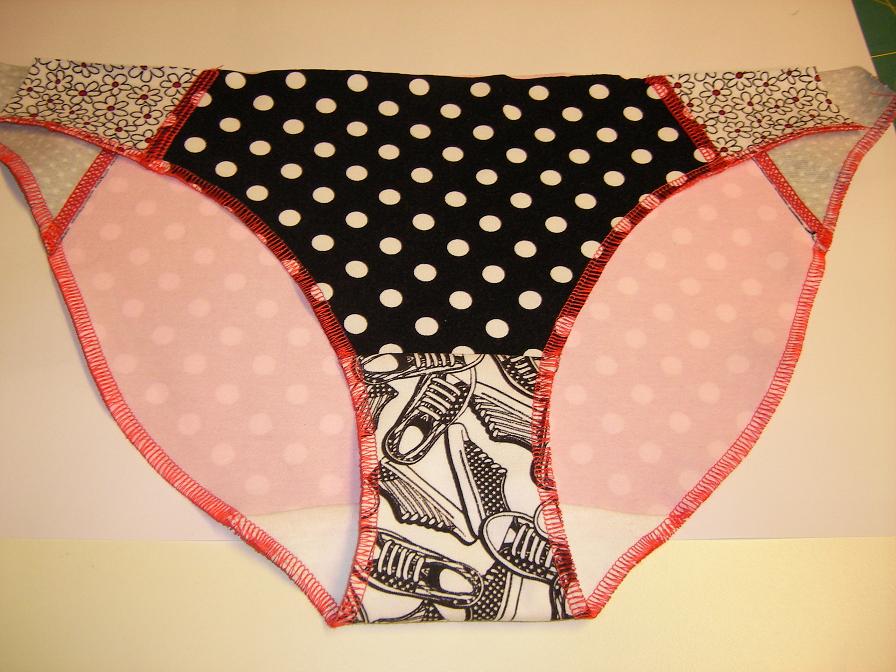
Finally I pin all the parts together and I trim and overlock the edges.
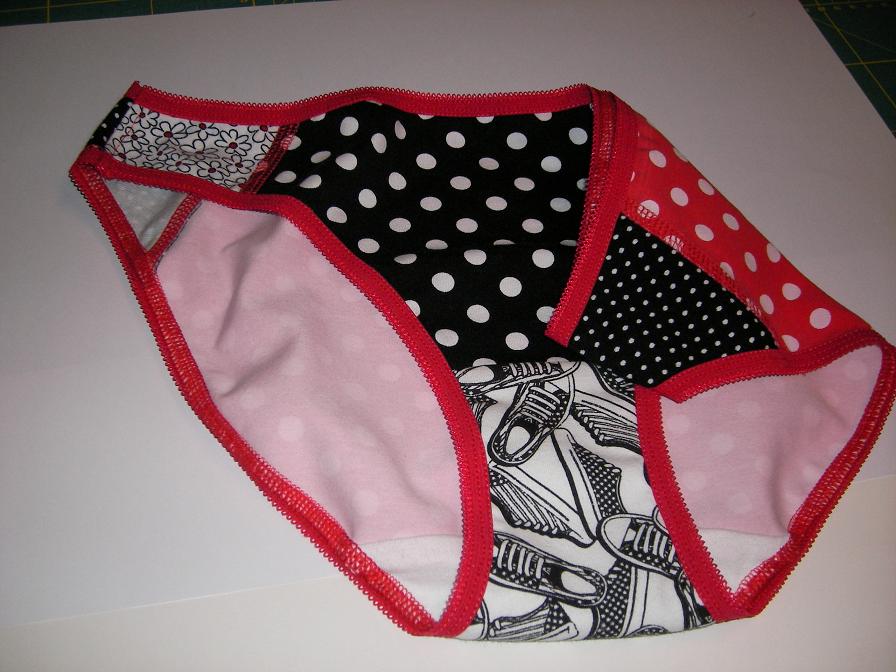
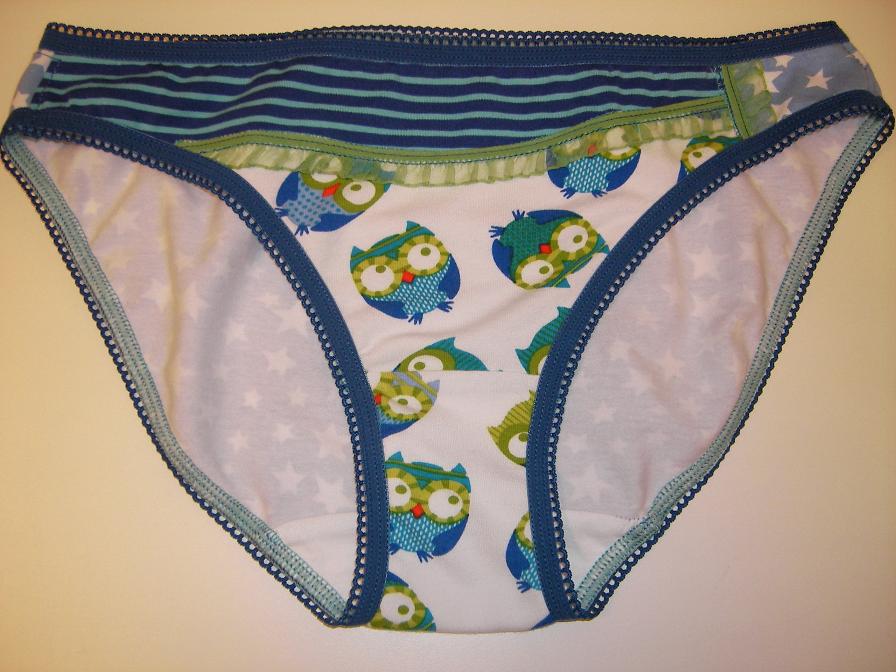
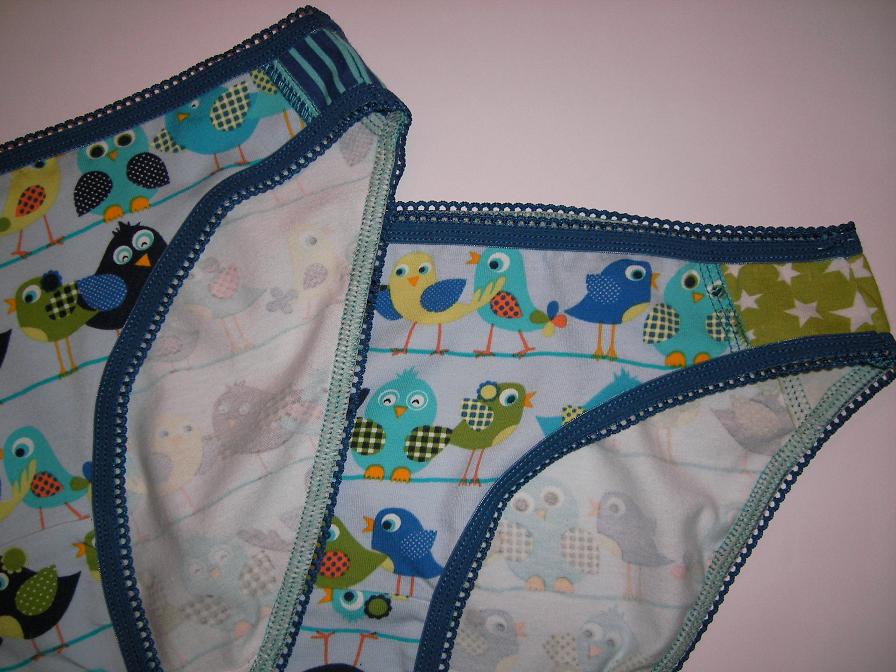
Elastic can be applied like this. And this is what the finished panties look like:
Voilà, some more odd-shaped remnants connected with stitches. Hope you feel inspired!
Method 2: crazy overlay
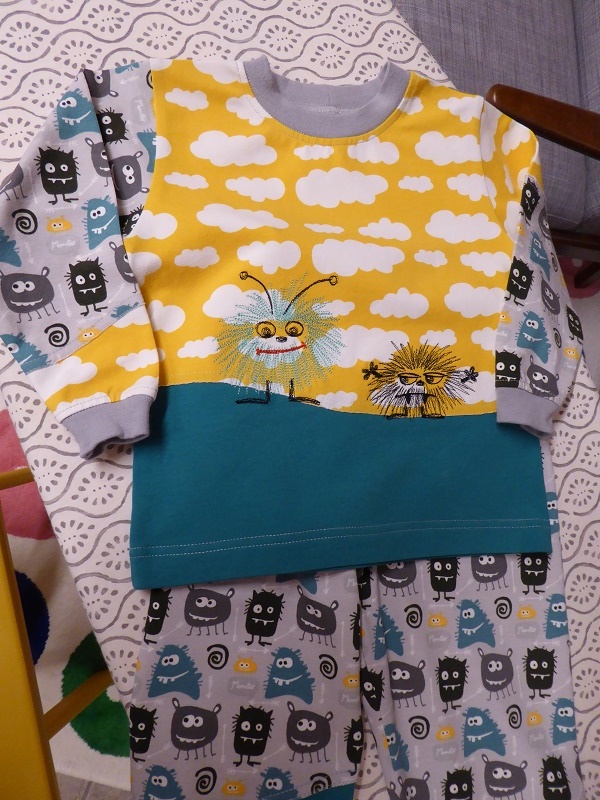
What it looks like
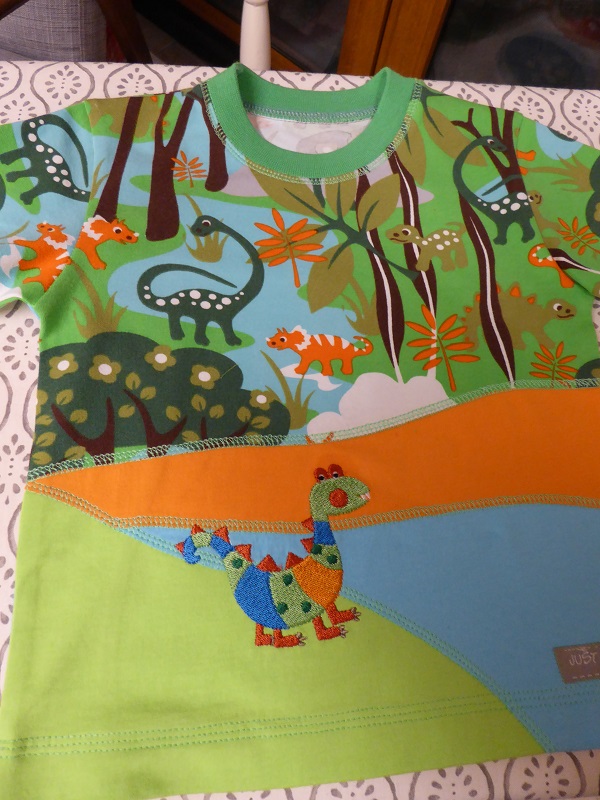
I enjoy this flat construction method to turn several scraps into a full pattern piece.
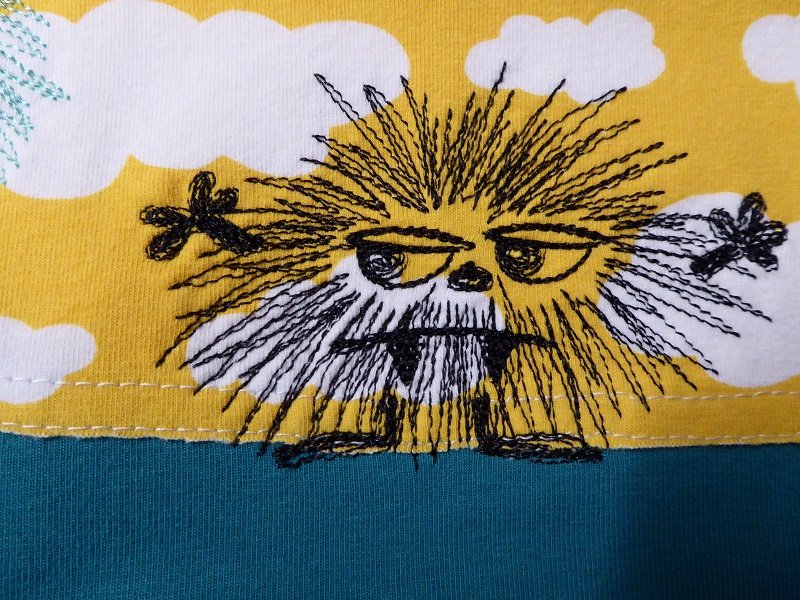
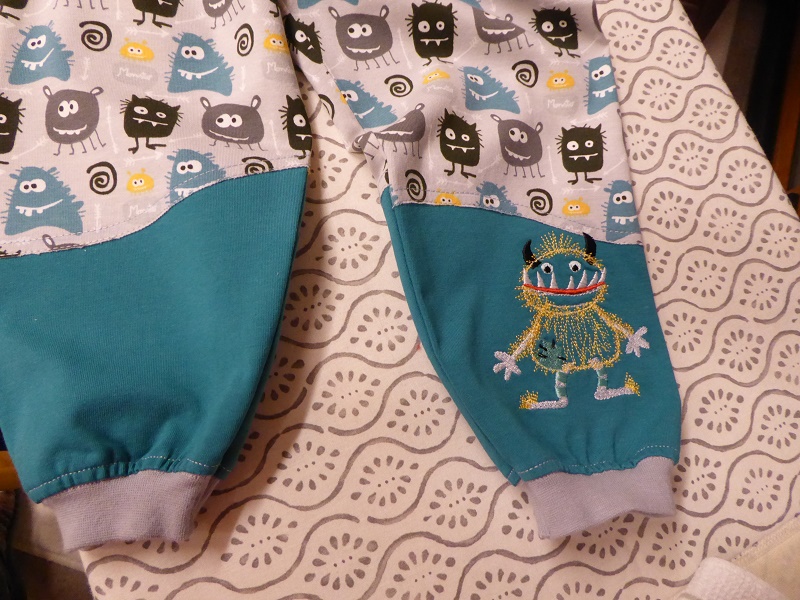
Apart from being a fun creative money saver, this flat construction keeps bulk to a minimum and it is easy to embroider over the lapped seams without too much risk of breaking needles or embroidery patterns shifting etc… The embroidery pattern used here is from janeas-world.com (Stickdateien - Kritzelmonster).
I had enough fabric to cut the enire sleeves but I wanted them to blend in with the rest of the pajamas so I randomly added a patch at the top of one sleeve and at the bottom of the other sleeve.
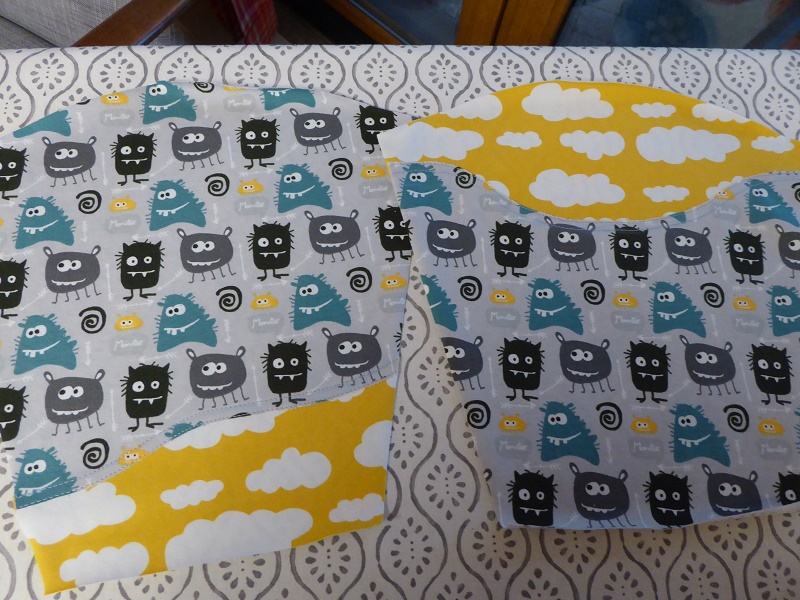
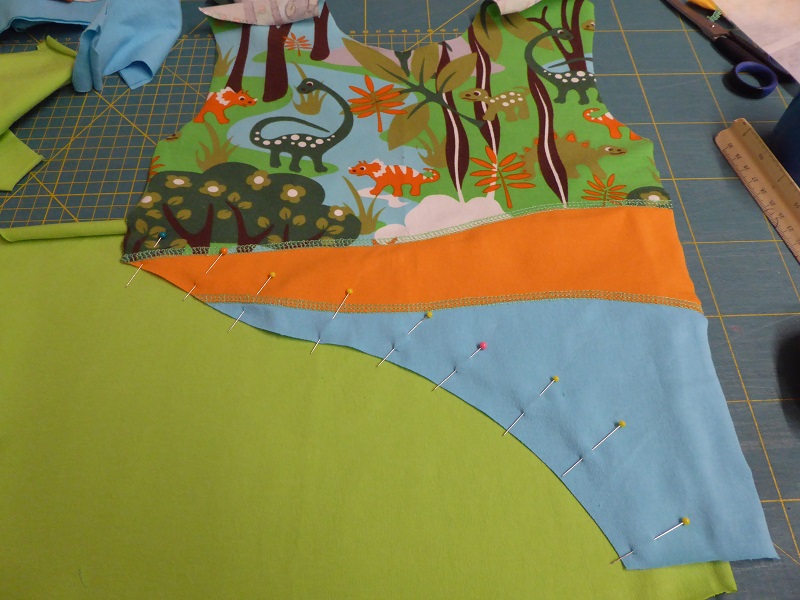
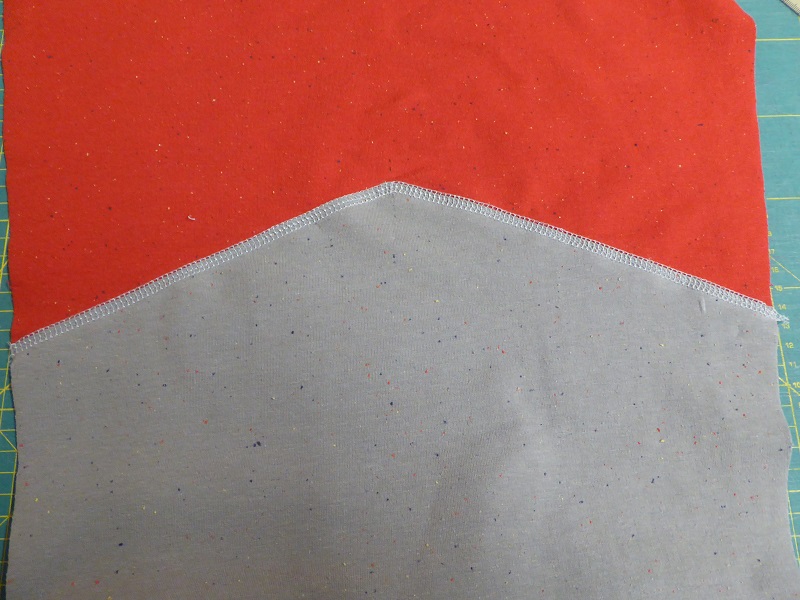
Whenever possible I draw the desired curve or line on the front part - the part that sits on top - and trim the fabric at that line. Then I put a piece of fabric underneath, making sure the grain lines run parallel and the finished result will be large enough for the pattern part. In this application I simply used the coverstitch wide with 2 needles and polyester stretch thread in the looper.
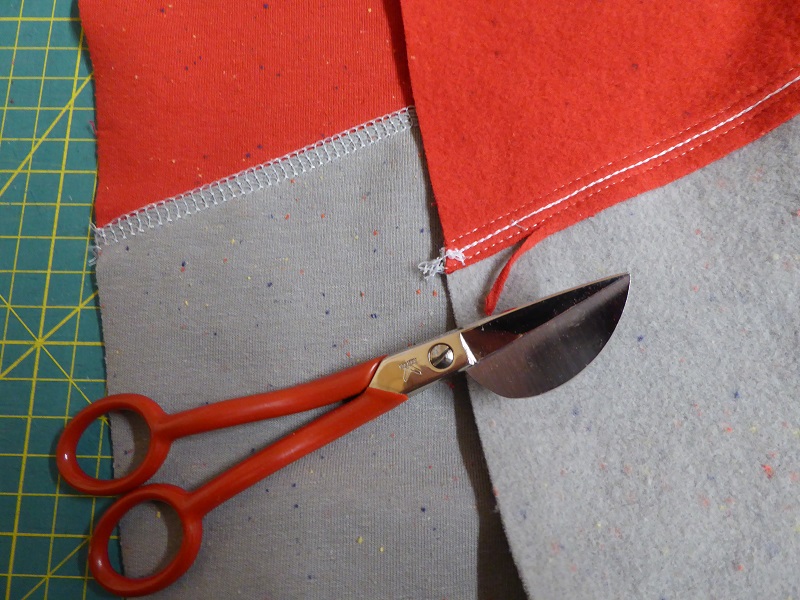
I pin and assemble the layers and trim the excess fabric at the back. I try to be careful with the pelican applique scissors, because cutting too close to the looper edge could easily chafe off some of the thread and the seam would then soon start to unravel. If necessary, the front top layer can be trimmed as well. It is easier to stitch a few mm (1/8“) from the edge when coverstitching. I can always trimm along those needle threads later as this is less risky than trimming the looper side, so I tend to go as close as possible with my scissors.
All the seams survived laundering perfectly. I had a leaky iron accident! 
How it is done
I start out by gathering scraps that look like a good match, often one print and several solids. Next I use the largest piece of fabric for the back. While it may not always be possible to cut the back from one and the same material, I try to minimize lapped seams on the back part of children's shirts because I don't like getting complaints about scratchy seam lines.
The front part of a shirt is the best part to get really creative and mix and match. I just try to keep the grain aligned as long as I have enough fabric. In this case I used the top and bottom coverstitch on my Pfaff Creative 4874. But the same can be done with a 2 or 3 needle wide regular coverstitch, with either just the needle threads showing on the right side, or …..another way, which I'll show later.
Another overlay method
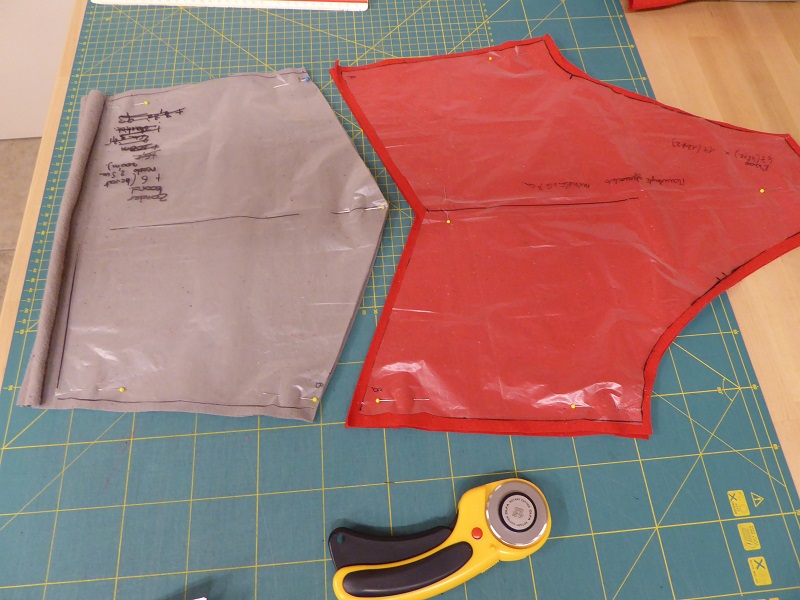
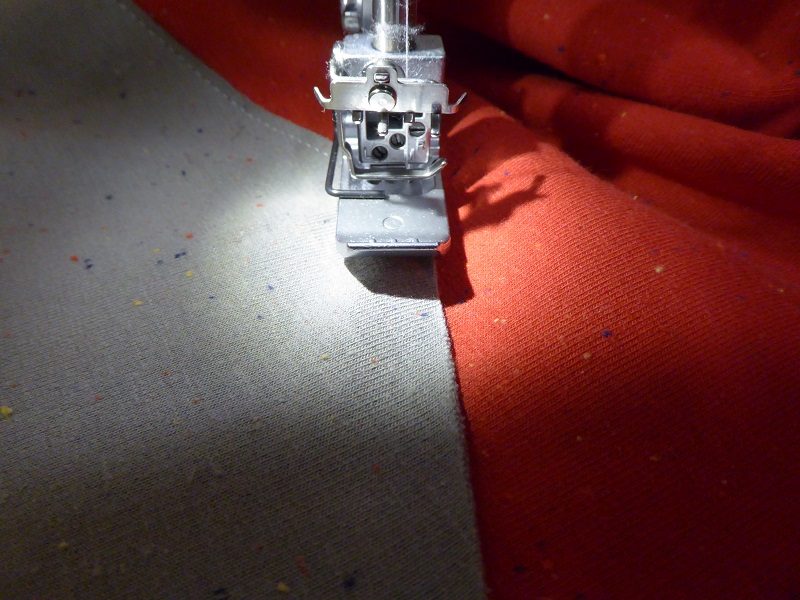
Here is another way to work with lapped seams. Split the pattern parts and add a seam allowance to one part only.
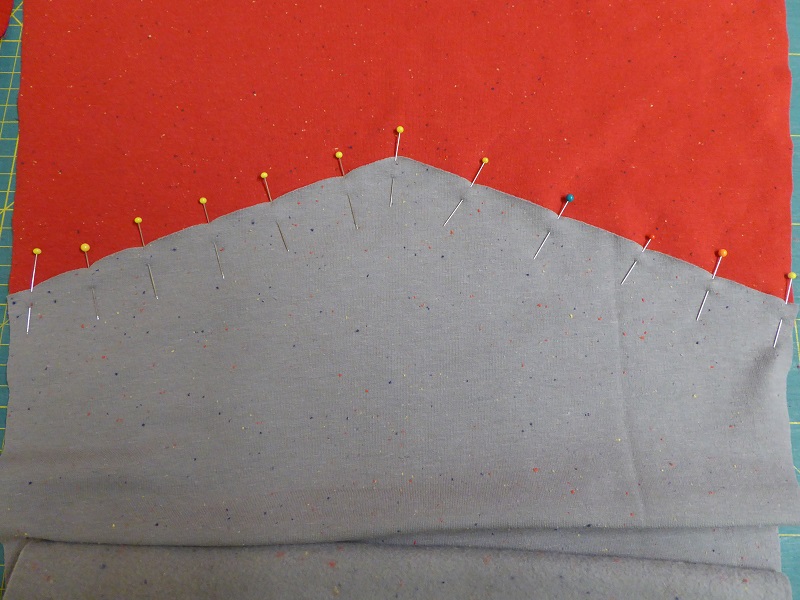
Pin the parts together.
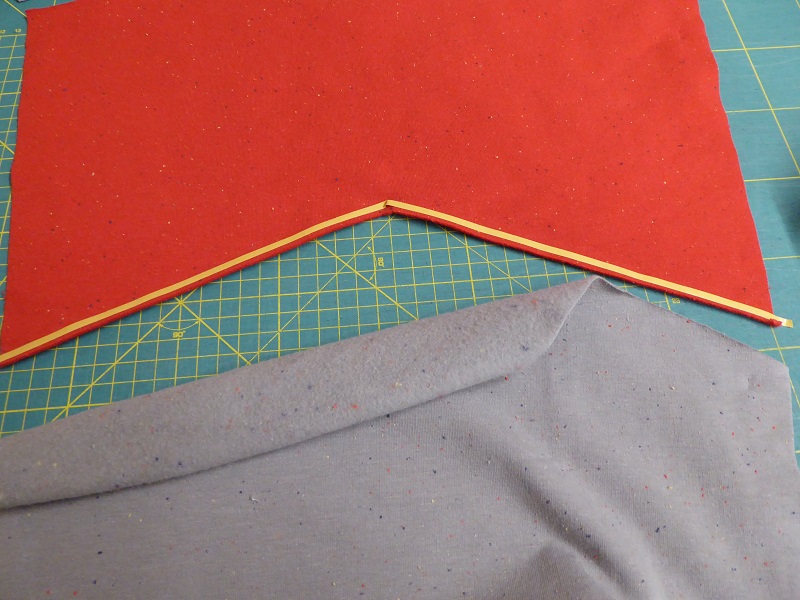
Or stick them together using double side tape.
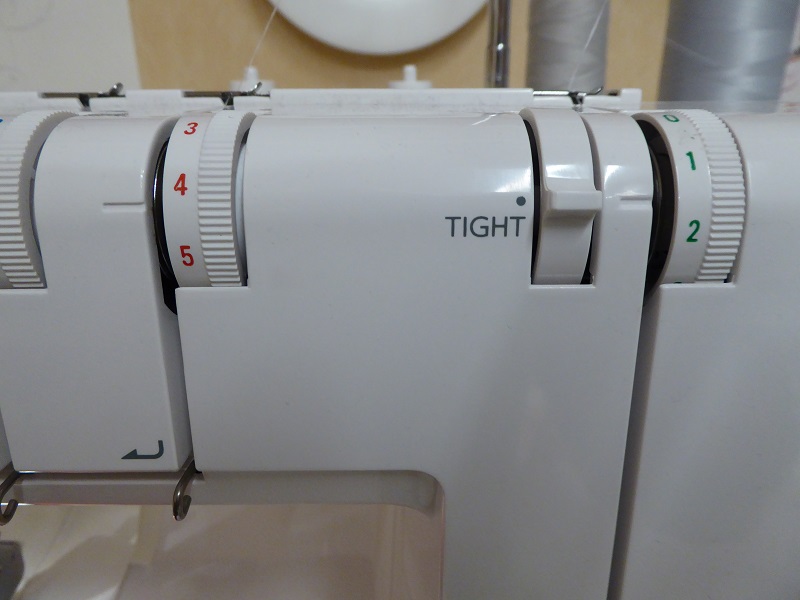
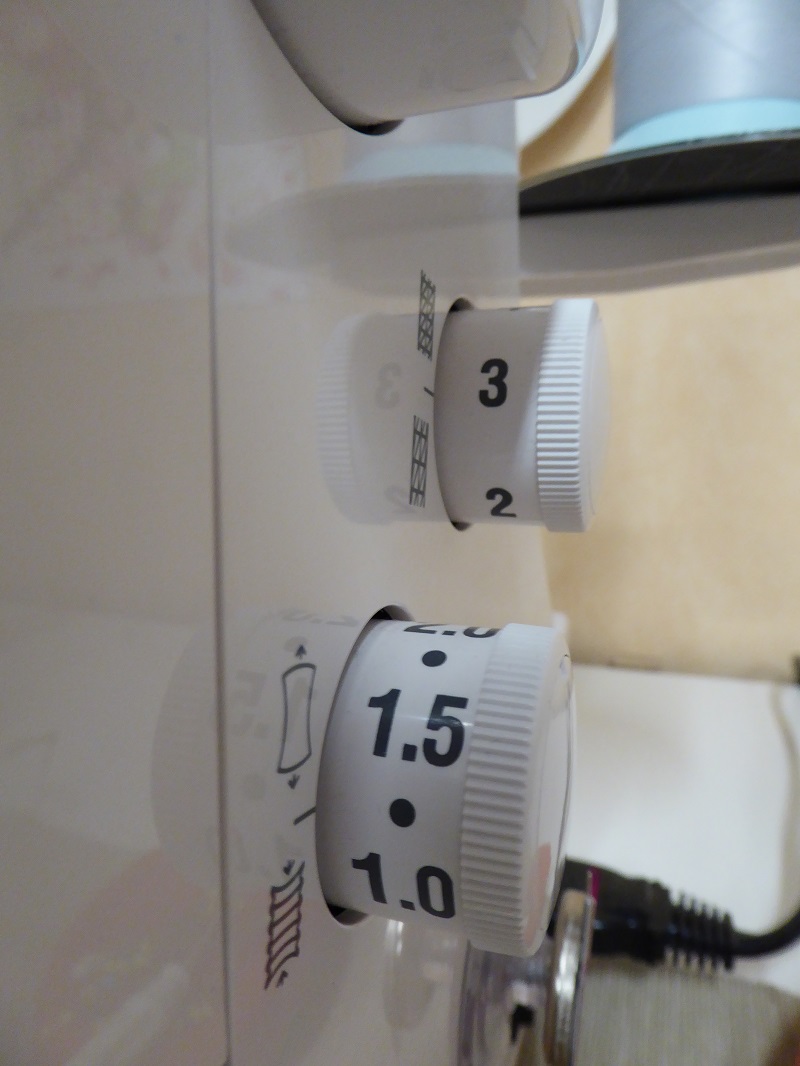
Attach the layers with a chain stitch. SETTINGS for the Janome 2000 CPX
Right needle 4.2
Looper 1.8 TIGHT
Stitch length 3
Differential 1.25
This is what the result looks like.
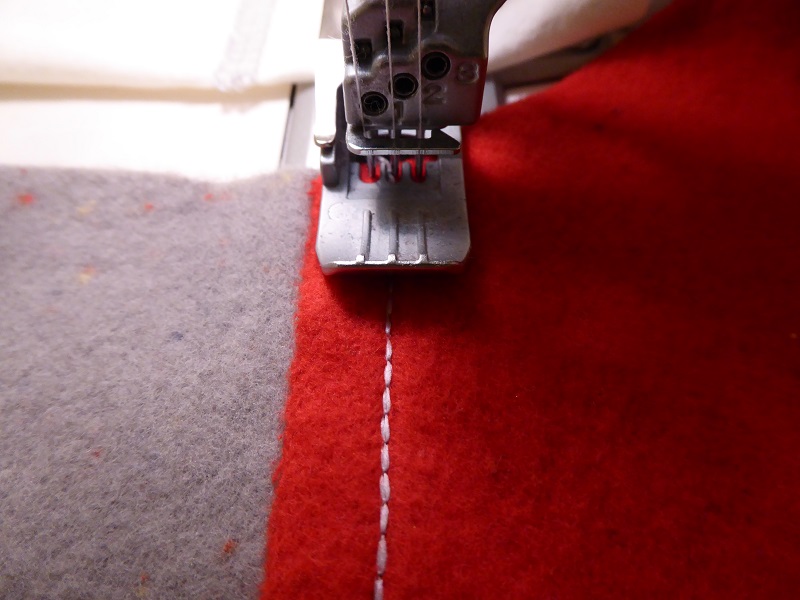
Now prepare for reverse stitching, using 3 needles and regular polyester serger thread in all the needles and the looper.
SETTINGS for reverse stitching on the Babylock Coverstitch:
Needle 1 4
Needle 2 4
Needle 3 4
Looper 1.5
Stitch length 3
Differential 1
Make sure the center needle hits just to the right of the chain stitch looper.
When I reached that point, I made sure my needles were all the way down before lifting the presser foot and moving the fabric.
If necessary, trim excess.
Finished lapped seam with the looper on the right side
For more about this jacket check this.

