User Tools
Sidebar
Table of Contents
Projects for the Coverstitch machine
Making a drawstring
Home made drawstrings are a great way for using those narrow scraps of fabric and they add a unique look. In the next image I am making a drawstring for a maternity nightgown. I have cut a strip of cotton elastane knit parallel to the the grain, 2,6 cm/ 1 1/32“ wide.
By the way, while searching for the correct spelling of elastane, I learned that 'elastane' refers to a highly elastic fibre (elastic polyurethane), whereas 'Lycra' is a trademark.
Using the Babylock lace applicator foot
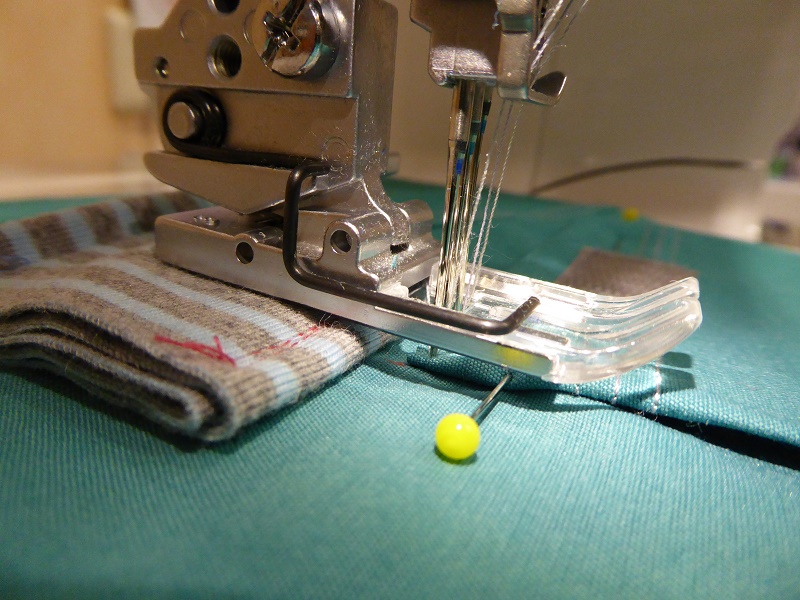
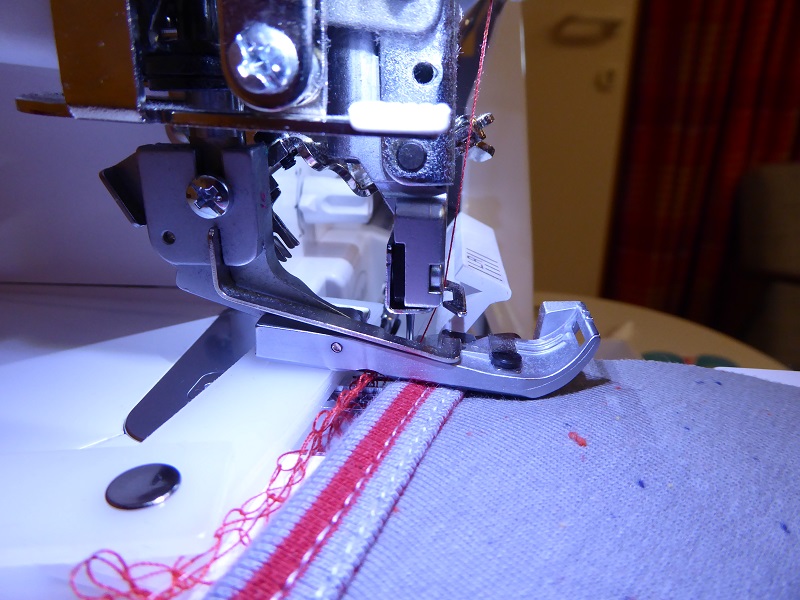
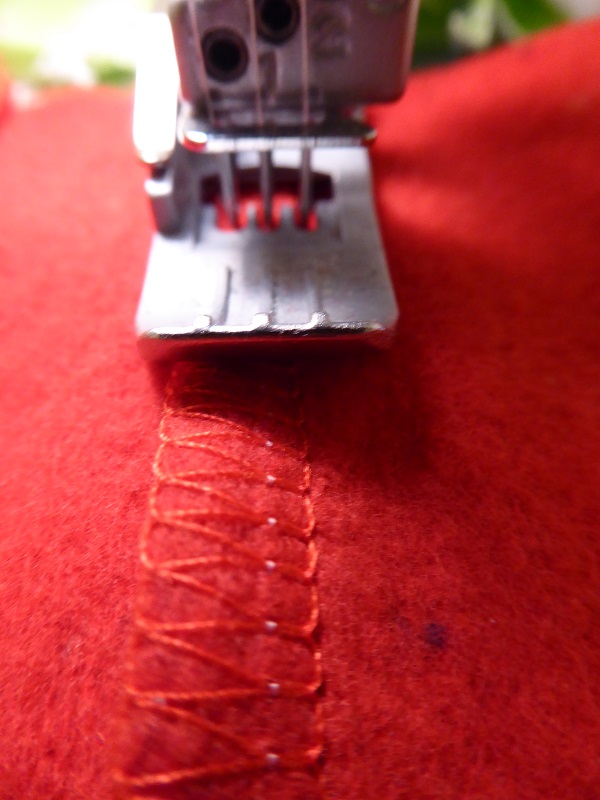
I am using the chain stitch on my Babylock Coverstitch machine with one needle in the right position. The needle is a ELX705 SUK size 90/14 and I have regular polyester sewing thread in the needle and woolly nylon in the looper.
SETTINGS for the Babylock CoverStitch:
Needle 4
Looper 1.5
Stitch length 3
Differential 1.5
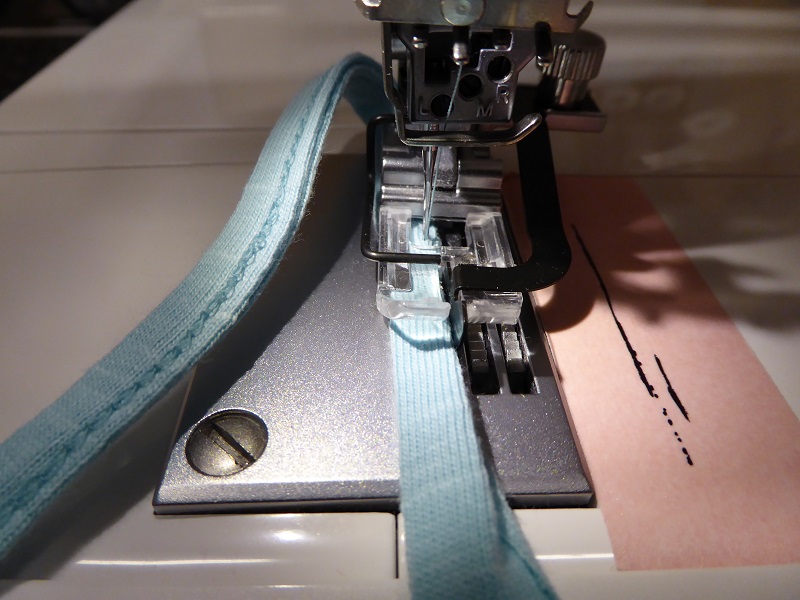
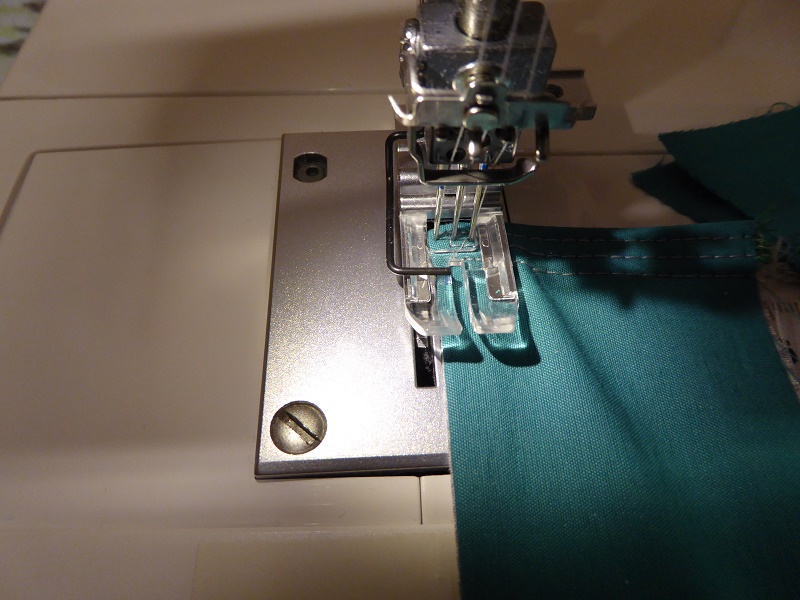
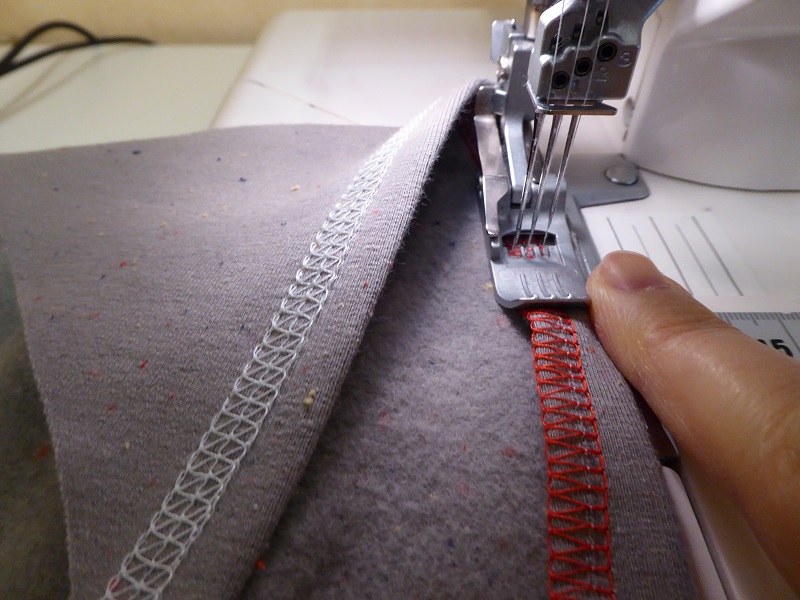
I am using the lace applicator foot to keep the thin strip from slipping away but with some practice this can just as well be accomplished by carefully guiding the strip of fabric with a finger. It is easier to fold the fabric as I go when it is cut parallel to the grain because this type of fabric tends to curl towards the right side when it is cut across the grain.
Using the Janome centre guide foot
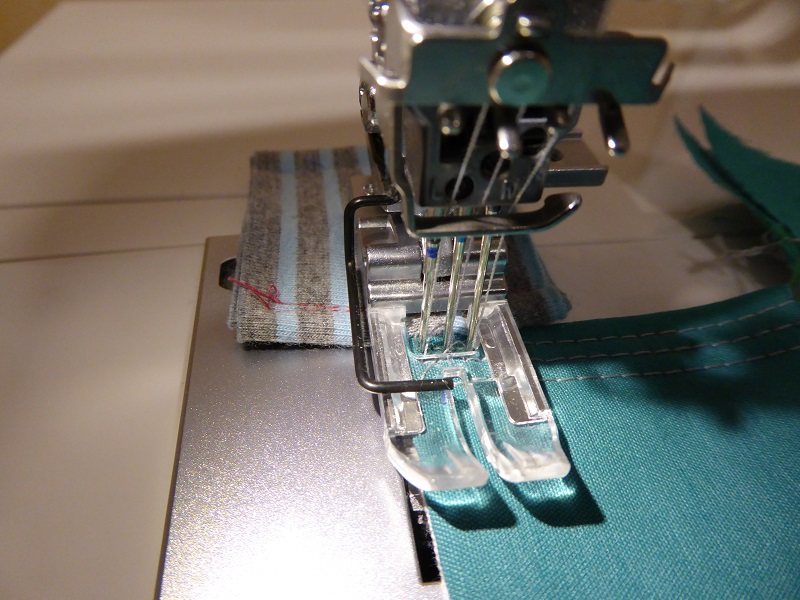
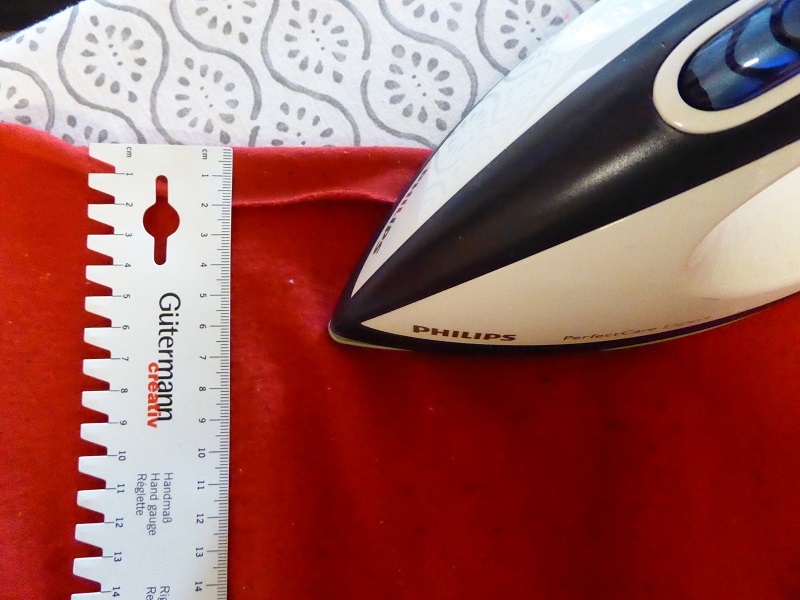
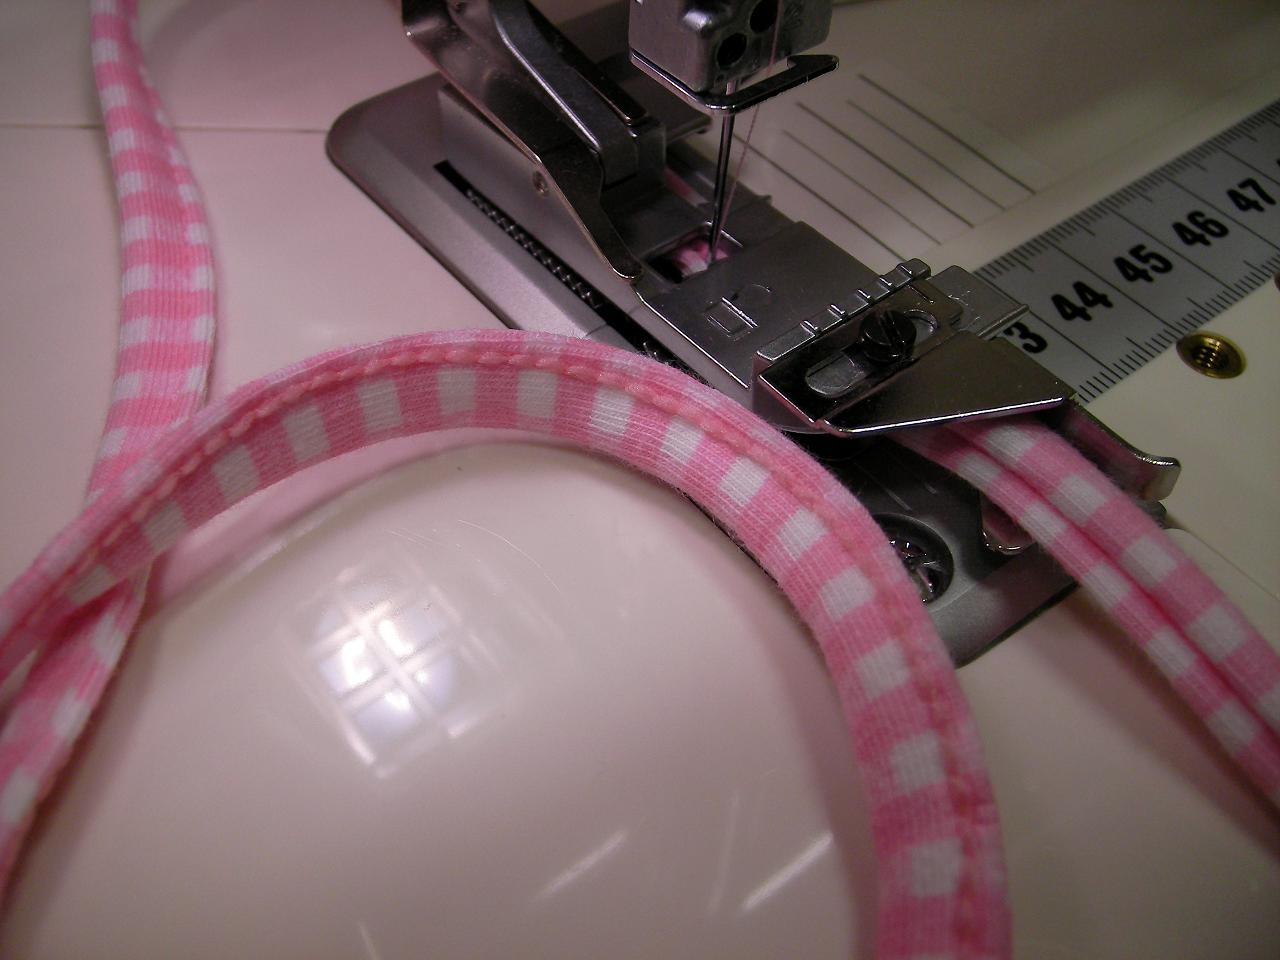
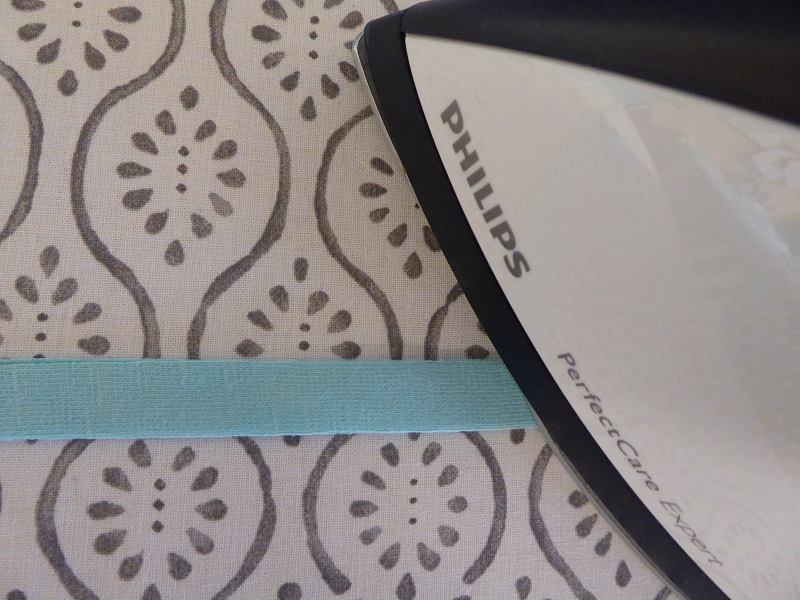
The drawstring also proves to be a perfect challenge for the Janome centre guide foot. Here again I am using a 2.6 cm / 1 1/32” wide strip of fabric cut parallel to the grain. This fabric is a 100% cotton knit and curling slightly towards the wrong side so I start with pressing it in half.
I am using Mettler Seracor sewing thread in the left needle and the looper and the needle is a 90/14 ELX705 SUK. I am just folding the fabric as I go and the trick here is to go slowly. When I say SLOWLY, I mean SLOOOOOOOWLYYYYYYYY.
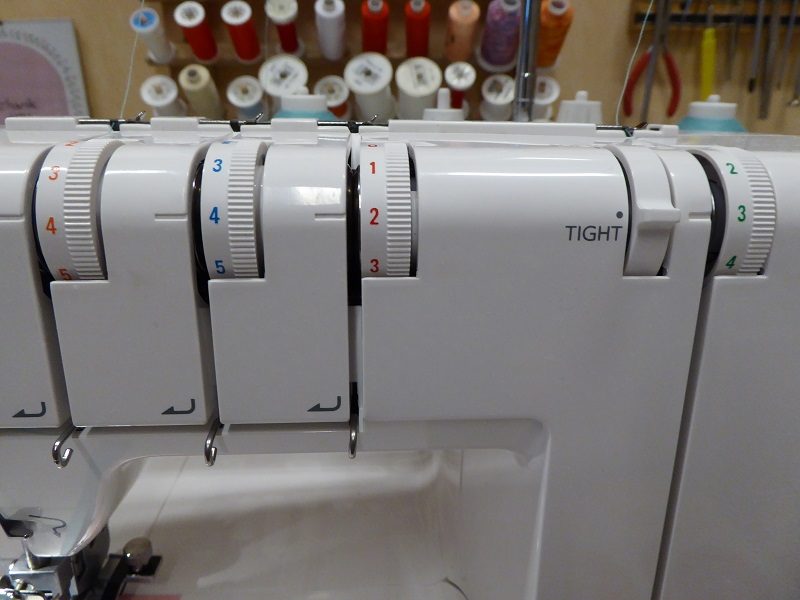
SETTINGS for the Janome Cover Pro
Needle 4
Looper 3
TIGHT
Stitch length 3 and a bit
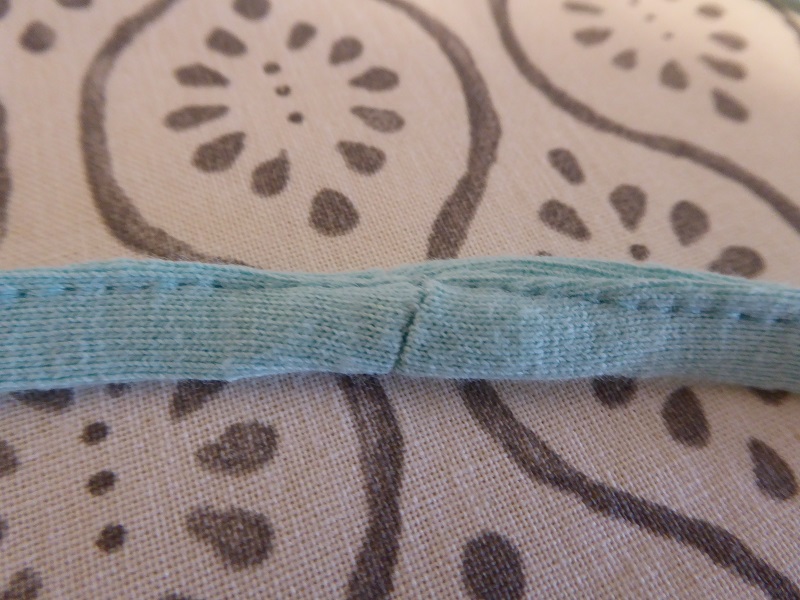
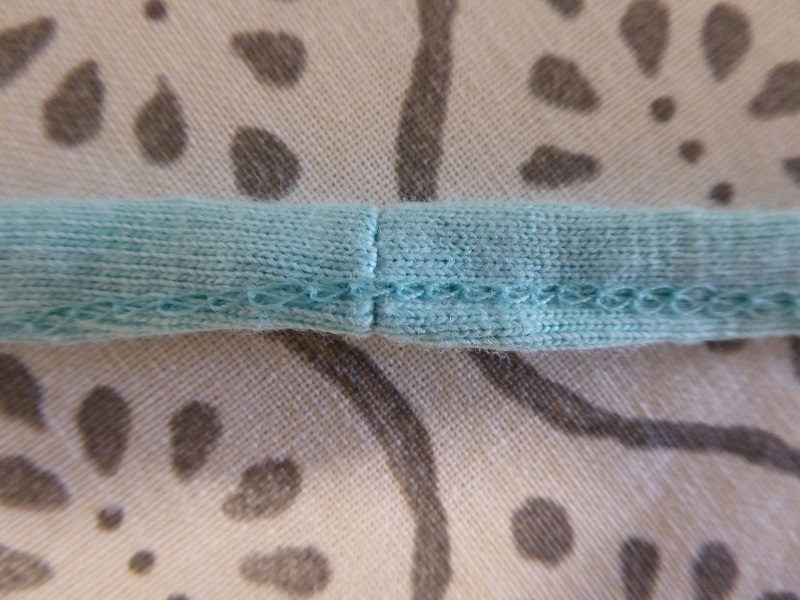
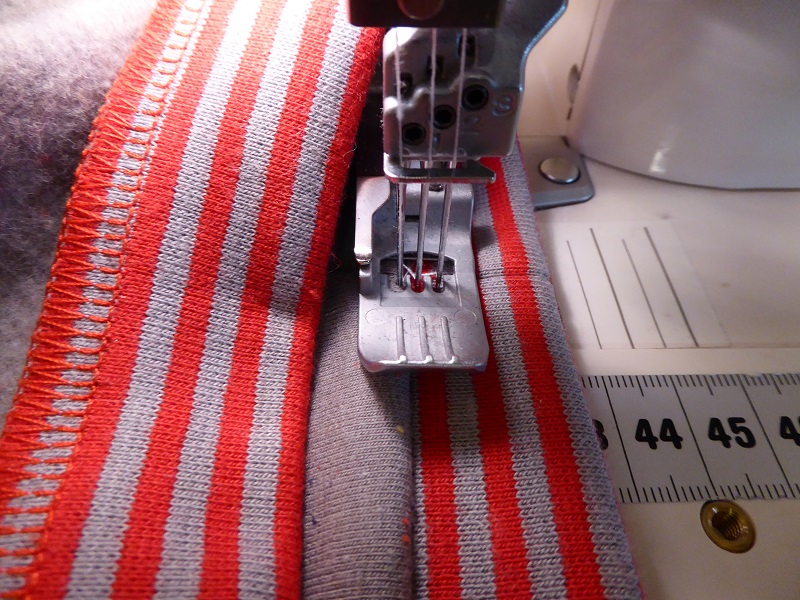
I had to use two strips to make the string long enough and here is the result of going over the seam, no less than 8 layers of fabric. All without one skipped stitch and no hump jumping either. Just SLOOOOOOWLYYYYYYY. ![]()
I never expected I would get this right with my first attempt!
Gathering with the Coverstitch machine
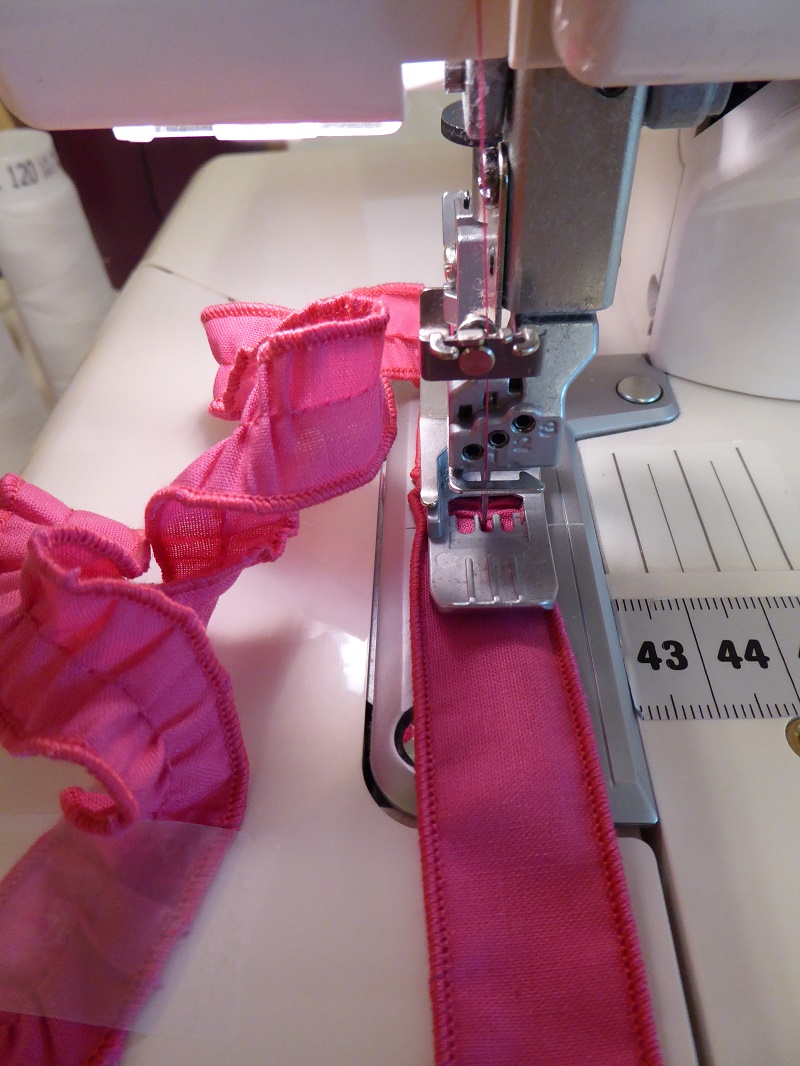
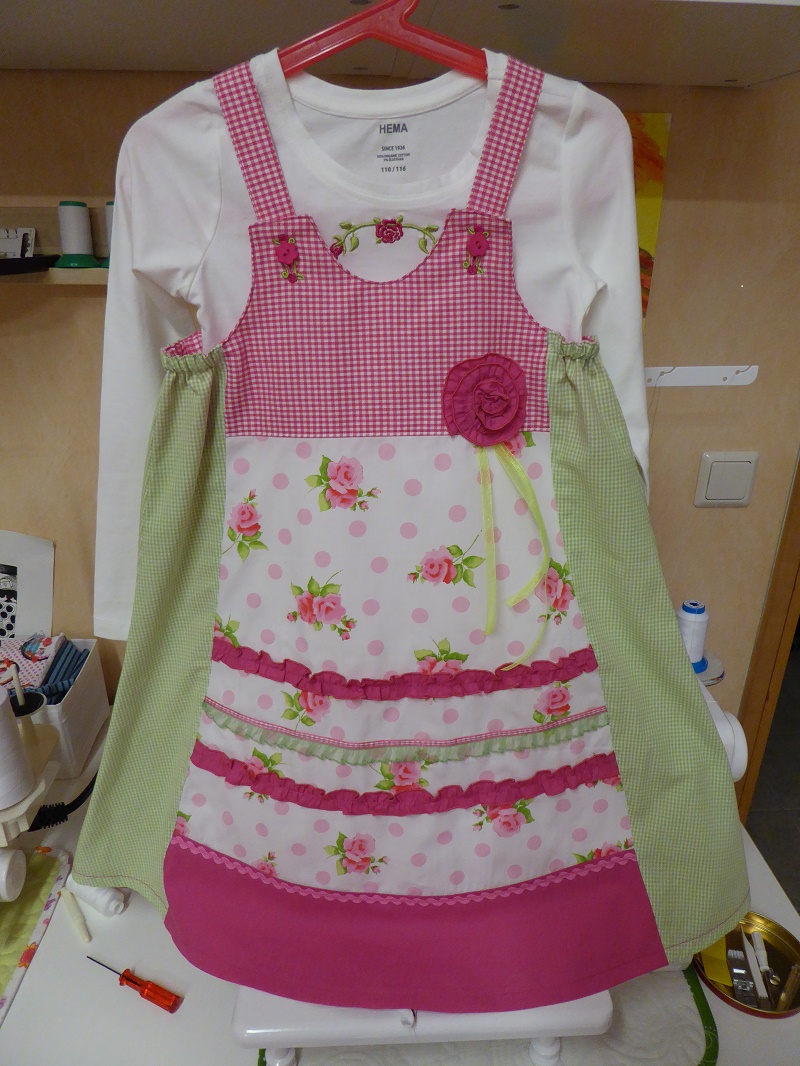
It is very easy to create meters of ruches using the coverstitch machine. Here I cut a 2,5cm / 1 inch wide strip of fabric and finished both edges with a rolled hem on my oberlocker. Then I increased the stitch length on the coverstitch machine to 4 and the differential setting to 2 and out came ruches ready to be attached as trim on a dress. In this case the ratio while gathering is not important but gathers can be increased or decreased by increasing the tension on the looper and or needle threads. In this case I am using regular pes overlock thread in the looper but with woolly nylon and increased tension on the looper, the gathers will be closer together. The strip of fabric can be cut any width but 2,5 cm / 1 inc is very easy to manipulate. When the machine sews these long stitches, the fabric tends to wiggle and shift left right but a strip this wide with rolled edges, stays nicely underneath the presser foot.
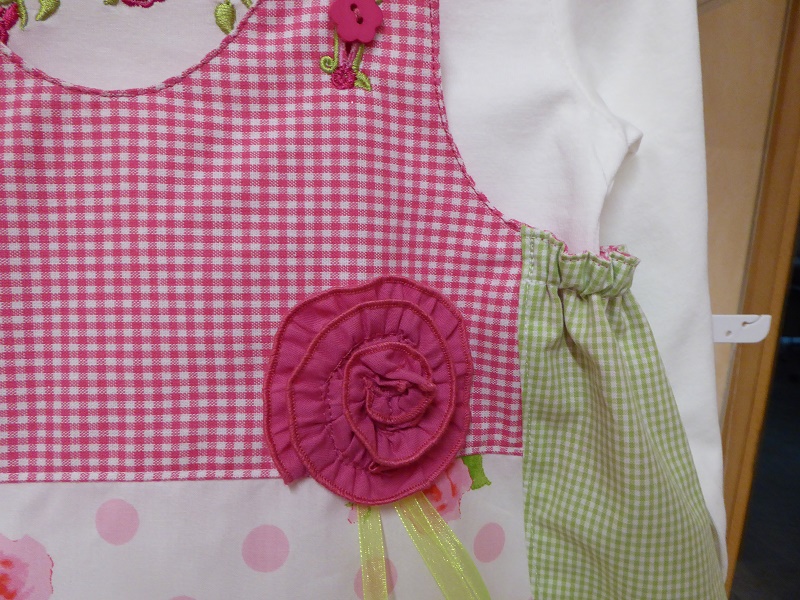
And ruches can be turned into flowers.
And while I am at it, ribbons and trim also make perfect candidates for coverstitching with two needles.
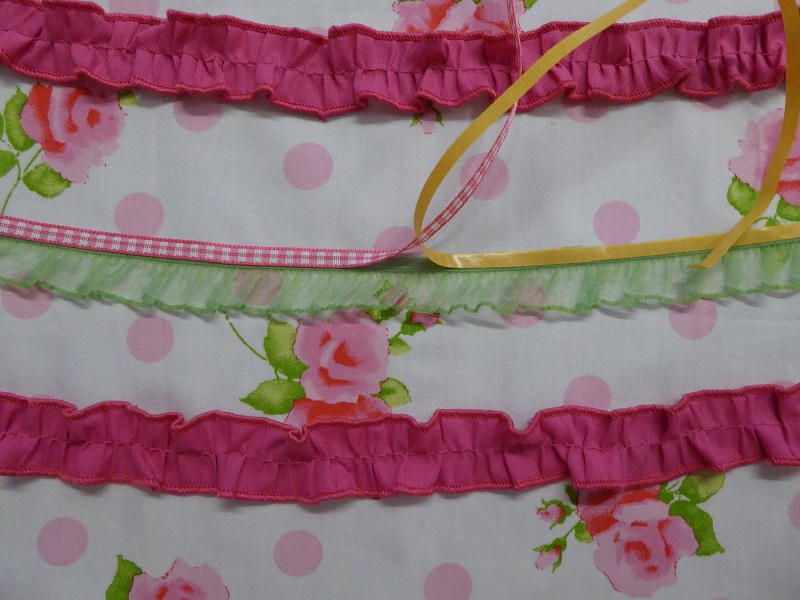
Topstitching pockets
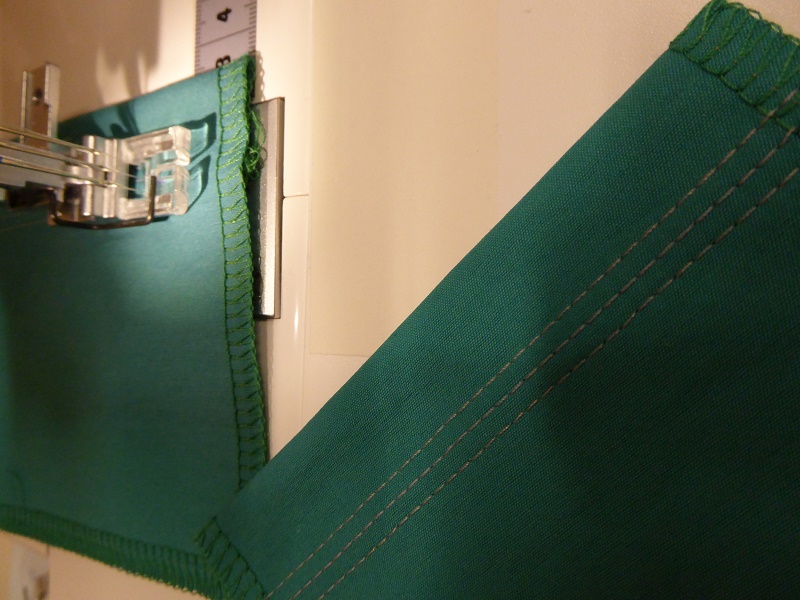
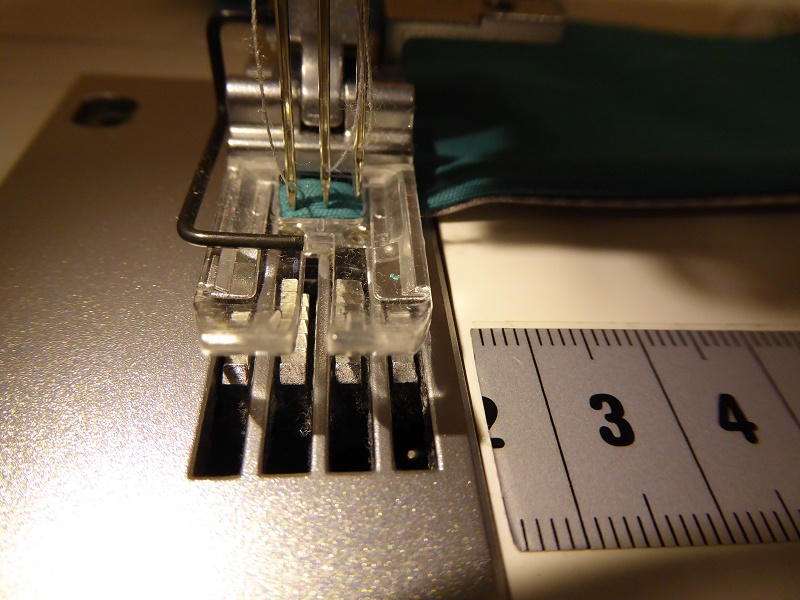
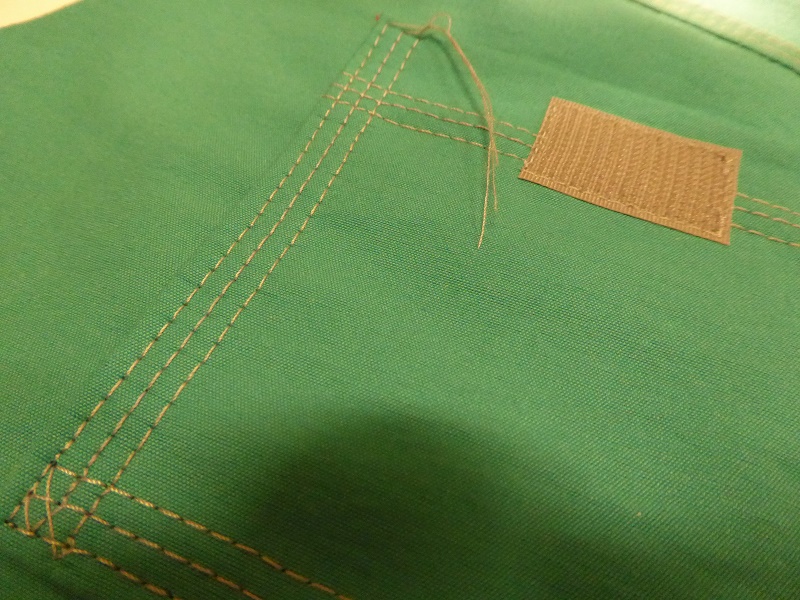
In this case I am topstitching a light weight woven, using ELX705 normal needles size 90, with polyester sewing thread in the needles and the tension for all 3 needles set on 4. In the looper I am using polyester stretch thread and the tension is on 2, setting on tight for the Janome 2000CPX. The stitch length 3 and the differential on 1.25 and my presser foot setting on default.
I never look at the needles but I focus on a point on the front of the presser foot to stitch straight.
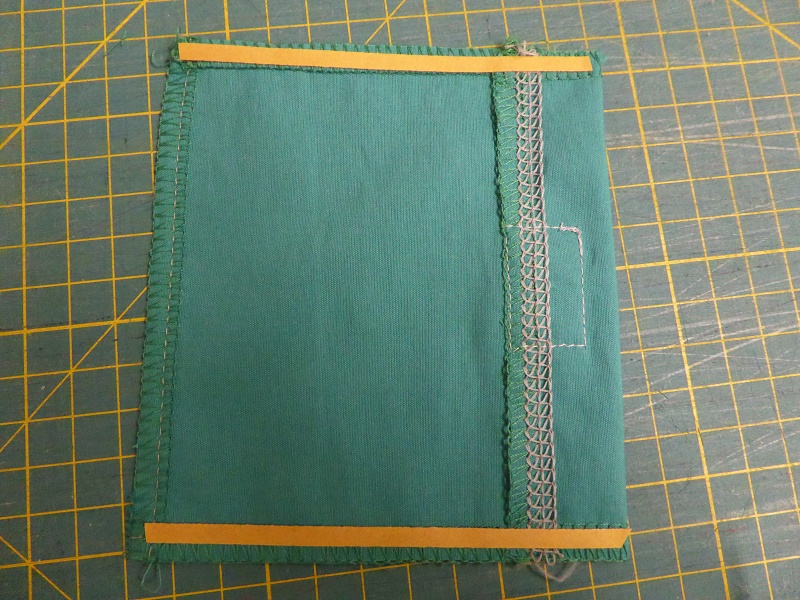
I like using double sided tape to keep the folded seam allowances in place.
When starting to sew on the edge, I use a scrap or a hump jumper. It is best to hold on to those threads so that the first stitches form properly.
When topstitching a pocket and turning, I make the last stitch or two by turning the handwheel. Then I bring the needles to the highest position, raise the presser foot and I gently pull the fabric a tiny bit backward to create some slack on the threads. Then I turn and I lower the needles by hand so that the left needle goes down in the same spot where the last stitch finished.
Before doing that however, I make sure that the needle threads are lying diagonally and making sure that the right needle thread is not caught behind the middle needle f.ex.. If necessary I pull the needle threads up at the top of my thread pole to make sure there is just enough tension on them so that they will go down without forming big loops.
Then I lower the presser foot and I put a hump jumper or a piece of fabric along the edge behind the pocket corner so that the presser foot stays nice and even and the fabric will start moving right away.
The result is a series of tiny diagonal threads on those corners, with occasionally a skipped stitch at the back but that is not a problem. I finish each of those corners with a tiny bar tack on my sewing machine using a stitch width of 2 or 2.5 and a stitch length of 0.4.
This seemed impossible at the beginning but I swear that after 6 tries, it gets better. Enjoy!!
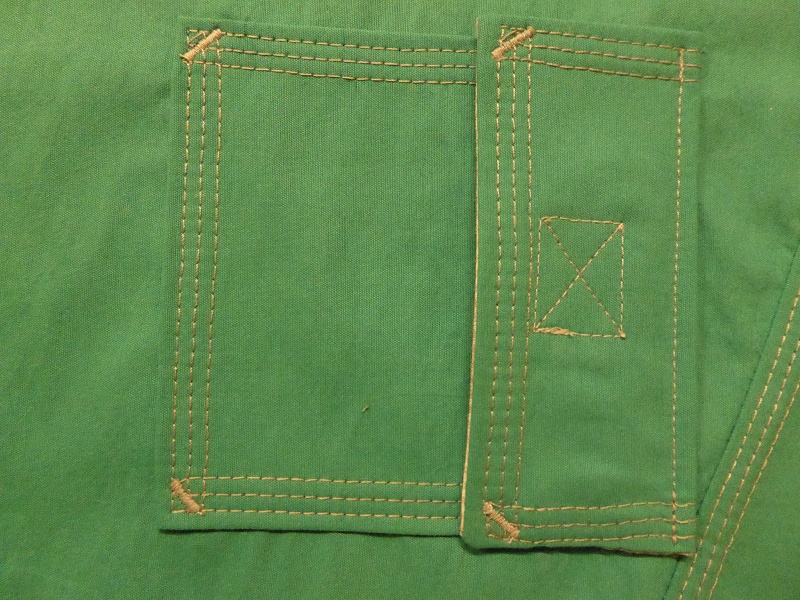
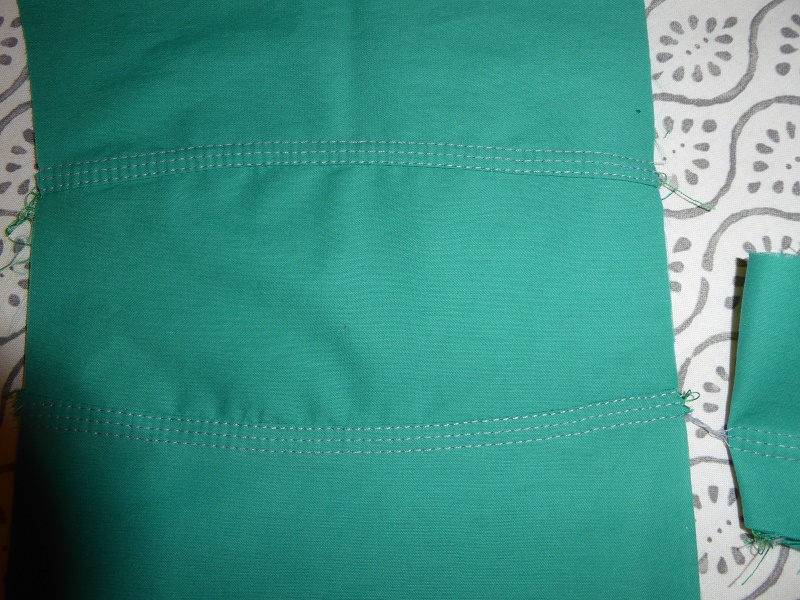
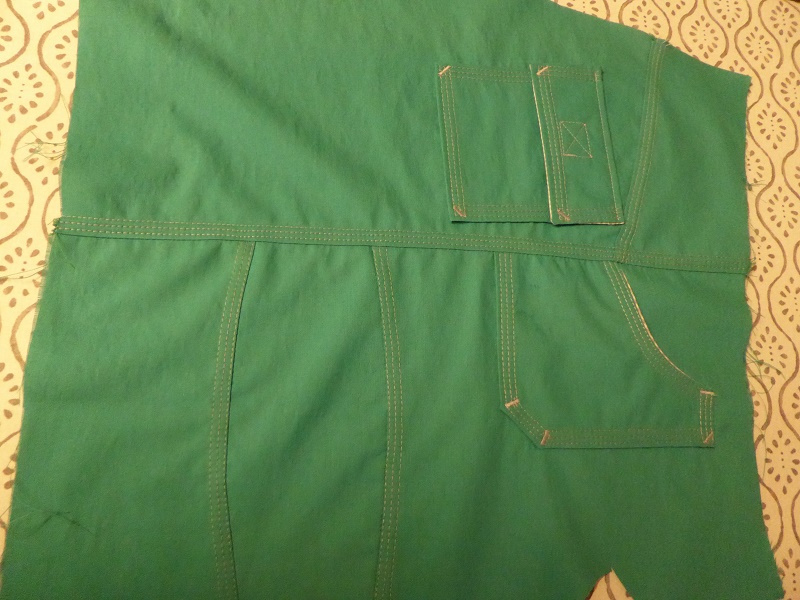
Topstitching the side seam I did not use a jump humper in one direction but I did in the other direction for the other leg because it depends how one approaches the hump, whether it is gradual or not. A sudden jump tends to get stuck and cause skipped stitches.
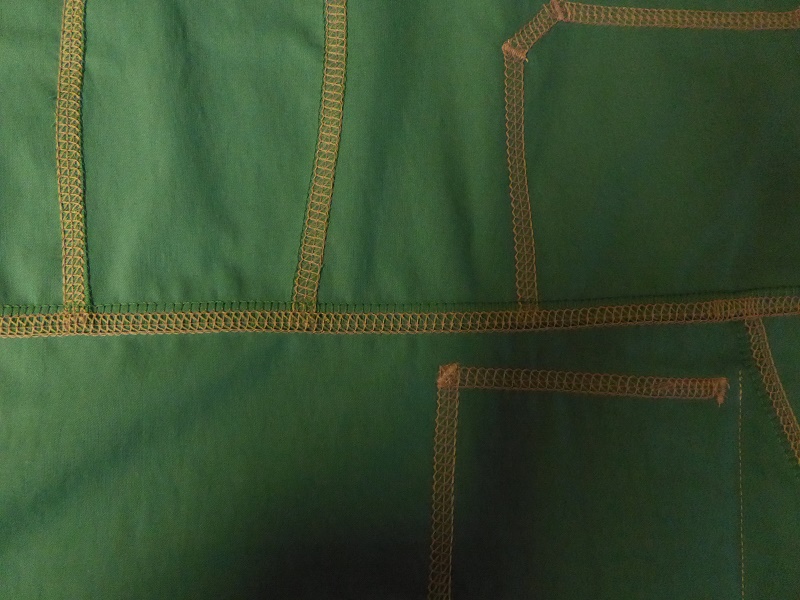
This is what the wrong side looks like.
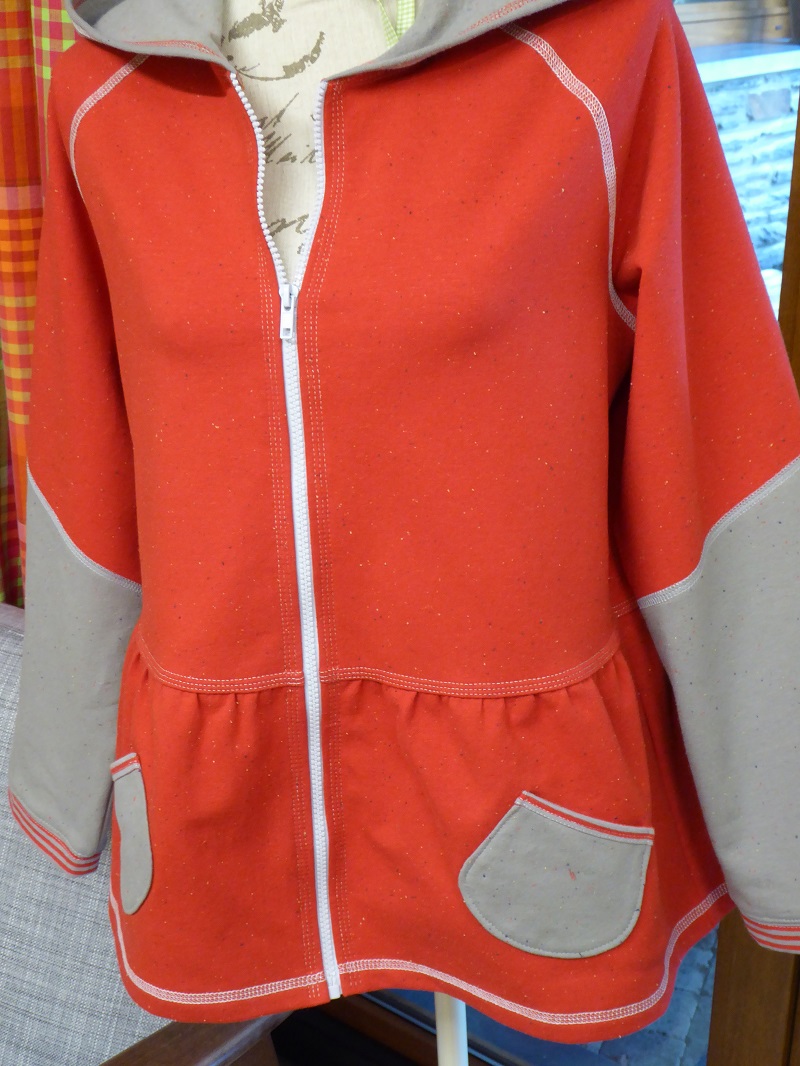
Combining two remnants to create a zippered jacket
In this jacket I have used coverstitching for several purposes.
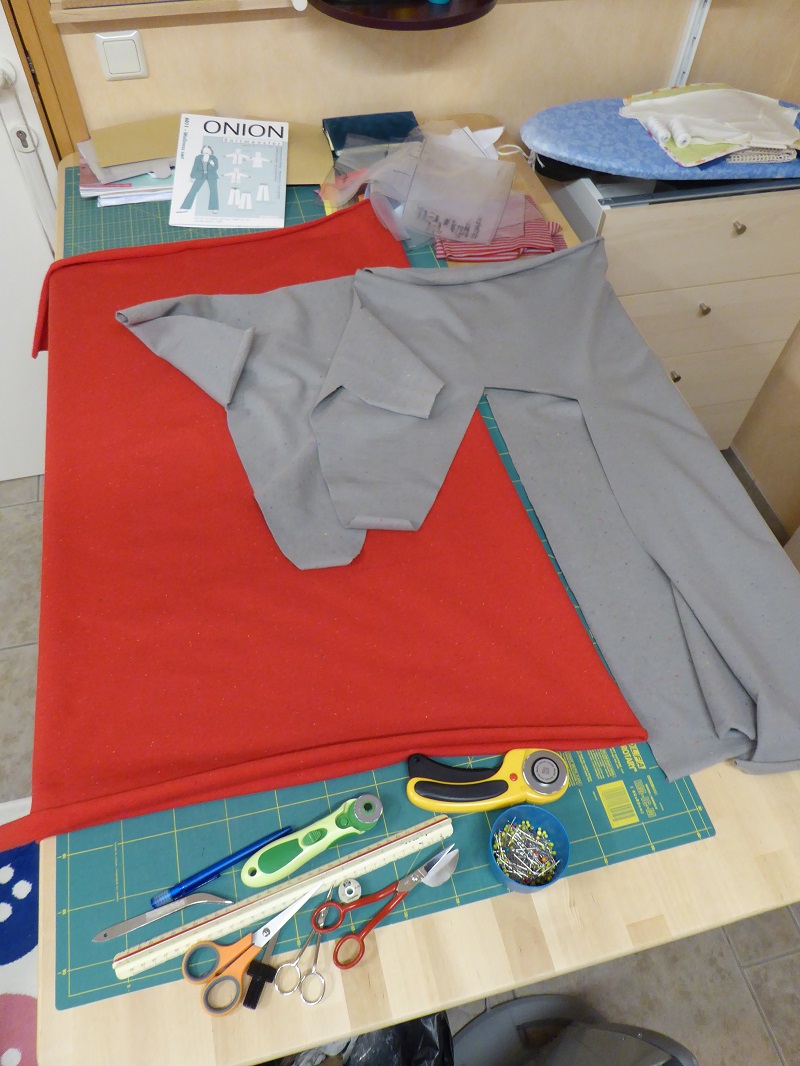
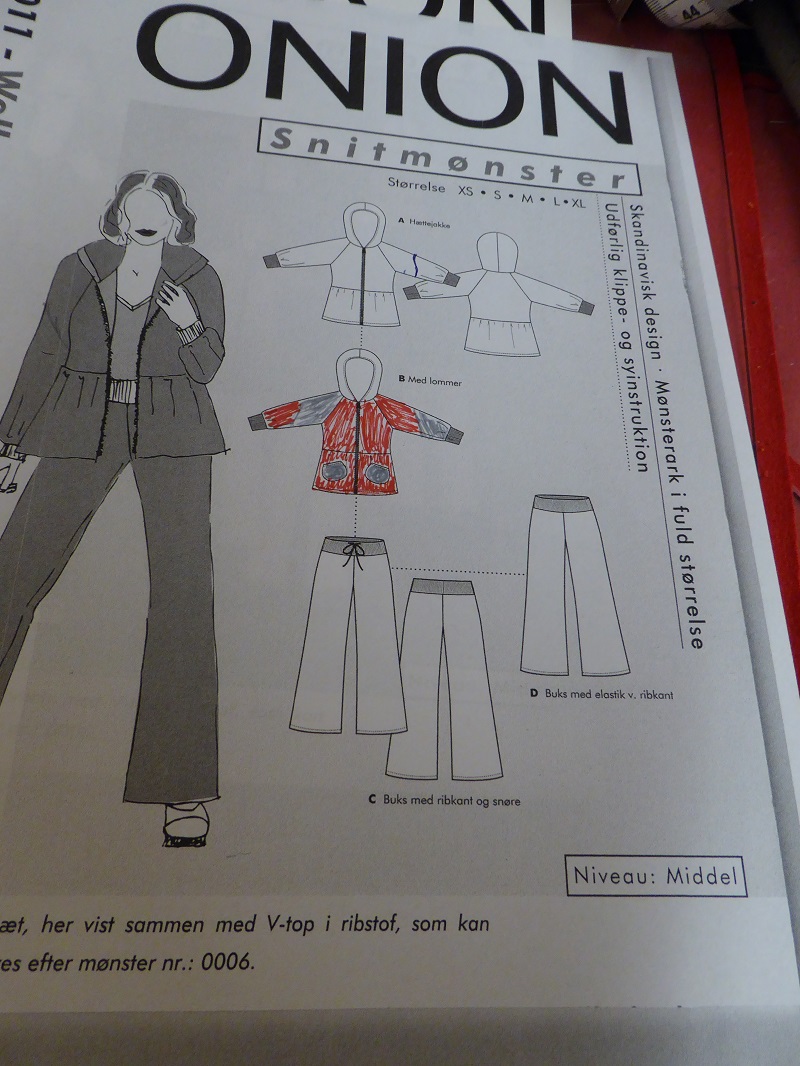
I started by picking two matching fabrics, neither of them large enough for a complete project. I made a copy of the drawing on the pattern and tried some color blocking options with crayons. For the sleeves I decided on lapped seams and you can read more about this overlay method here.
Please note that I am giving various settings for the Janome 2000 CPX and the Babylock Coverstitch machine as I used them both in this project. If you do everything on one and the same machine, make sure to plan in advance to minimize needle and setting changes. Also the settings may vary slightly between brands so please practice on scraps first.
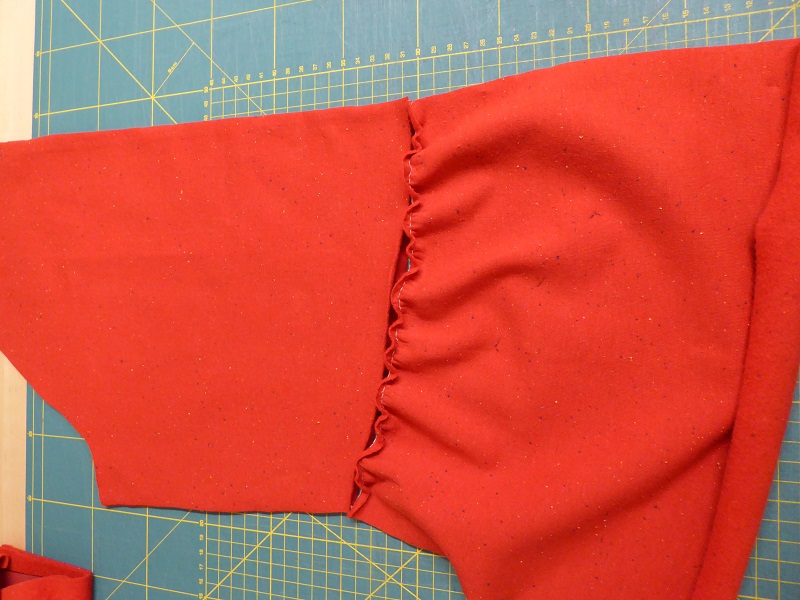
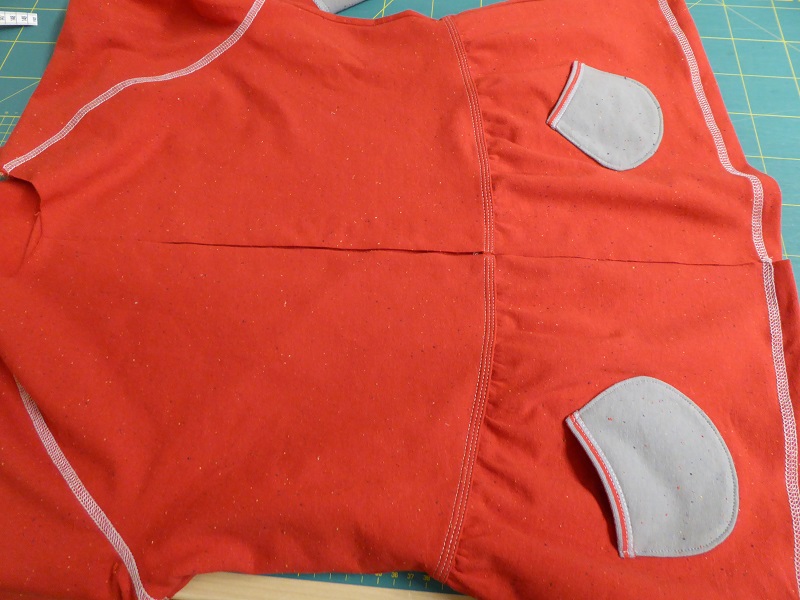
I used my Janome to gather the bottom of the jacket to match the top. This is a winter quality sweatshirt 95/5 cotton elastane fabric and I needed to reduce the bottom part by about 23%.
SETTINGS for the Janome 2000 CPX with polyester serger thread in the needle and polyester stretch thread for the looper:
Needle 3 4.5
Looper 2.5 TIGHT
Stitch length 4
Differential 1.8
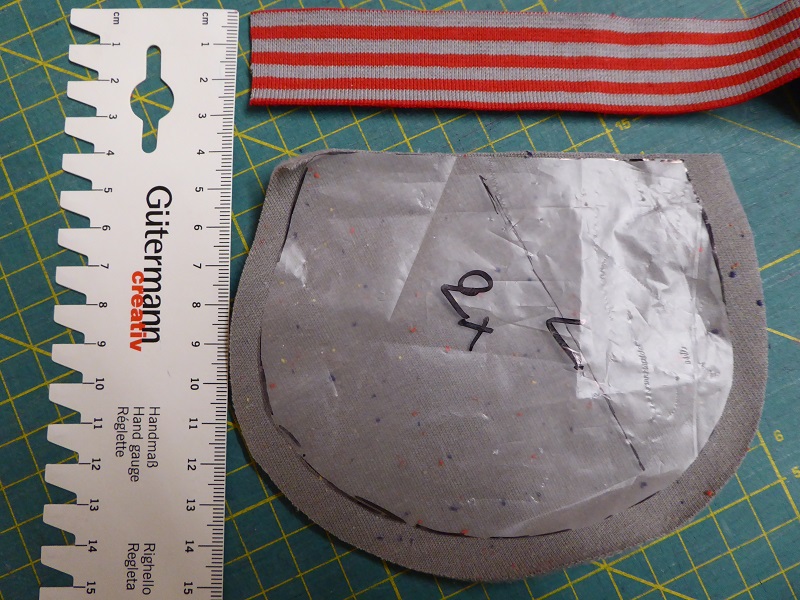
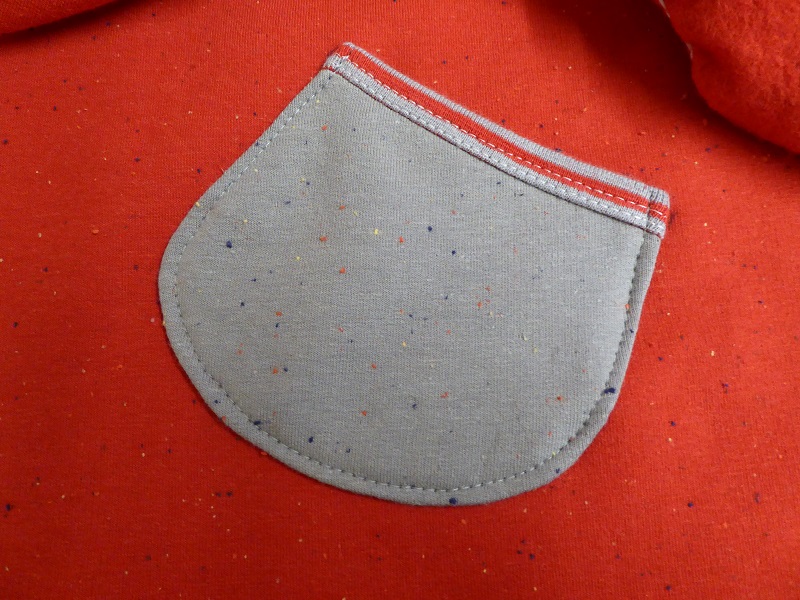
Then I prepared the pockets and I cut a 2.8cm / 1 and 1/8“ wide strip for the binding.
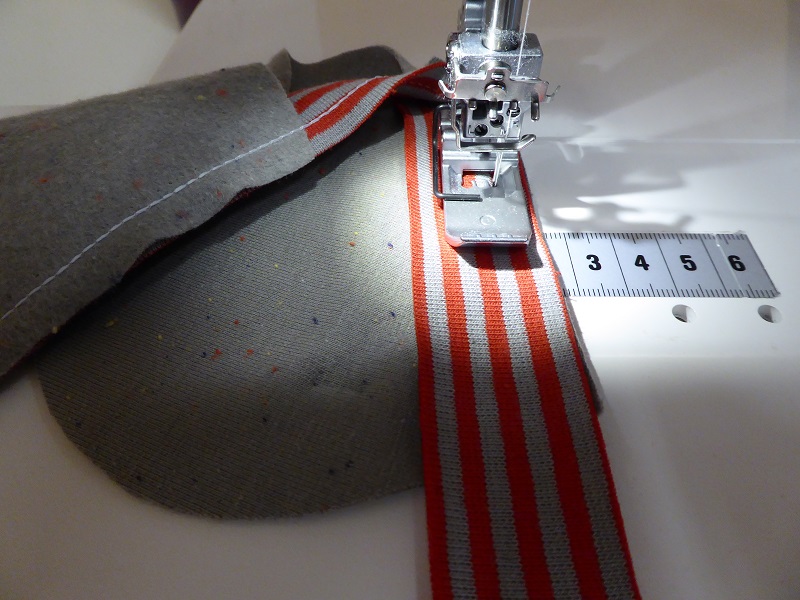
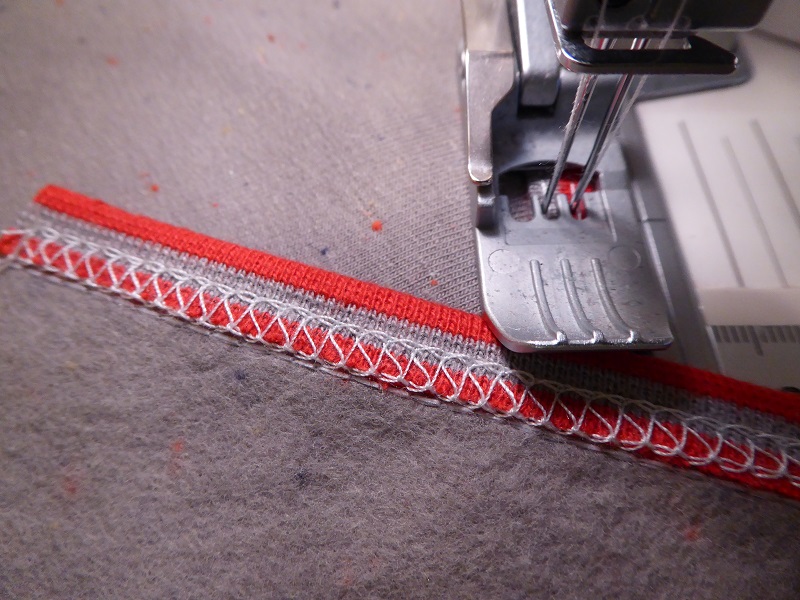
I attached the binding with the chain stitch. SETTINGS for the Janome 2000 CPX with polyester serger thread in the needle and polyester stretch thread for the looper:
Needle 3 4.5
Looper SOFT
Stitch length 3
Differential 1.25
Stitch approximately 8mm from the edge
SETTINGS for the Babylock top stitching with a 2 needles with polyester serger thread in the needles and polyester serger thread for the looper:
Needle 2 4
Needle 3 4
Looper 2.5
Stitch length 3
Differential 1.3 to 1.5
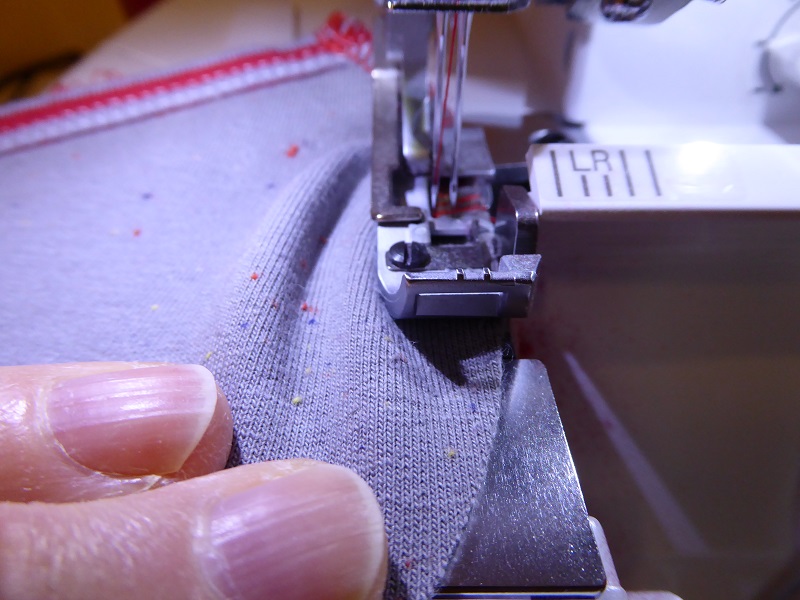
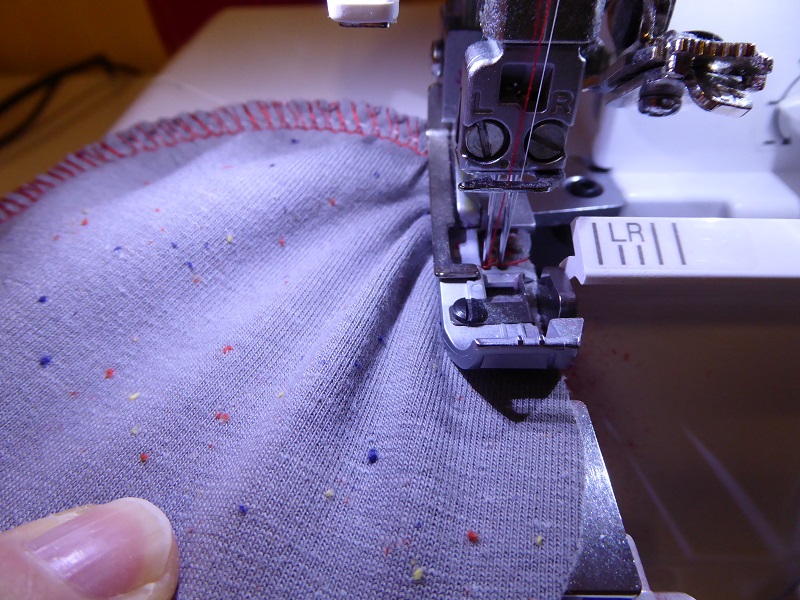
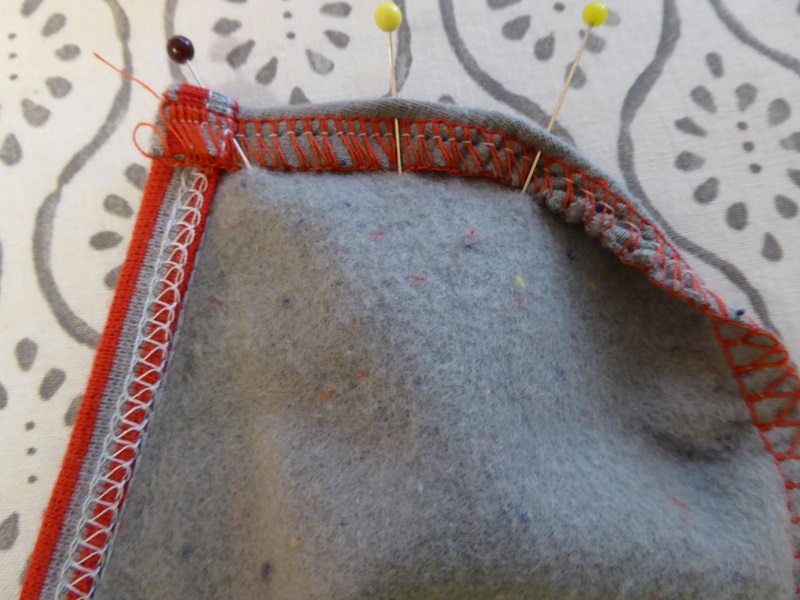
When preparing rounded pockets, I like to serge the edge first with increased stitch length and differential, so that the edges start cupping. This makes it easier to fold the seam allowance. Here I started out with regular settings and using a hump jumper to keep the foot level on the binding.
Once I got to the curved part, I increased my stitch length to 3.5 and the differential to 2 and carefully guided the curve. As I got to the other side at the end of the curve, I adjusted the stitch length and differential back to my regular settings.
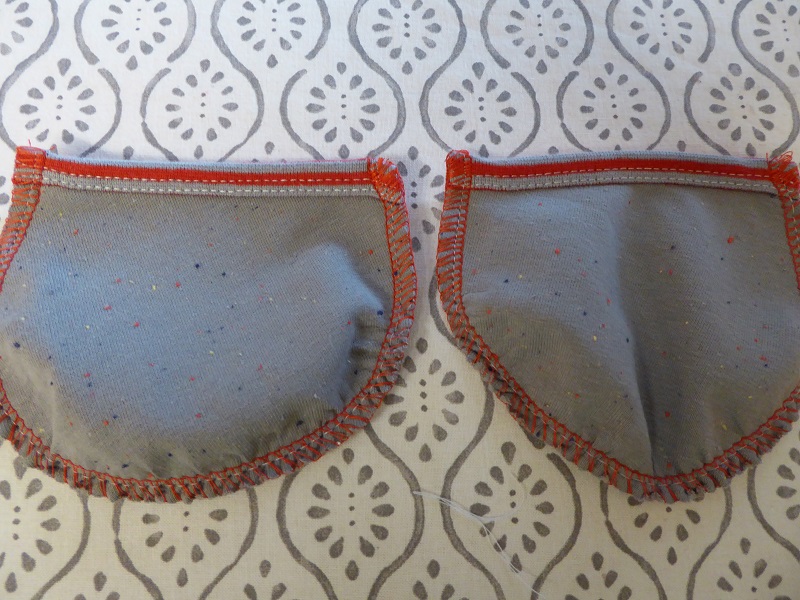
Two pockets prepared!
This way it is easy to fold the seam allowance and pin.
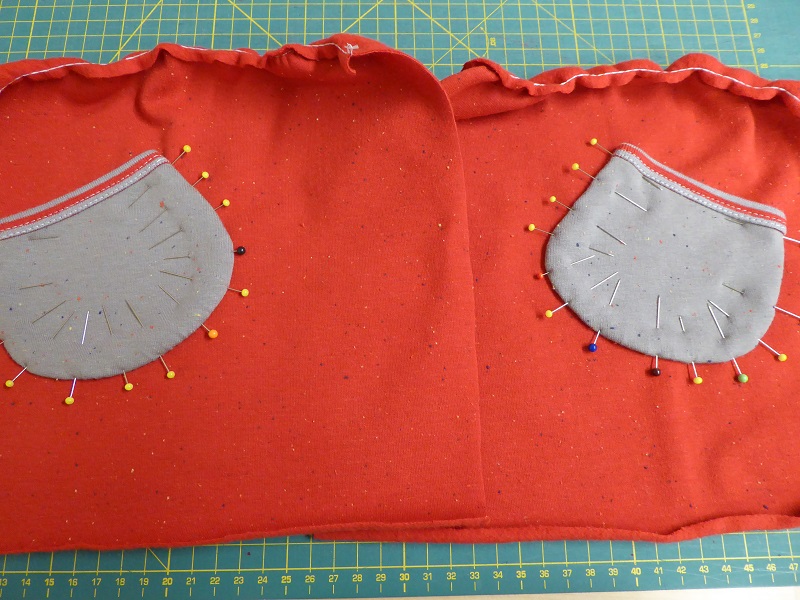
Then I positioned the pockets on the bottom parts of the jacket and I carefully removed the pins and reinserted them through the jacket.
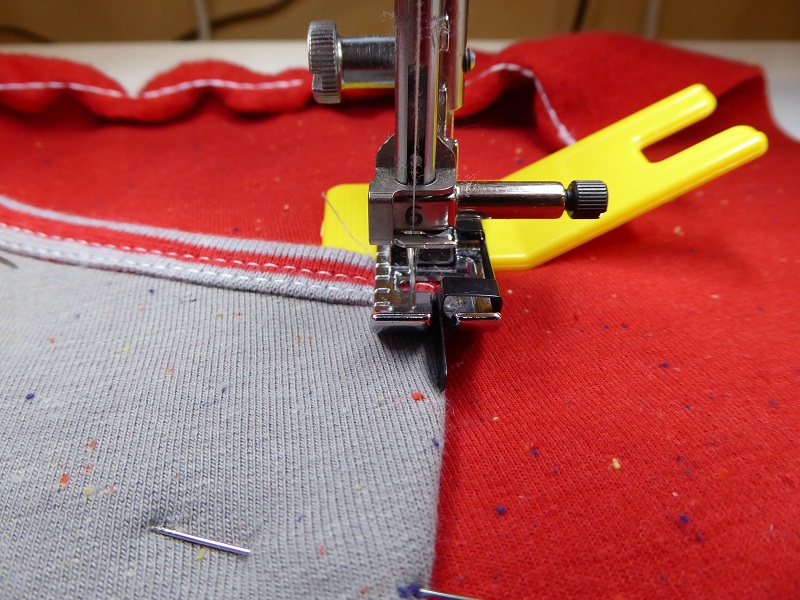
In my experience, the easiest way to attach the pockets is with a straight stitch on a regular sewing machine using a foot with a side or center guide.
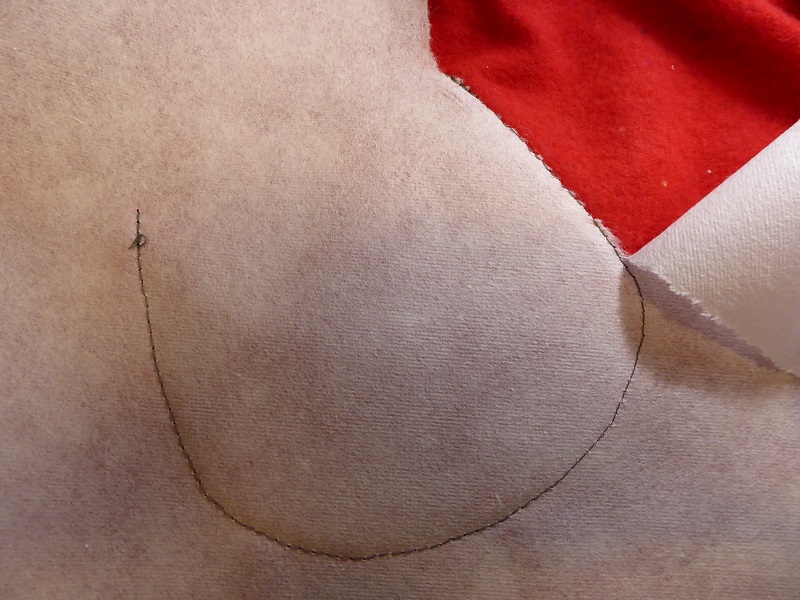
I have put a layer of tear away stabilizer underneath to prevent any unwanted stretching. Now's the time to remove it.
And voilà!!
Next I assembled the bottom and top parts, and top stitched those. Then I attached the raglan sleeves and reverse stitched those. For all the top stitching and reverse stitching on this sweater fabric I used the following SETTINGS on my Babylock Coverstitch with regular polyester serger thread in the needles and the looper:
Needle 1 4
Needle 2 4
Needle 3 4
Looper 2.5
Stitch length 3
Differential 1.5
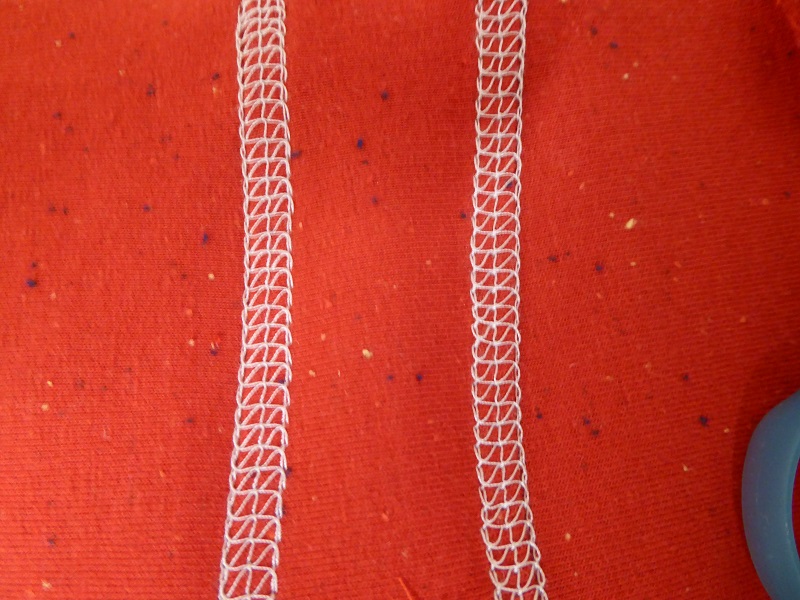
The right needle penetrates just a little to the right of the left overlocking needle thread.
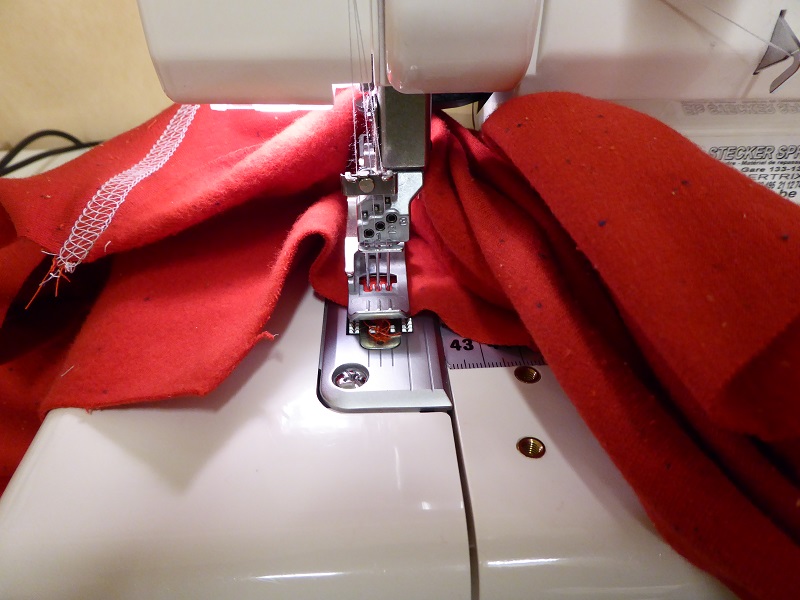
The result is a seam line that is completely covered by the decorative coverstitch looper thread. And in case you ever wondered if adult raglan sleeves pass through the Babylock harp?? They do!!
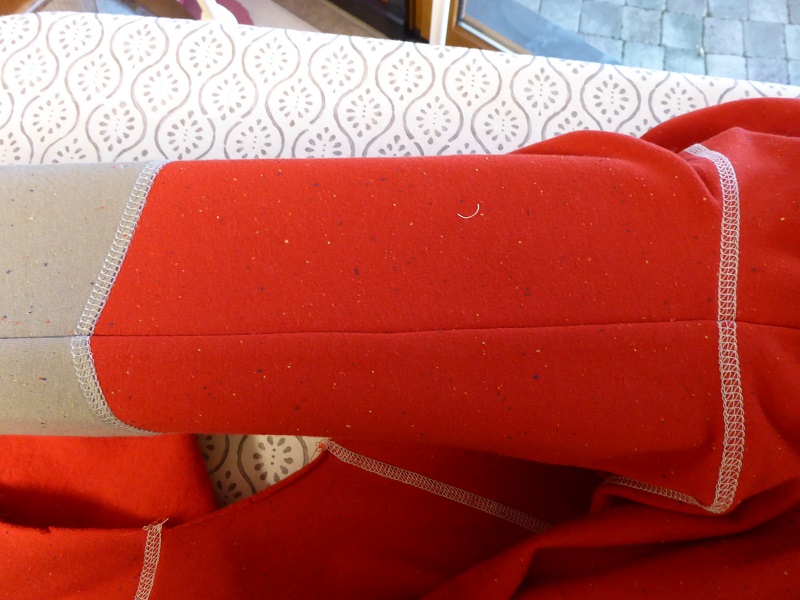
Next the side seams were closed and notice that it is important to accurately match top stitching lines for a continuous effect.
Here with sleeve bands and top stitching
Preparing the hem
The finished hem
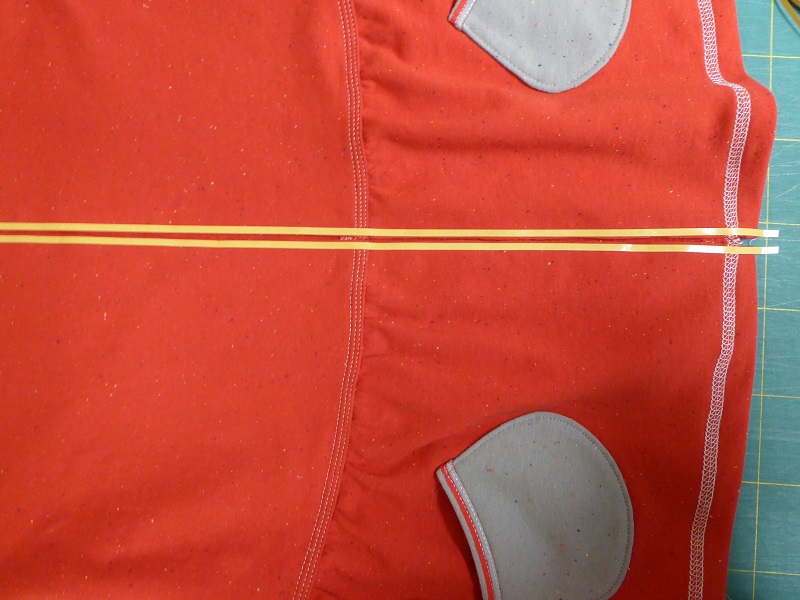
Applying double sided tape to the front edges to position the zipper
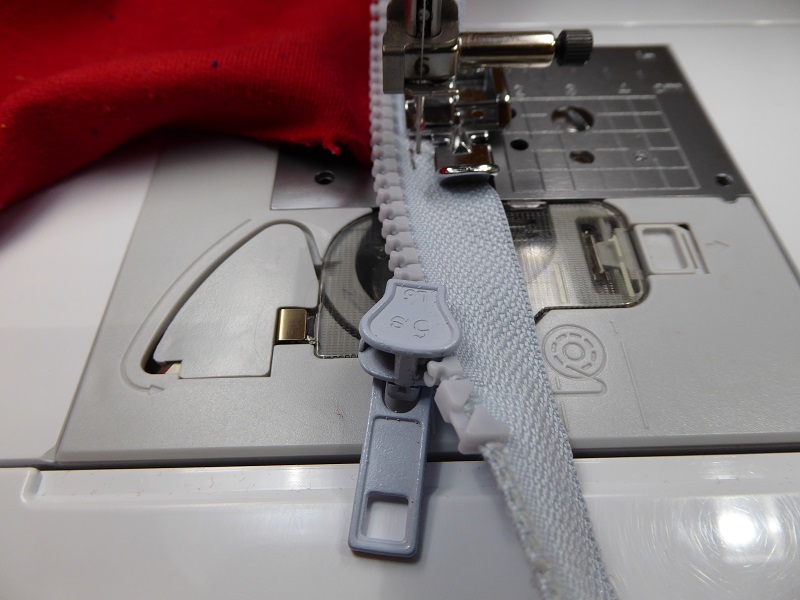
Attaching the zipper with a regular sewing machine
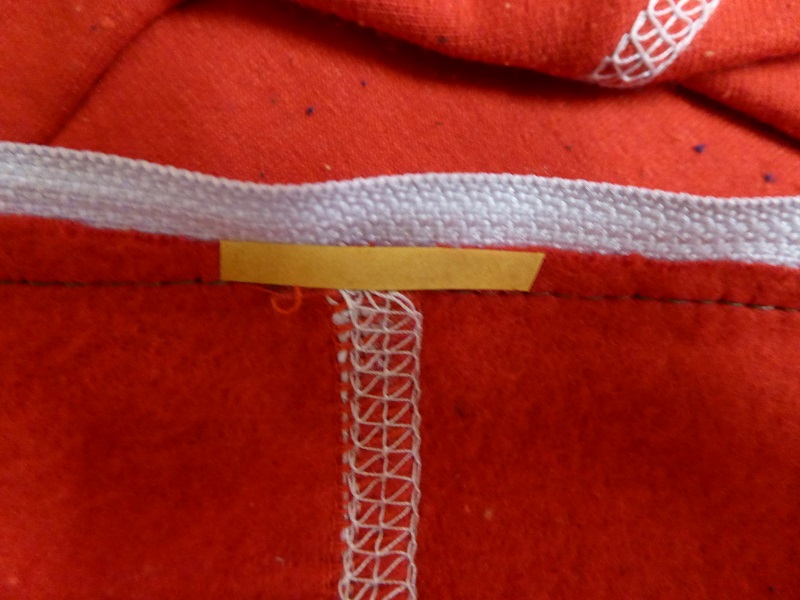
When folding the zipper, I used a small piece of double sided tape to keep the bulky seam line in place.
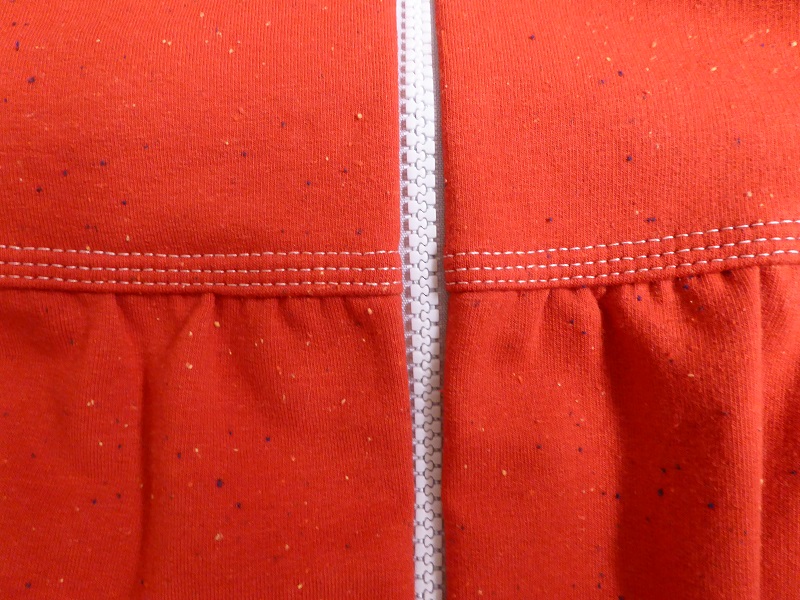
Looks OK?
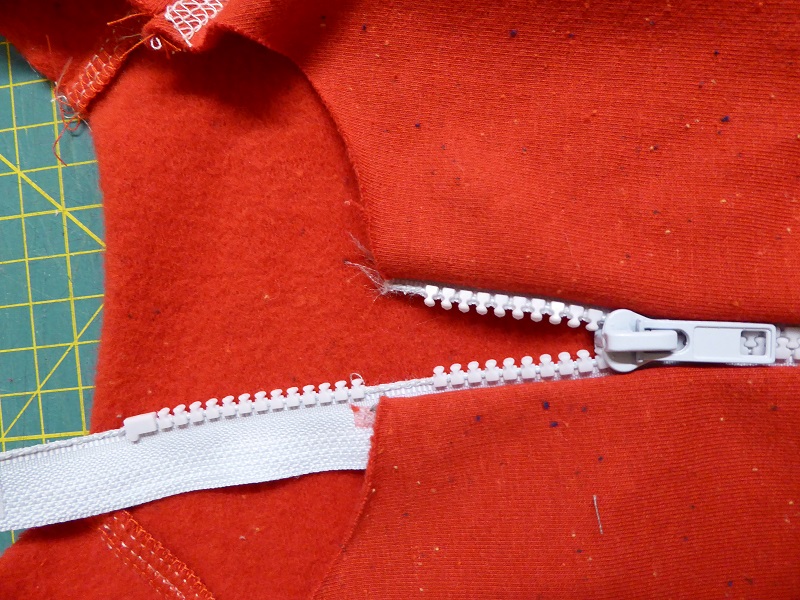
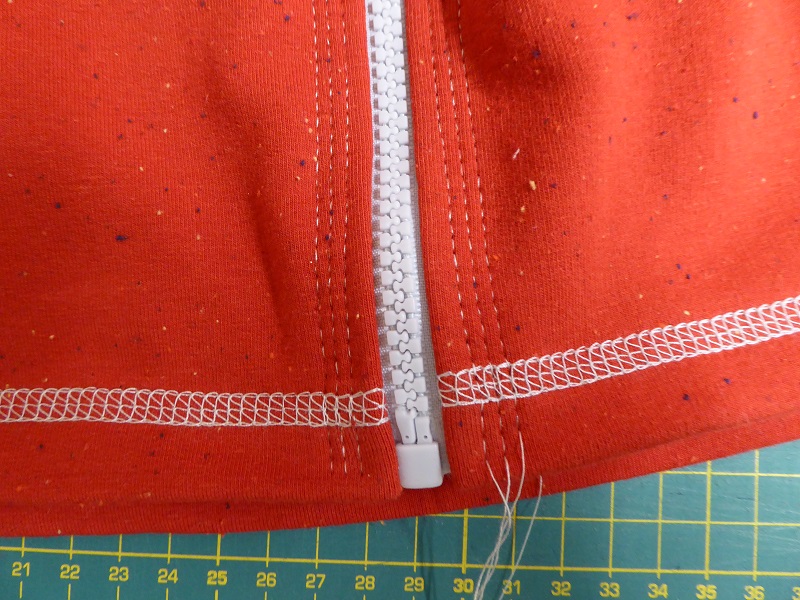
The zipper should be longer than the project so that a few teeth can be removed and the zipper band can be trimmed as needed.
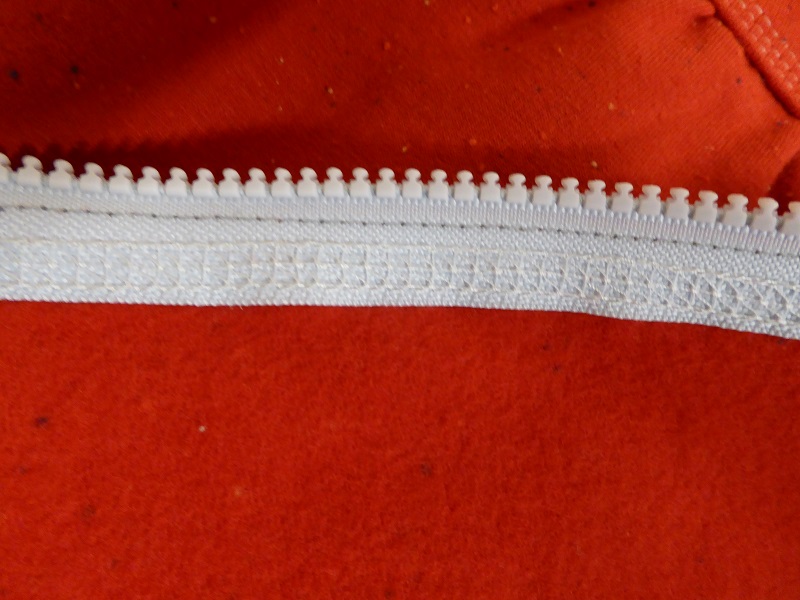
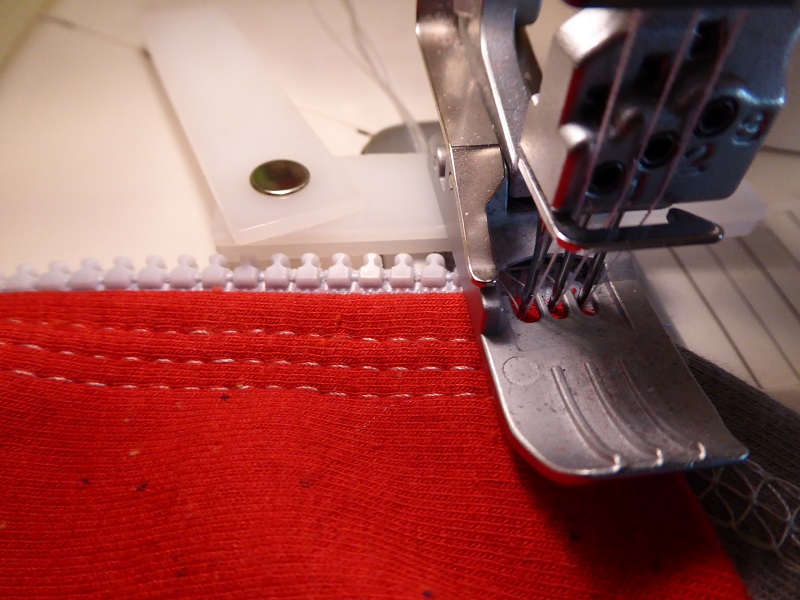
Top stitching as close to the teeth as possible
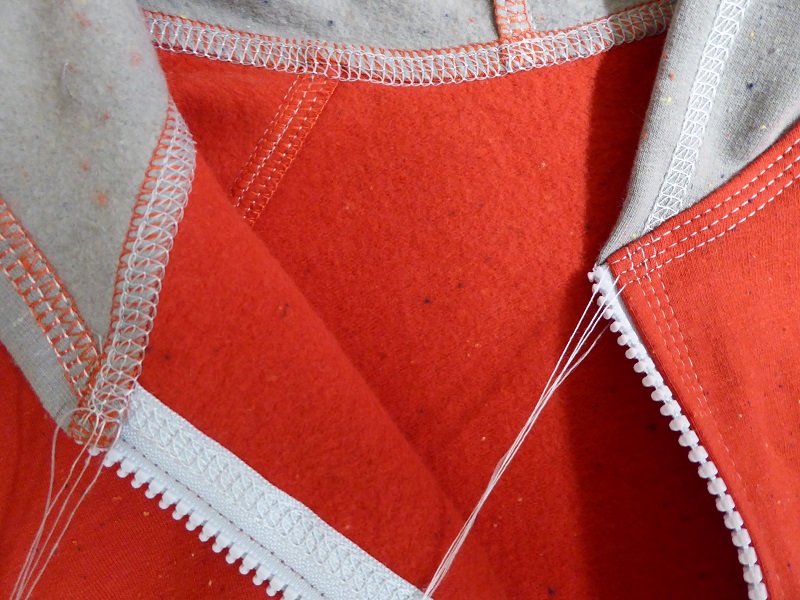
And this is what it looks like on the wrong side
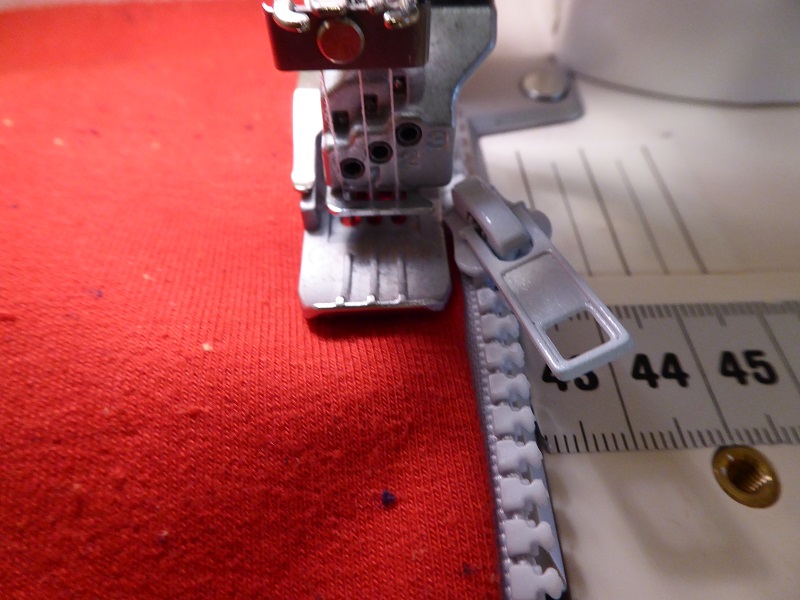
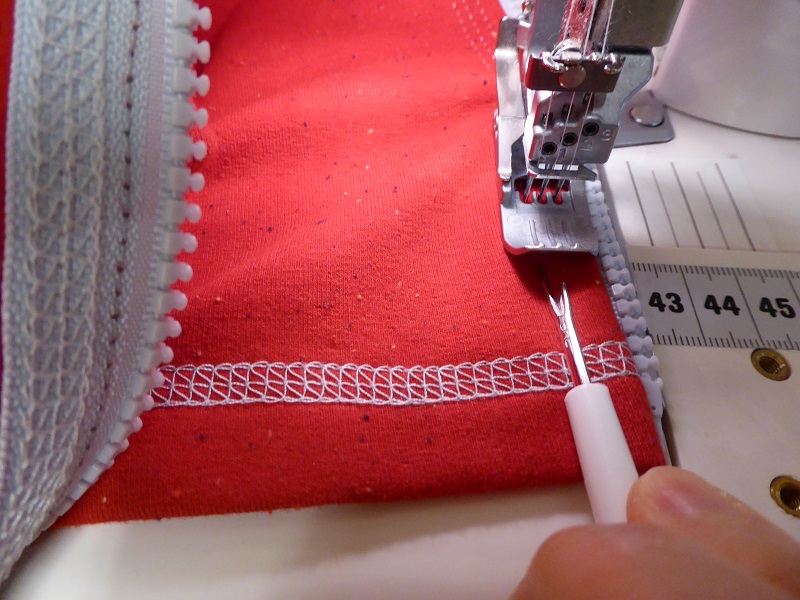
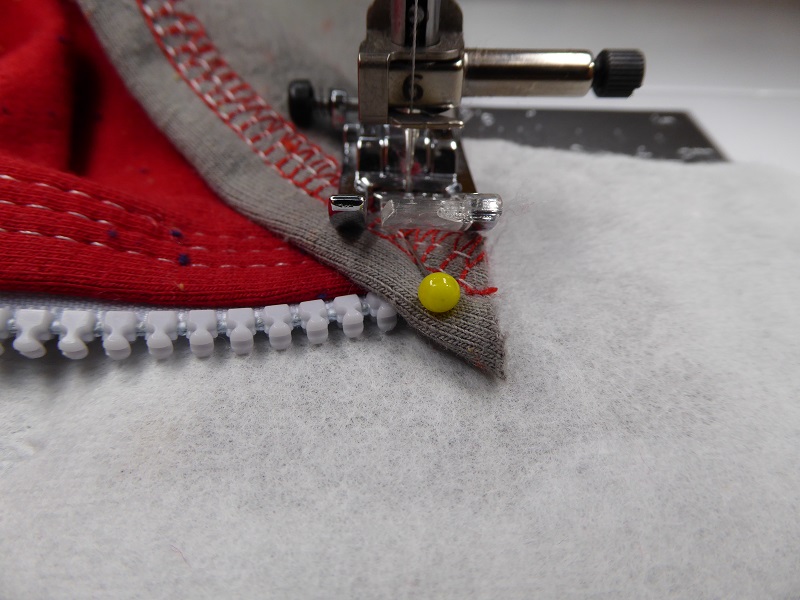
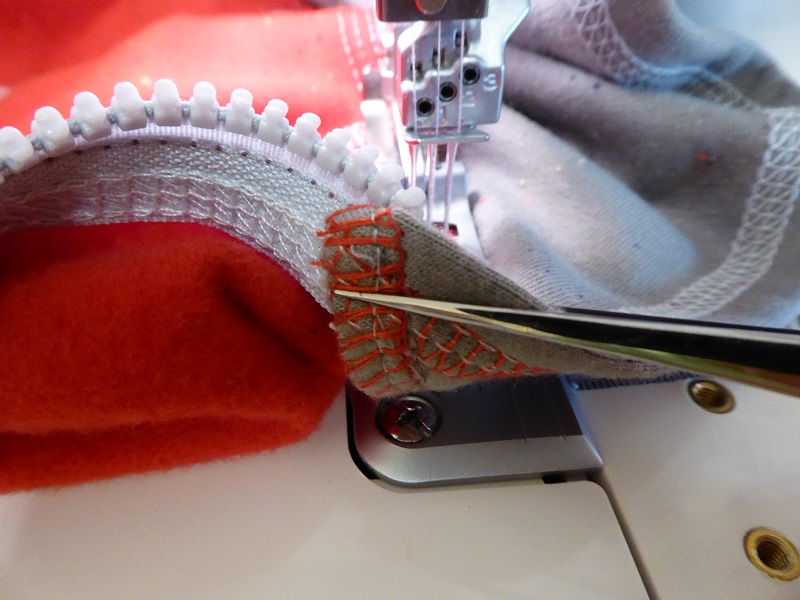
When top stitching the zipper, it is important to keep the layers from shifting so I use a thread ripper to gently press down in front of the sewing foot.
As I reach the end, I usually turn the wheel by hand to finish the last couple of stitches and the tails need to be secured properly.
The hood parts were assembled and hemmed.
Before turning to the serger, I attached the extremities of the hood with a few stitches to the front of the jacket.
And another row of top stitching
When starting on the edge, I always use a hump jumper to help the edge move forward and I hold on to the thread tails to make sure that the stitches start forming right away.
Not too bad!
And TADA…… one more finished jacket.

