Table of Contents
Binding
Binding was my second reason for buying a coverstitch machine. I wanted a professional home made look ![]() and stretch that could take some kid-testing.
and stretch that could take some kid-testing.
There are so many options to choose from. I guess whatever is under the presser foot right now is a good place to start?
Double folded binding with the chain stitch
Double folded binding consists of 4 layers of binding fabric wrapping around the edge of part of a garment. When I work with knits, I prefer to attach the right side of a strip of ribbing or self-fabric to the wrong side of the garment. In the next step I turn over the binding, I fold the other edge and I top stitch.
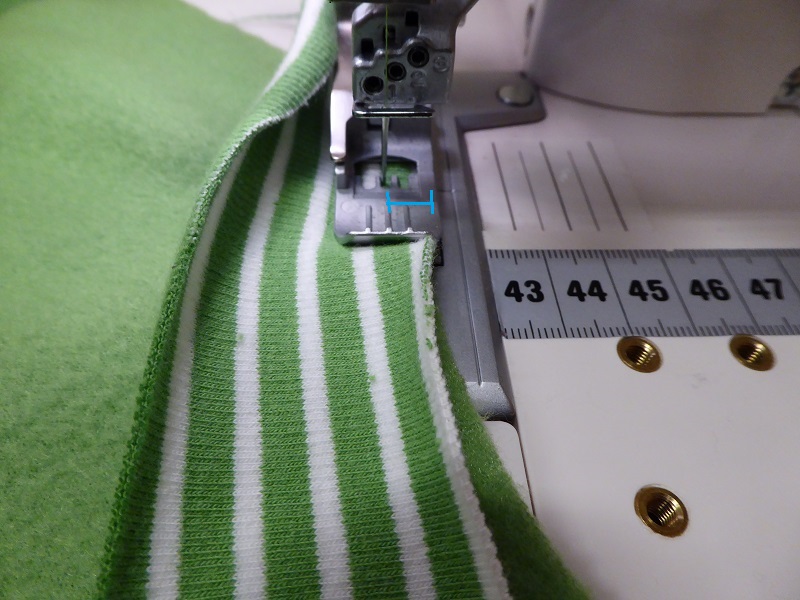
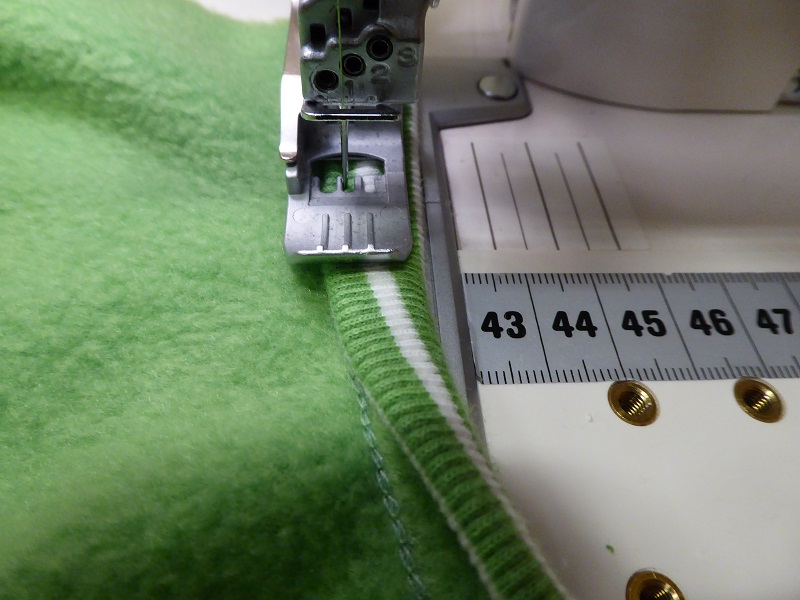
In this first example I have chosen the chain stitch to bind a fleece pocket with ribbing. I have attached a 4,2 cm / 1 and 10/16 inch strip of ribbing with the right side to the wrong side of the pocket. I am using regular polyester sewing thread in the needle and the looper and a needle ELx705 SUK 90/14. A layer of fleece fabric plus a layer of ribbing require a higher differential setting to make sure that the heavier fabrics are moving well. I am stitching at +/- 7mm / 5/16 inch from the edge to attach the ribbing.
SETTINGS:
Needle 4
Looper 1.5
Stitch length 2.75
Differential 1.5
Then I turn over the ribbing to the right side and fold it so that the part of the ribbing on the right side is slightly wider than the ribbing on the wrong side. This way the chain is covered by the binding and in this case I chose to fold it so that the white stripe would end up in the centre of the binding.
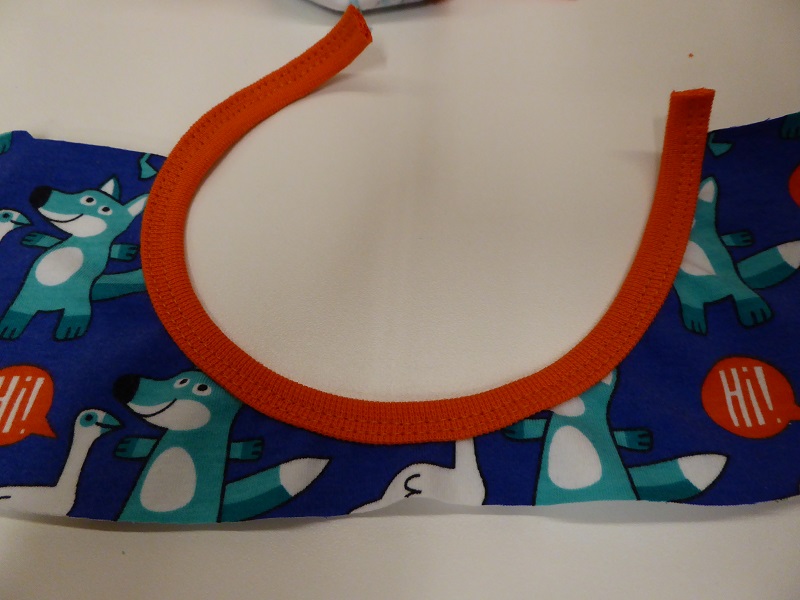
And this is what the finished pocket binding looks like.
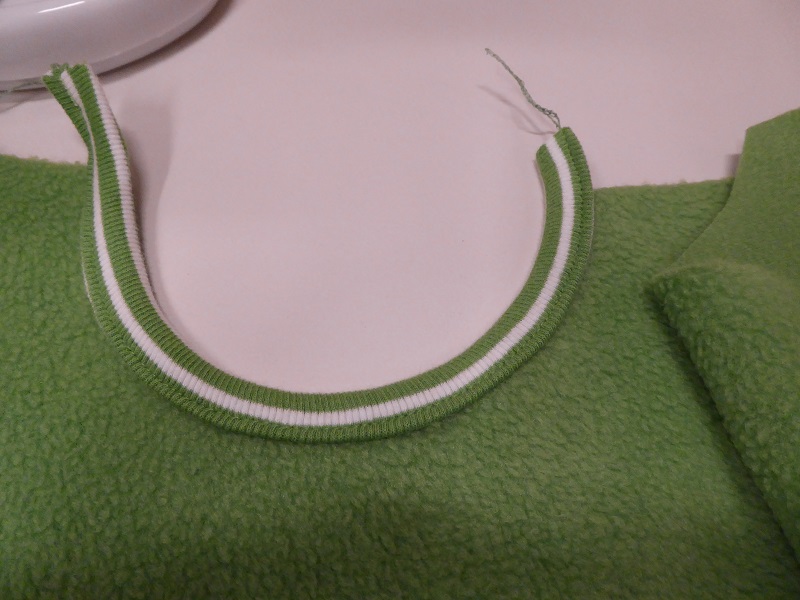
Binding with the chain stitch works well when there is no need for maximum stretch: on pockets, T-shirts with wide necklines, armholes etc. If your children want to try and fit their knees into their pockets, I recommend a 2 needle coverstitch. ![]()
Binding a V-neckline
Here I am showing how to use the Coverstitch machine to do both; attaching AND top-stitching the binding. I might also attach the binding with my serger or even with my sewing machine but I prefer to work with one needle and the chain stitch because this allows me to create a neat turn at the point of the V and use the differential to deal with the stretch in the fabric and the binding.
I sew one shoulder seam, press the seam towards the back and snip the V +/- 7mm / 1/4“.
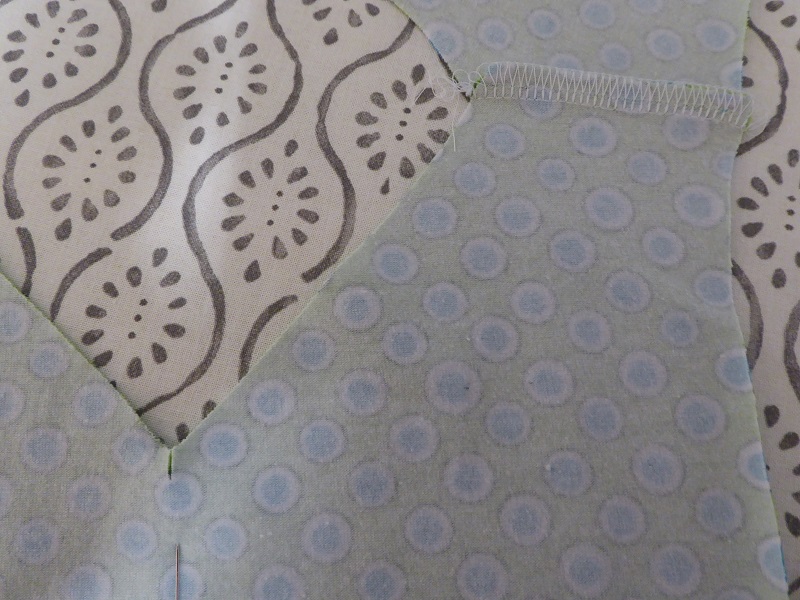
Then I cut a piece of binding, in this case a strip of cotton lycra knit, 4cm wide.
I attach the binding with the chain stitch using the centre needle, polyester all purpose sewing thread in the needle, woolly nylon in the looper and I sew at approx. 8 to 9 millimeters or 5/16” from the edge.
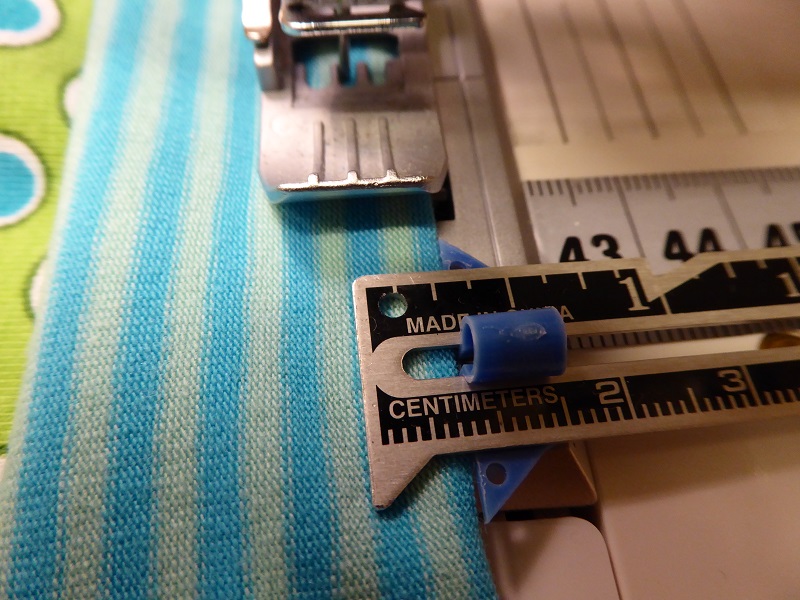
SETTINGS for the Babylock CoverStitch
Needle 4
Looper 0.25
Stitch length 2.75
Differential 1.3
I try to go slowly when getting near the turning point, turning the wheel by hand if necessary. With the needle at its lowest position, I raise the presser foot, I turn the fabric aligning the binding to the second part of the V-neck and I lower the presser foot to finish sewing the binding.
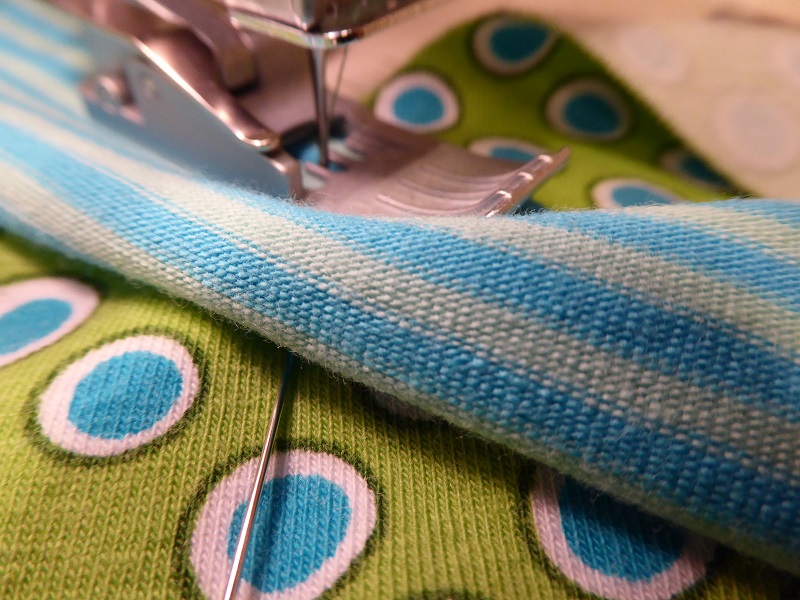
This is what the wrong side of the point looks like after attaching the binding.
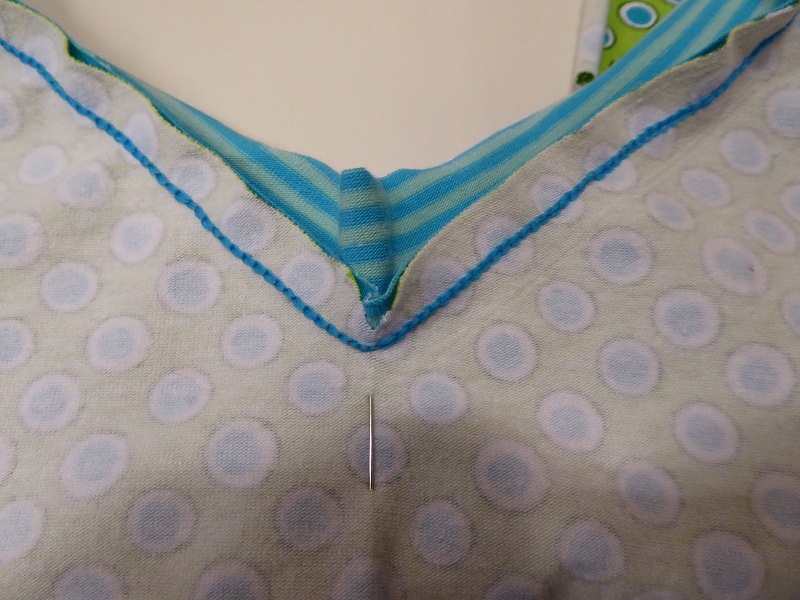
Next I add the left needle. I thread it with similar pes thread, fold over the binding and top stitch close to the left edge of the binding with a 2 needle narrow coverstitch.
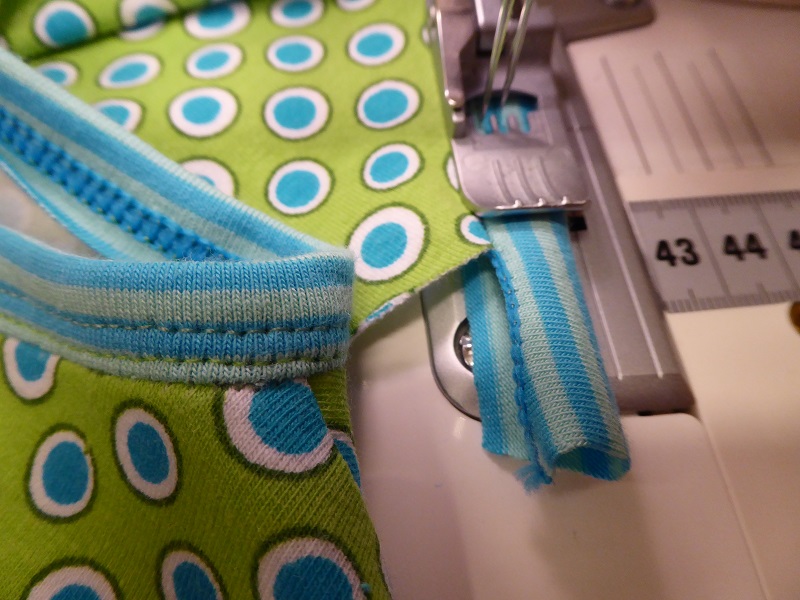
Since I deliberately cut the binding strip too wide, I use appliqué or pelican cissors to trim the binding. Sometimes I choose the width of the binding so that it will just be covered by the looper thread. The advantage of cutting it slightly larger, is that this will often improve the feeding of very stretchy fabrics.
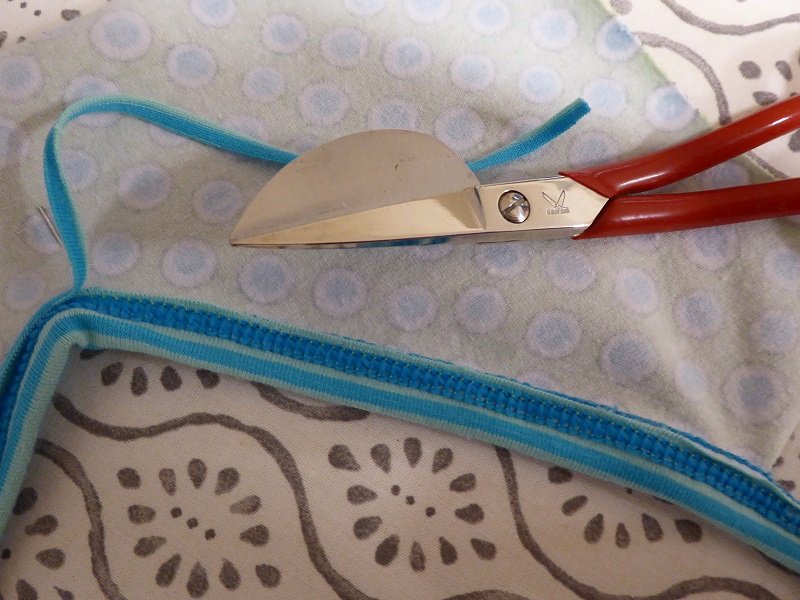
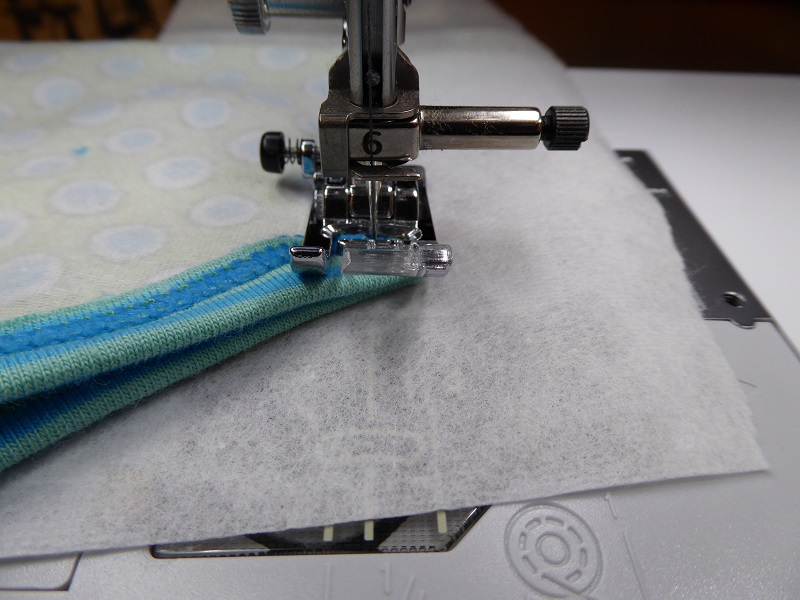
THIS IS THE IMPORTANT part about the V-neck. To get that point to look really neat and flat without folds or ugly wrinkles, I fold the front along the centre right sides together. I sew the point of the V on my sewing machine, putting a piece of tear away stabilizer underneath and making sure that my stitching does NOT GO BEYOND the thread of the left coverstitch needle (see pin).
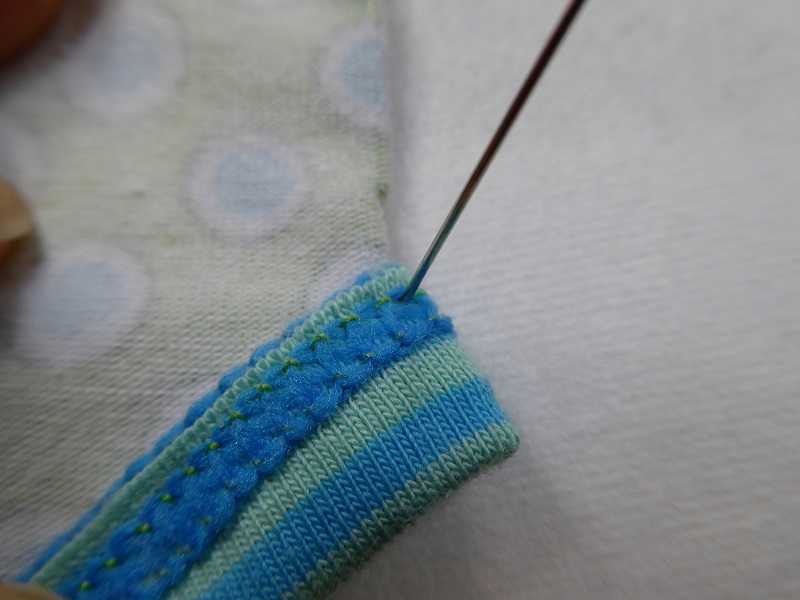
In the next image you will see the V stitched in grey.
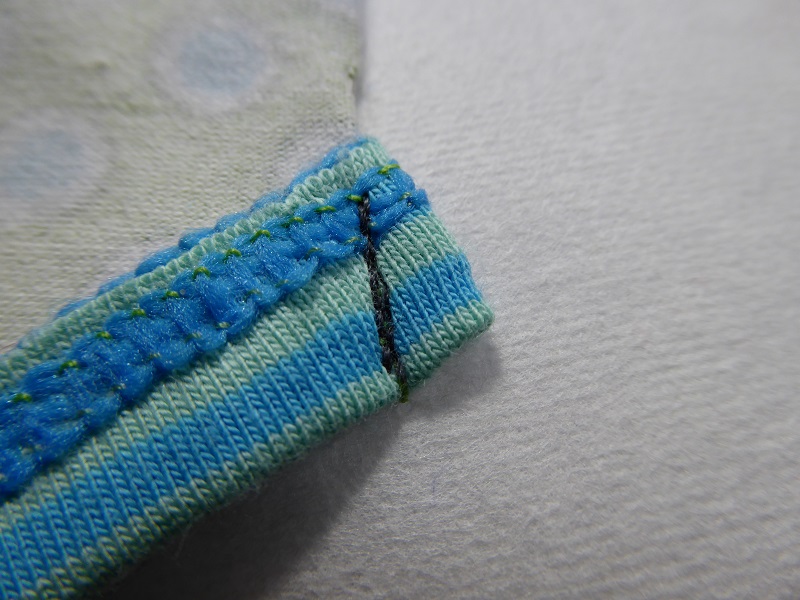
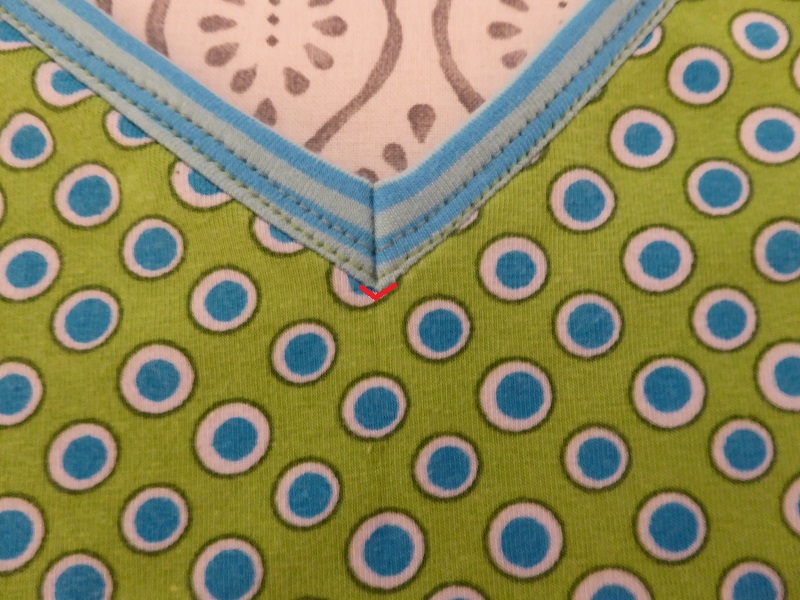
I remove the tear away stabilizer and voilà that is what the V looks like. Notice how it lies flat along the red marks? This is why I should NOT stitch beyond that left needle thread.
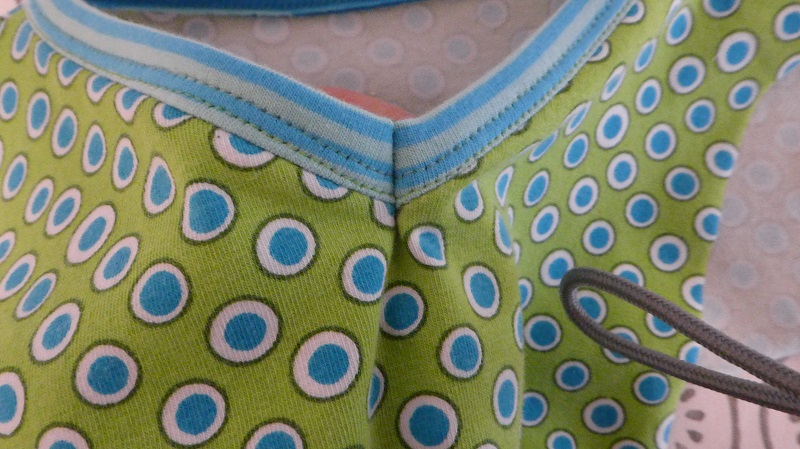
And here I am pinching the V to show what it would look like if I would go beyond the left needle thread.
Then I close the second shoulder seam, first securing the starting point with my sewing machine to make sure both sides align nicely. I overlock the seam and top stitch with a few stitches to secure.
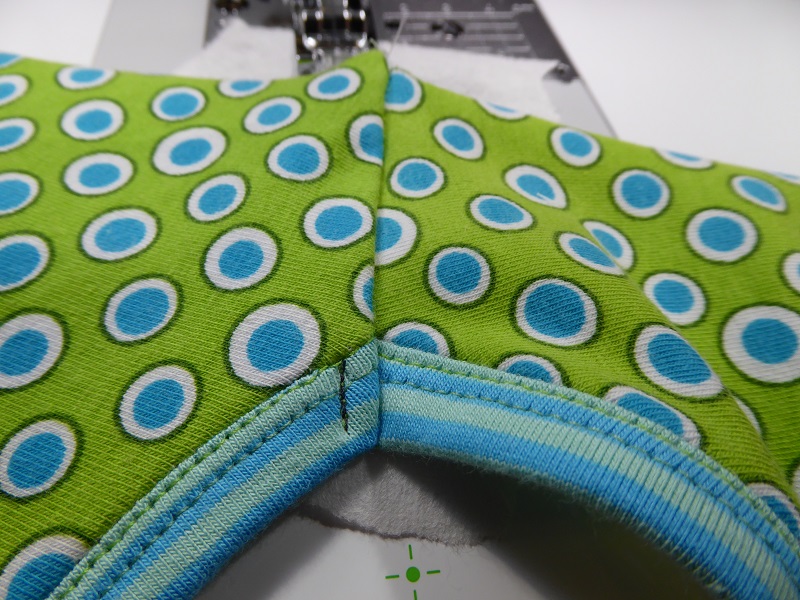
This is what the point looks on the wrong side. That little nub can be left or snipped and secured with a few stitches.
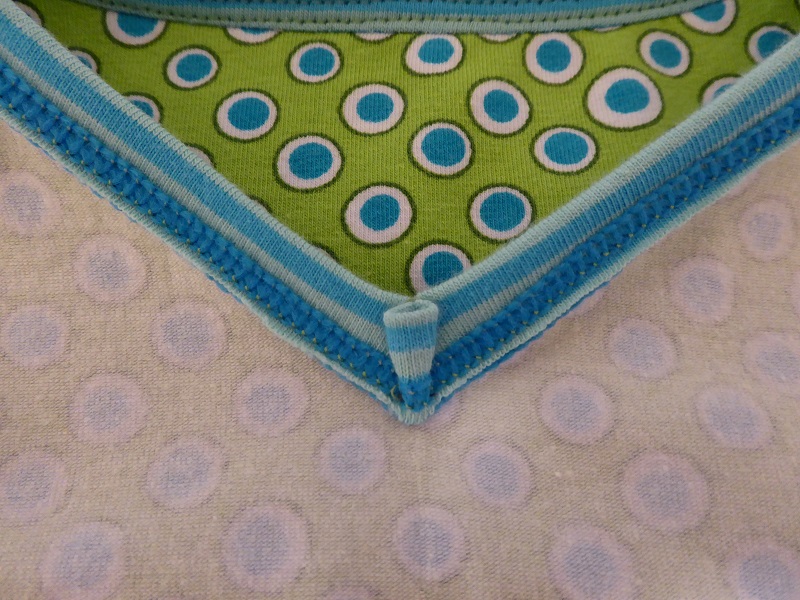
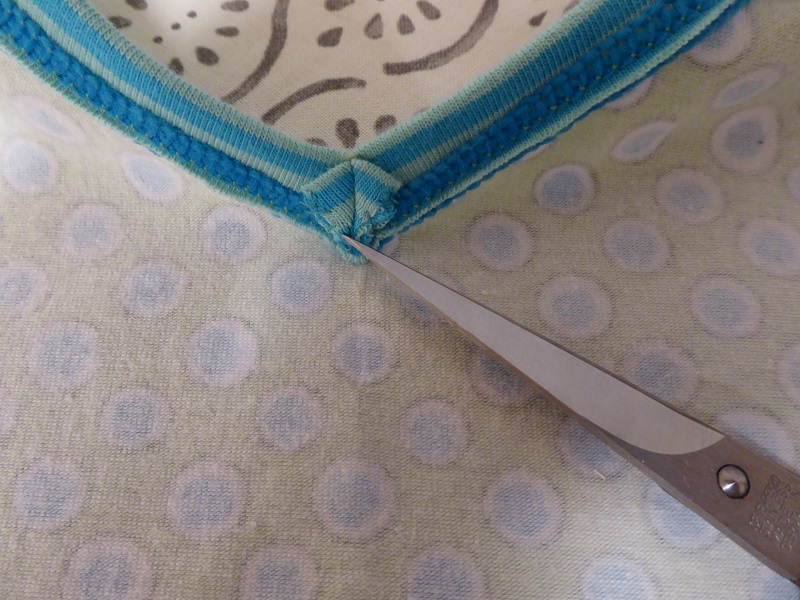
And here is the finished neckline.
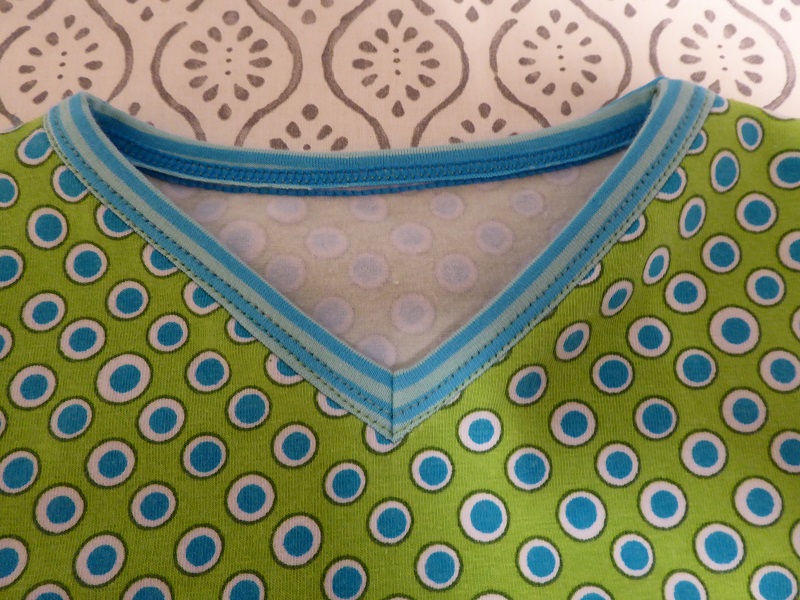
Another mystery solved! ![]()
The binder accessory
Binders come in a variety of sizes and types with specific attachment plates or generic ones. I prefer to keep binding simple. When I am binding 1 t-shirt neckline with self fabric, it isn't worth the trouble using a binder IMO. It takes some time to position the binder and when I am working with cotton lycra knit, the tape tends to curl towards the right side across the grain which makes it difficult to feed and fold the strip in the binder. Some people like using starch, but this again takes time. It is just as easy to attach the strip with a serger or with the chain stitch, then fold it and top stitch with a double needle narrow coverstitch as illustrated above.
If you want to learn how to get the stretch just right, I suggest that you cut a couple of test half necklines from scraps. Then try attaching the binding tape with the chain stitch. When you get to the end, don't tie off but lift the presser foot and turn the hand wheel a full turn backwards. That way the last stitch will unlock. Now press your fingers on the threads so they don't come undone and remove the test piece. Then you can look at the result and decide if you need to stretch more or less. Then simply remove the stitches and start over. It took me 6 to 12 tries to develop a reasonable feeling for the job.
Binders are great however for making a dozen onesies or several t-shirts, pajama's or underwear that requires a lot of binding. My preferred type and size is the A-style, cut size 28mm / 1 and 1/8“. A-style means that the binding tape is folded on top and not folded at the bottom.
How to cut continuous binding
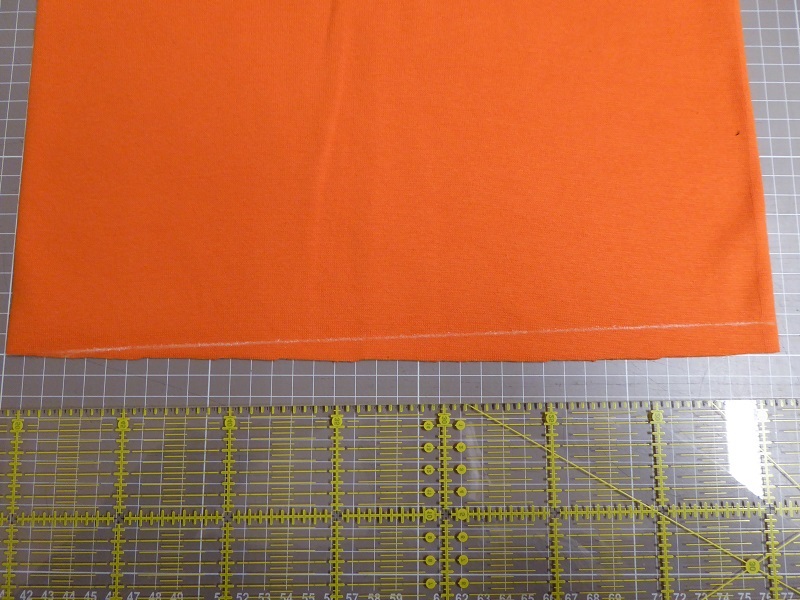
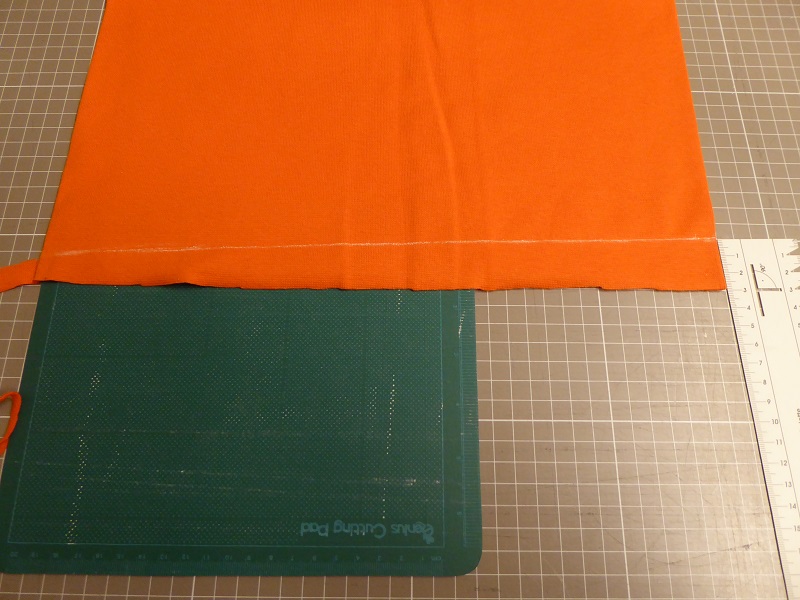
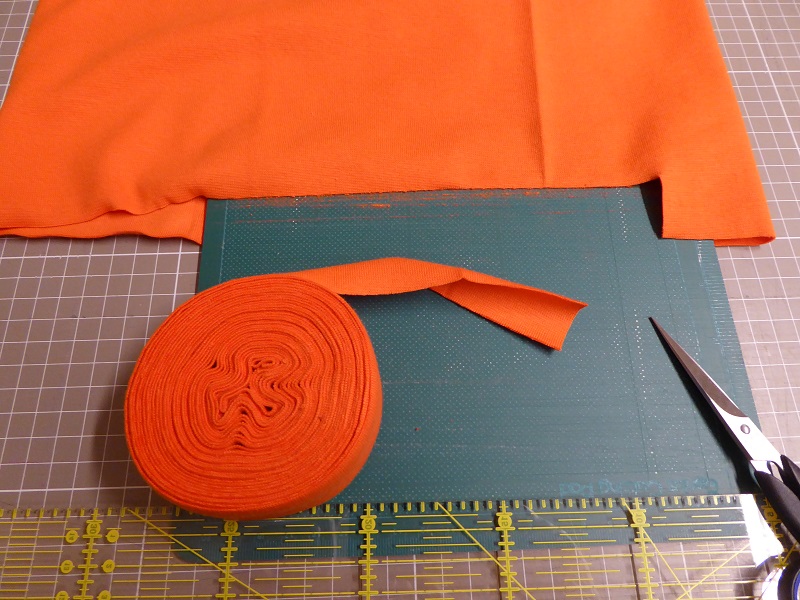
I prefer light to medium weight tubular binding for this method. The first line is drawn from zero to half the height of the binding tape, in this case 14mm.
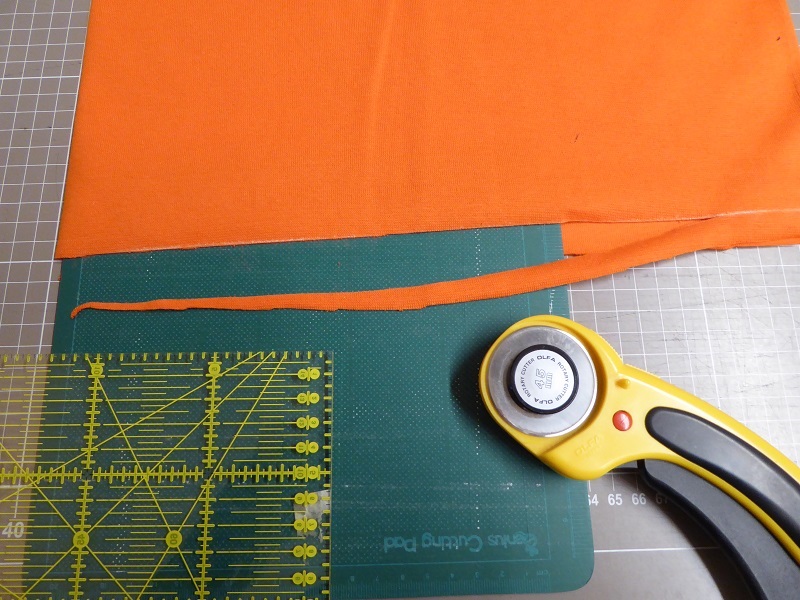
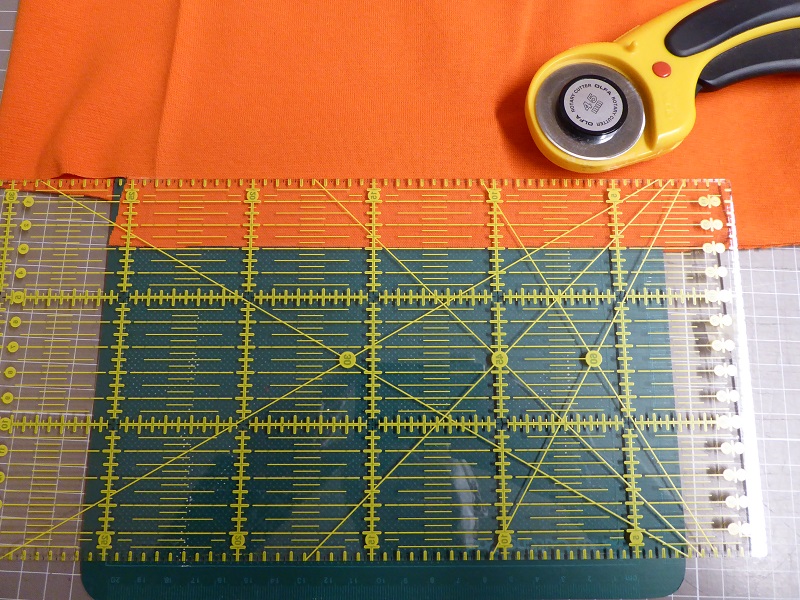
I use a small cutting pad, a transparent ruler and a rotary cutter to remove that triangle.
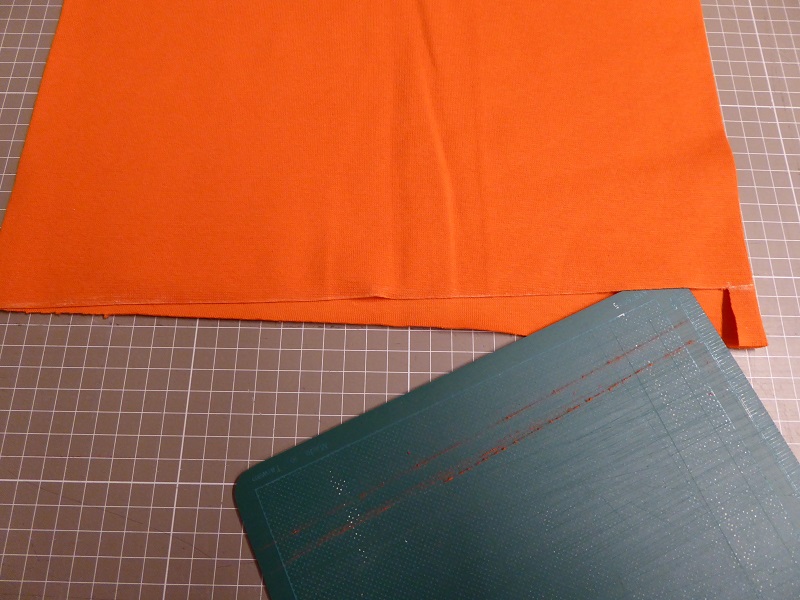
Then I turn the fabric and I draw a line connecting the half height mark with the full height mark at the end, in this case 28mm.
And then I trimm the triangle below.
Here I am ready to start cutting continuous tape. I just keep moving the pad and the ruler.
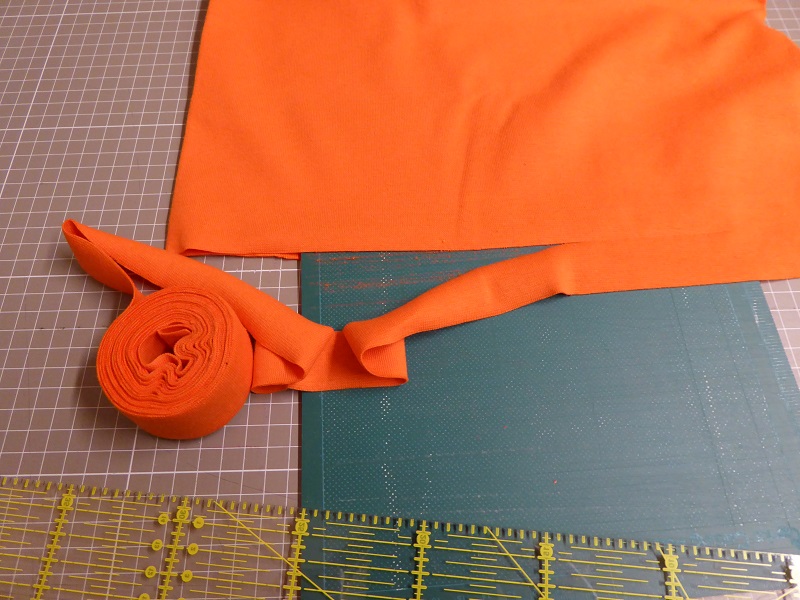
How much…. depends, but usually I cut at least 30 cm of fabric. That makes approximately 6 meters of continous binding tape.
And finally I wind the tape with the side that curves slightly inside.
Positioning and adjusting the settings
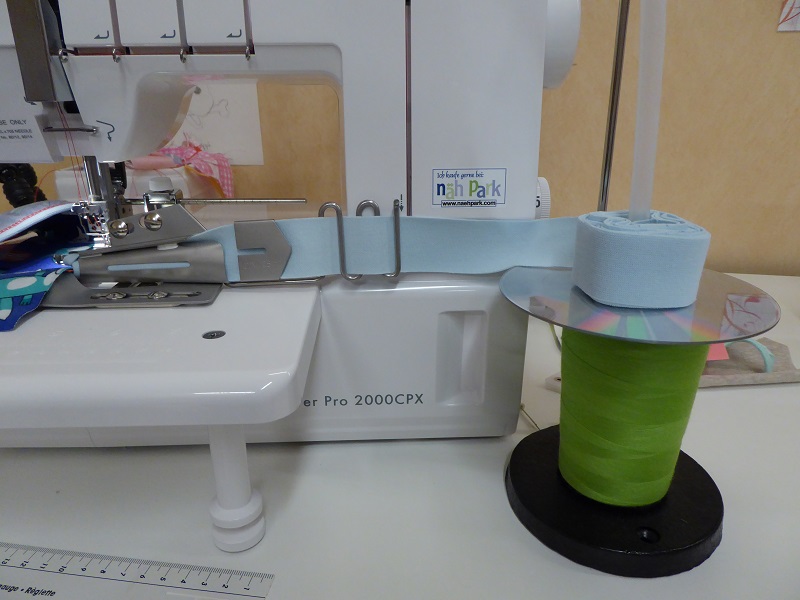
The binding tape can be put onto a tape reel holder which is available online. Before deciding on one of those, make sure to study your situation and whether it is possible to install the clamp to attach the reel holder to the sewing table.
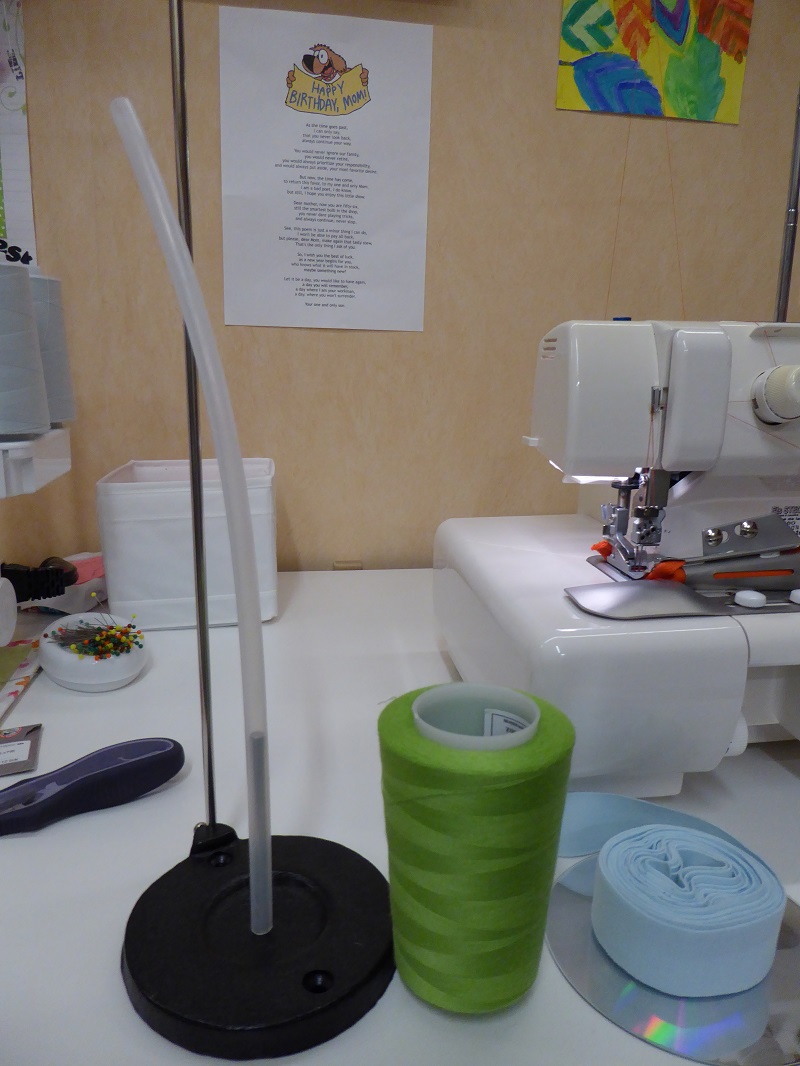
Or you can make your own tape holder using a cone thread stand. You will also need a giant straw, the kind that my child 'had to have' in Disneyland because it went through Cinderella's body, and I worried how I was going to keep this clean and finally, it proves to be useful. ![]() Then pick a cone, preferably full, 5000m and upside down to provide as wide a base as possible. Now put a CD on top to provide a smooth base for the reel to unwind on. Make sure to put the tape so it unwinds counterclockwise with the wrong side facing you.
Then pick a cone, preferably full, 5000m and upside down to provide as wide a base as possible. Now put a CD on top to provide a smooth base for the reel to unwind on. Make sure to put the tape so it unwinds counterclockwise with the wrong side facing you.
I am sharing some differences form my experience between binding on the Babylock Coverstitch and the Janome 2000CPX. If your experience is different and you are happy with the results, just ignore this.
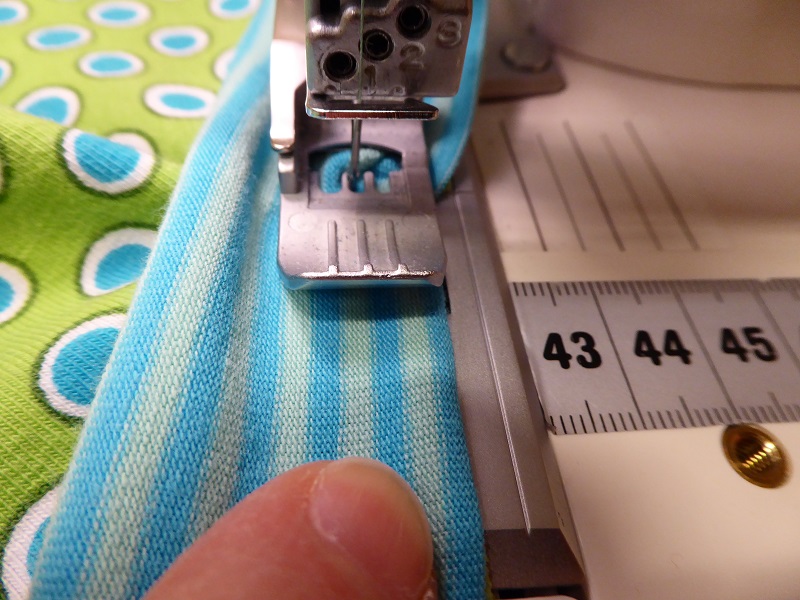
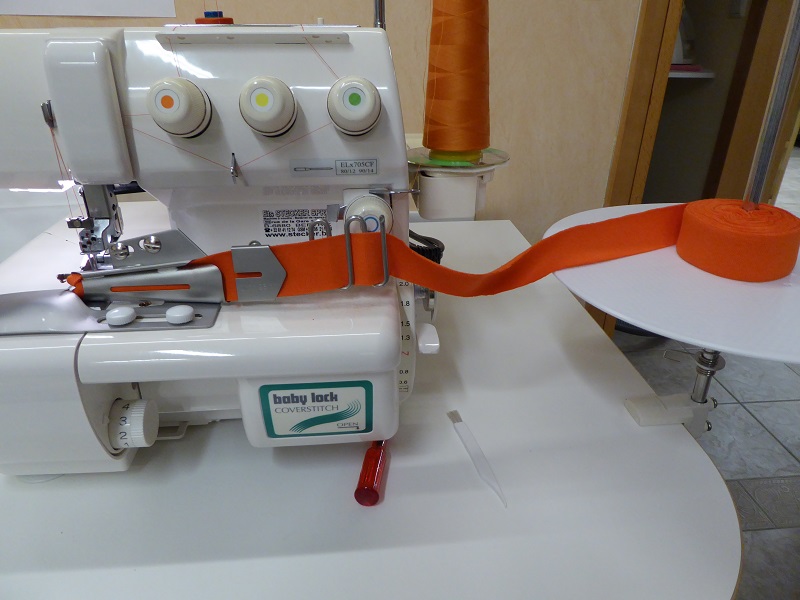
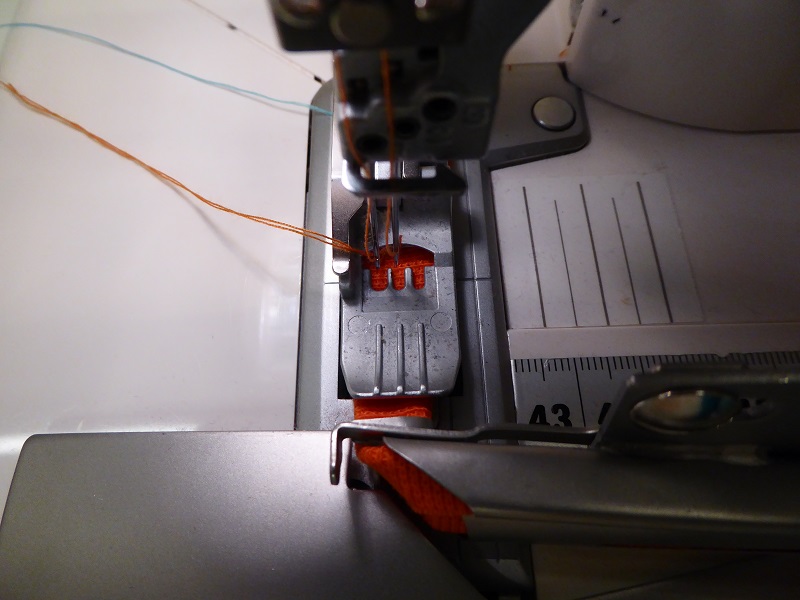
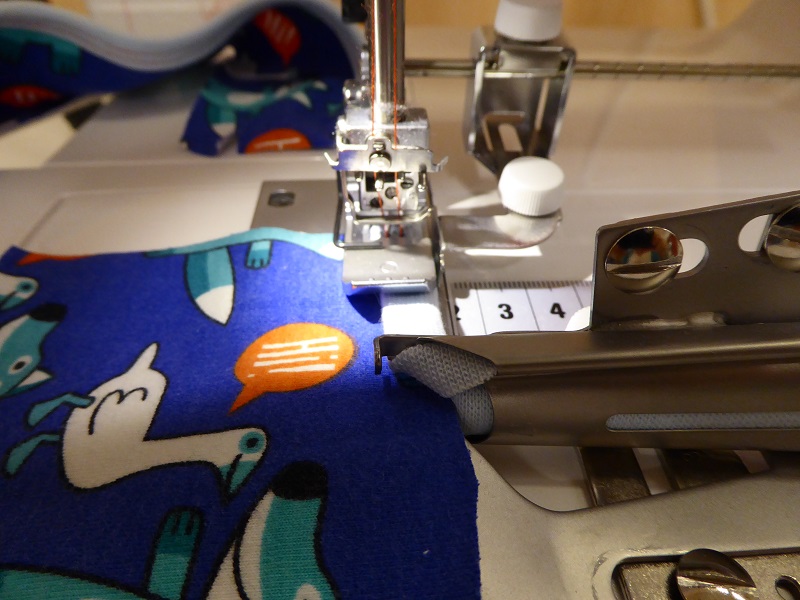
On my Babylock I get the best results using the left and center needle. When positioning the binder, I pull some of the binding through and position it under the presser foot and I lower the needles by hand. Only then do I screw the binder firmly in place. The Babylock has 2 holes in the bed of the machine and most generic binders can be screwed on without extra accessories.
When inserting the tape, it can be woven through the rake, either using all the teeth or just 1 or 2. This will put more or less tension on the binding resulting in a more gathered or more relaxed edge.
On my Janome 2000CPX I get the best results using the center and right needle with the adjustable seam guide keeping the binding from wandering off to the right. Thanks Rebecca for this great idea!!
SETTINGS for binding on both machines with polyester overlocking thread in the needles and polyester stretch thread for the looper:
Needles 4.5
Looper 2.5 (TIGHT for the Janome 2000 CPX)
In each of the following examples the stitch length is 3.5
The differential however is different.
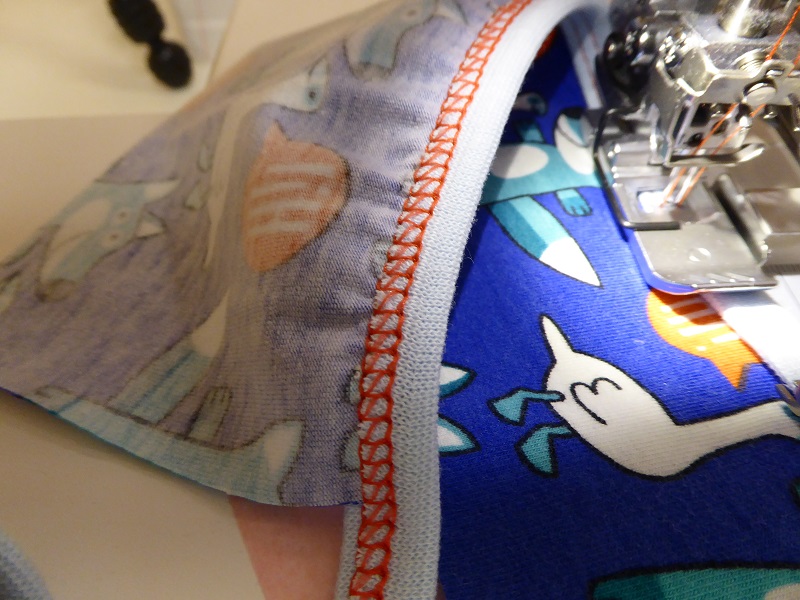
In the pic below the differential is set at 1.5 and notice how the fabric gathers a little?
Here the differential is also set at 1.5 and for a neckline this doesn't look too bad. It is still gathering somewhat though so reducing the differential to 1.3 will give a more relaxed edge.
The fabric moves freely into the binding. If for some reason changing the differential does not solve the unwanted gathering, you can always gently hold the fabric back so it feeds into the binding at a lower rate.
And here I have reduced the differential to 0.75 and this time there is virtually no gathering. Every case is different so testing is a must. Some binding is very loose and some may be very tight so the settings may require some tweaking. Sometimes cutting the binding tape 1mm wider or narrower makes it move differently through the binder. So be prepared to sacrifice some binding when you start playing with this accessory!!
